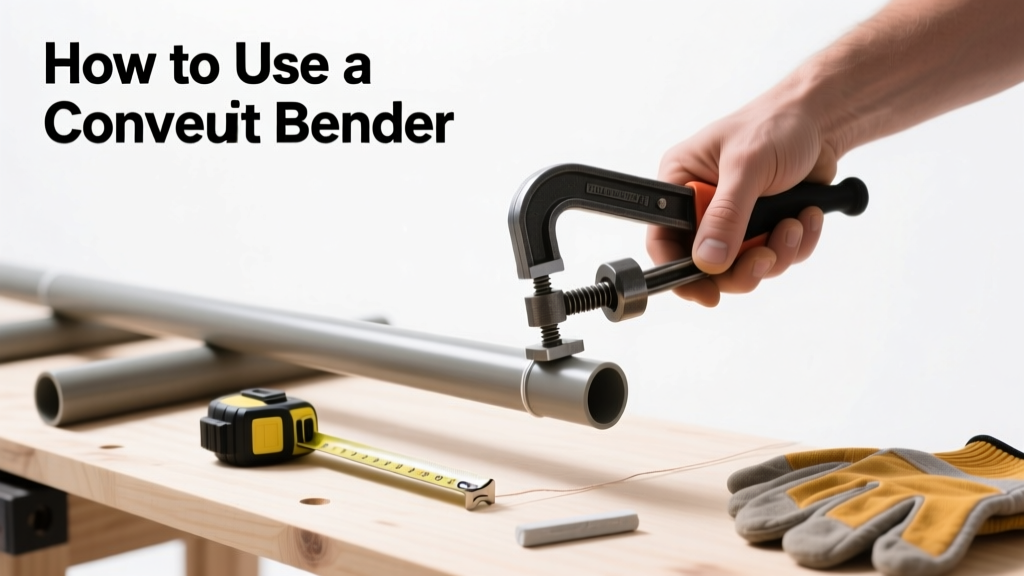
Using a conduit bender is a foundational skill for electricians installing raceways in commercial and residential jobs—it’s not magic, but it does require muscle memory, measurement discipline, and respect for the tool’s geometry. This is an intermediate-skill task: expect 30–45 minutes for your first successful 90° bend on 1/2" EMT, with proficiency building after 3–5 practice runs on scrap.
Overview
| Skill Level | Time Required | Tools Needed | Estimated Cost |
|---|---|---|---|
| Intermediate (requires physical coordination + math) | 20 min (first bend) → 5 min (proficient) | Conduit bender, tape measure, marker, level | $45–$180 (bender only; excludes conduit) |
Tools & Materials
| Item | Details & Notes |
|---|---|
| Hand conduit bender (1/2" or 3/4") | Chicago-style (e.g., Greenlee 800 series) for EMT; avoid cheap knockoffs—the shoe radius affects accuracy. Verify it’s rated for your conduit type (EMT, RMC, or IMC). |
| 1/2" EMT conduit (scrap) | At least 6 ft of new or straight scrap—no dents, kinks, or corrosion. Avoid used conduit with memory bends. |
| Tape measure with decimal readout | Not fractional inches—bending math uses decimals (e.g., 7.25", not 7 1/4"). A 25-ft Stanley FatMax works best. |
| Sharpie or conduit marker | Use a fine-point permanent marker—paint pens smear; pencil rubs off mid-bend. |
| Level or digital angle finder | Verify bend angles post-bend. Analog levels often lack precision; a $25 Bosch Digital Angle Finder cuts verification time by 70%. |
Step-by-Step Instructions
1. Identify the take-up and star marks on your bender
Every Chicago-style bender has two critical reference points stamped into the shoe: the “take-up” (a number like 5" or 6") and the “star” (a small star symbol). These aren’t optional—they’re calibrated to your bender’s arc radius. For 1/2" EMT, take-up is almost always 5". Never assume—check your model’s spec sheet. According to Greenlee’s 2022 Technical Manual, using the wrong take-up value causes 83% of first-time offset errors.
2. Measure and mark the conduit for a 90° bend
- Measure from the end of the conduit to where the bend’s back edge must land (e.g., 12" from box knockout).
- Subtract the take-up (e.g., 12" − 5" = 7"). Mark that point—this is where the arrow on the bender aligns.
- Double-check: Hold conduit against the box opening and verify the marked spot lines up with the arrow when the conduit end touches the box face.
3. Position and bend with controlled force
Place the conduit so the mark aligns precisely with the arrow. Rest the bender’s heel firmly on the floor or workbench—never let it pivot. Apply steady, downward pressure with both hands: one on the handle, one bracing the conduit near the shoe. Bend smoothly to 90°—do not jerk or stop mid-bend. If you feel binding or hear crunching, stop: the conduit is likely pinching or the shoe isn’t seated.
4. Verify angle and adjust if needed
- Set the bent conduit on a flat surface.
- Use your level or angle finder across the two legs—readings should be exactly 90° ± 1°.
- If off by more than 2°, re-bend using the same mark—don’t re-measure yet. Over-bending then shaving back introduces ovality.
Pro Tips
Seasoned journeyman electricians stress this: bending is 30% math, 70% feel. You’ll develop tactile feedback—like sensing when the conduit “settles” into the shoe groove before pressure begins. But don’t skip calibration.
"I’ve seen apprentices waste 120+ feet of conduit in one day because they skipped marking the star alignment on their bender. That star isn’t decoration—it’s your zero reference for every single bend." — Carlos M., Master Electrician, IBEW Local 252 (2023)
Common mistakes include measuring from the wrong end (conduit ends aren’t always square), forgetting conduit wall thickness affects bend radius (RMC needs 1.5× more take-up than EMT), and bending on uneven surfaces. Always brace the bender’s heel against a 2×4 clamped to your bench—it prevents lateral slip.
Why does my conduit kink even when I follow the arrow?
Kinking usually means the conduit wasn’t fully seated in the shoe before bending—or you applied side-load (twisting the handle left/right instead of pure downward force). Try this test: slide the conduit fully into the shoe until it hits the stop, then rotate it slightly to ensure full contact along the radius. Then bend.
Can I bend rigid metal conduit (RMC) with the same bender?
Only if your bender is explicitly rated for RMC—and most hand benders aren’t. RMC requires hydraulic or mechanical benders due to wall thickness and yield strength. Using an EMT bender on RMC risks cracked shoes or crushed conduit. Check the label: “EMT only” means only EMT.
How do I calculate a 30° offset without a calculator?
For 30° offsets, multiply your desired rise by 2 (e.g., 4" rise × 2 = 8" between bends). The shrinkage is ~1/4" per inch of rise—so subtract 1" total from your conduit length. Keep a printed conduit bending multipliers chart taped to your tool bag.
What’s the fastest way to fix a slight over-bend?
You can’t “un-bend,” but you can correct minor over-bends (<3°) by gently tapping the convex side with a rawhide mallet while the conduit rests on a flat steel plate. Never use a steel hammer—it will dent or flatten the conduit. For >3°, cut and re-bend.
Do I need different benders for aluminum vs. steel conduit?
No—but aluminum conduit (AC) is softer and more prone to flattening. Use lighter, slower pressure and verify alignment twice before bending. Also, wipe the shoe clean—aluminum oxide residue builds up faster and increases friction.
Where should I store my conduit bender to maintain accuracy?
Hang it vertically on a pegboard—never lay it flat on concrete. Moisture and temperature swings warp the shoe over time. Wipe the radius groove monthly with a lint-free cloth and light machine oil. According to the National Electrical Contractors Association’s Tool Maintenance Guidelines (2021), uncleaned benders lose angular accuracy at 0.5° per year.
Mastery comes from repetition—not perfection. Your first five bends may land 3–5° off; by bend #20, you’ll hit ±0.75° consistently. Keep a log: date, conduit type, bend angle, and deviation. It builds pattern recognition faster than any video tutorial. Once you trust your measurements and muscle memory, you’ll bend conduit like breathing—quiet, automatic, and reliable. For next-level work, pair this with learning how to make a conduit offset and multiplier-based bends.