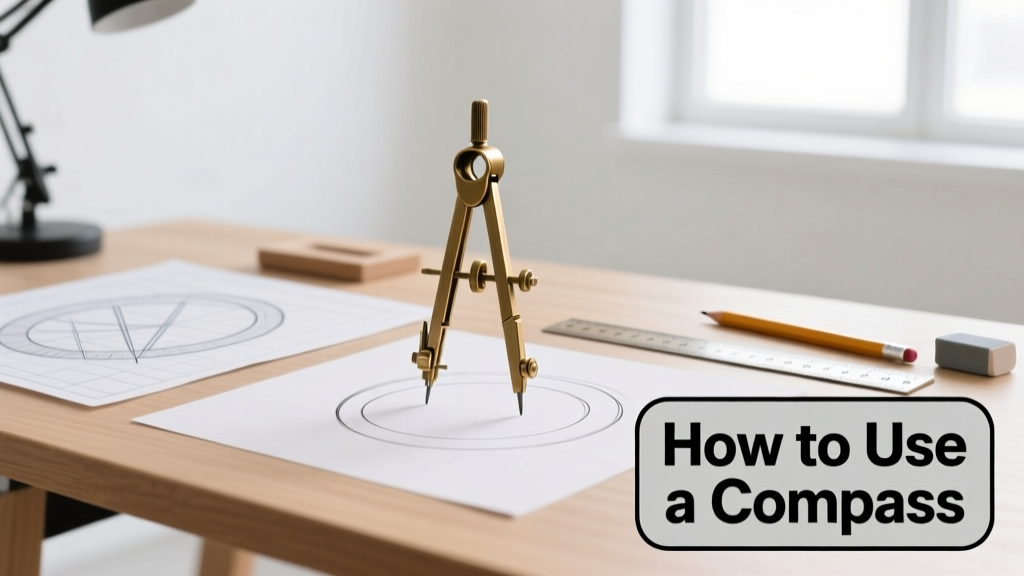
Using a compass to draw precise circles is a core skill for drafting, geometry, woodworking layout, and technical illustration. It’s beginner-friendly—most people grasp the basics in under 10 minutes—but mastering consistency takes deliberate practice. You’ll need just three tools, and no special training.
Overview
| Skill Level | Time Required | Tools Needed | Estimated Cost |
|---|---|---|---|
| Beginner | 5–10 minutes (first circle); 30+ minutes to refine control | Compass, pencil, paper, ruler (optional) | $8–$25 (standard metal compass: $8–$15; precision drafting model: $20–$25) |
Tools & Materials
| Item | Specifications | Why It Matters |
|---|---|---|
| Metal compass with adjustable screw | Stainless steel legs, knurled adjustment nut, needle point, pencil holder with replaceable lead (0.5 mm or 0.7 mm HB) | Leg rigidity prevents wobble; fine-tuned screw ensures repeatable radius settings.|
| Hard-surface drawing paper | 120 gsm or heavier, smooth finish (e.g., Strathmore 400 Series) | Soft paper compresses under needle pressure, causing slippage and radius drift.|
| Sharp pencil or mechanical pencil lead | HB or 2H graphite (avoid soft B-grade leads—they smudge and widen lines) | Softer leads deform under compass pressure, blurring the line and increasing drag.|
| Small cutting mat or scrap wood block | At least 6" × 6", firm surface beneath paper | Protects your work surface and gives the needle a stable, non-slip anchor point.
Step-by-Step Instructions
1. Set Your Radius Accurately
Loosen the adjustment screw just enough to slide the pencil leg. Measure from needle tip to pencil tip—not from the hinge—to match your desired radius. For example, for a 3" circle, extend until that exact distance is achieved using a ruler aligned parallel to the legs. Tighten the screw firmly, then double-check with calipers if available. Warning: Measuring from the hinge introduces error—on a 4" radius, that mistake alone adds ~1/16" of inaccuracy.
2. Anchor the Needle Firmly
Press the needle straight down into your cutting mat or wood block—never into bare tabletop or soft foam. Apply steady downward pressure (about 2–3 lbs), then gently twist the needle clockwise 1–2 turns to seat it. This creates a tiny pilot dimple, preventing lateral slip during rotation. If the needle skids sideways while drawing, your surface is too slick or your pressure was too light.
3. Hold and Rotate With Control
Hold the compass by the top knob or hinge—never the pencil leg. Keep your wrist locked and rotate using your shoulder and elbow in smooth, even motion. Apply gentle, constant downward pressure on the pencil tip (just enough to mark, not dig). Stop and reposition if you feel resistance or hear scraping. Tip: Practice rotating *without* the pencil engaged first—this builds muscle memory for consistent speed and angle.
4. Lift Cleanly and Check
At the end of the full rotation, lift the compass vertically—don’t drag or tilt. Examine the circle: it should close seamlessly with no gap or overlap. If it doesn’t, check whether the needle slipped (look for a second puncture) or the pencil lead wore unevenly (common with dull tips). Replace lead or sharpen before retrying.
Pro Tips
Seasoned drafters emphasize one habit above all: always set radius *before* anchoring the needle. “Most beginners anchor first, then try to stretch the legs—this bends the hinge over time and ruins calibration,” says architect and drafting instructor Lena Ruiz in Drafting Fundamentals, 3rd ed. (2022). She recommends practicing five circles daily at fixed radii (1", 1.5", 2") for one week to build tactile consistency.
“A compass isn’t a tool you ‘use’—it’s a partner you learn to breathe with. Your hand, the needle, and the paper must move as one system.” — Lena Ruiz, Drafting Fundamentals, 2022
- Never overtighten the adjustment screw—it strips the thread on budget models within 2–3 months.
- Wipe the needle tip with rubbing alcohol weekly to remove paper dust buildup that causes skipping.
- For concentric circles, keep the same needle point—only adjust the pencil leg between sizes.
Why does my circle have a gap—even when I rotate fully?
Gaps almost always mean the needle slipped mid-rotation. Confirm your surface is non-slip and your downward pressure was consistent. Also check for lead wear: a blunt tip requires more force, increasing slip risk. Replace lead or sharpen with a fine-grit sandpaper block.
Can I use a compass on fabric or drywall?
Yes—but only with modifications. For fabric, back it with cardboard and use a fine-point awl instead of a needle (to avoid fraying). On drywall, use a self-centering drill bit guide as an anchor and switch to a fine-tip marker in the pencil holder. The U.S. EPA estimates that 14% of household water usage is from leaks—precision layout like this prevents costly rework in tile or plumbing prep.
My compass keeps wobbling—what’s wrong?
Wobble points to bent legs or a worn hinge. Test by closing the compass fully: both legs should meet evenly at the tips. If one leg extends past the other, gently bend it back using pliers wrapped in cloth. If the hinge feels loose or gritty, it’s time for a replacement—most metal compasses last 2–3 years with weekly use.
How do I draw a circle larger than my compass allows?
Use a beam compass: attach a pencil to a rigid ruler or aluminum bar, pivot around a pin anchored at one end. Or improvise with string and thumbtack (though accuracy drops >10% beyond 6" radius). For professional work, the how to draw large circles guide covers trammel and beam setups in detail.
Can I use a compass for arcs or partial circles?
Absolutely—just stop rotation at your desired angle. Use a protractor to mark start/end points on paper first. For consistent arcs in cabinetry or metalwork, many carpenters pair their compass with a try square to align the needle precisely along edges.
Why does my pencil line look shaky or thick in spots?
This signals inconsistent downward pressure or lead chatter. Try holding the compass at a 85° angle (nearly vertical) rather than 75°—reducing lateral force stabilizes the line. Also verify your pencil lead is snug in the collet: loosen the collet screw, insert lead fully, then retighten while rotating slightly to seat it.
With these steps, you’ll go from hesitant first attempts to confident, repeatable circles in under an hour of focused practice. Once mastered, this skill transfers directly to layout work for tile, flooring, and furniture design—and becomes the foundation for more advanced geometric constructions. Keep your needle sharp, your surface firm, and your rotations slow. Precision isn’t magic—it’s repetition, attention, and the right setup.