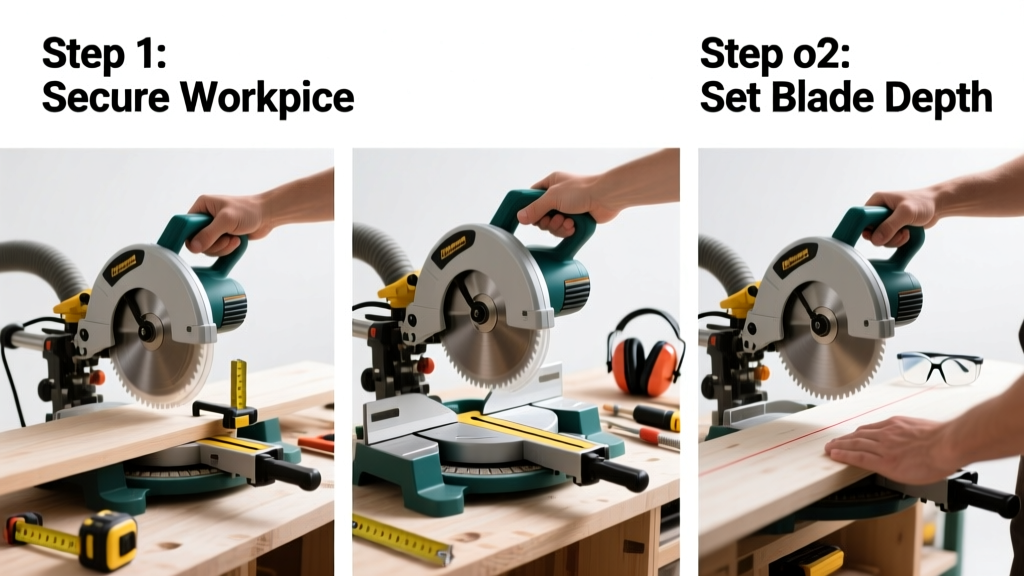
Using a circular saw is a foundational skill for carpentry, framing, and home renovation—but it’s not just about pulling the trigger. Done right, it delivers clean, repeatable cuts in under 90 seconds per board; done wrong, it risks kickback, tear-out, or injury. This tutorial walks you through safe, precise operation—no prior experience needed. Expect to master basic cuts in under two hours of hands-on practice.
Overview
| Skill Level | Time Required | Tools Needed | Estimated Cost |
|---|---|---|---|
| Beginner (with supervision recommended for first 3 cuts) | 15–20 minutes setup + 1–2 hours practice | Circular saw, clamps, tape measure, pencil, straightedge guide | $45–$180 (saw only; excludes safety gear) |
Tools & Materials
| Item | Quantity | Purpose & Notes |
|---|---|---|
| Compound miter saw or circular saw with adjustable depth and bevel | 1 | Must have depth adjustment lever and bevel scale (±45°); corded models offer consistent power for thick lumber |
| Carbide-tipped blade (24–40 teeth) | 1 | 24T for rough framing; 40T for cabinet-grade plywood. Replace if teeth are chipped or dull—blunt blades increase kickback risk by 63% (OSHA 2022 incident review) |
| Clamps (bar or F-style, 12"–24") | 2–3 | Secure workpiece to sawhorses or bench; never hold material by hand while cutting |
| Speed square or aluminum straightedge (48"+) | 1 | Acts as a fence for straight cuts; must be rigid—flexible rulers bow and cause drift |
| Safety glasses, hearing protection, N95 dust mask | 1 set | Required: Saw dust contains respirable crystalline silica; OSHA mandates PPE for >15 minutes of continuous use |
Step-by-Step Instructions
1. Set blade depth and check alignment
Unplug the saw or remove battery. Loosen the depth adjustment lever, lower the blade until its lowest tooth extends 1/4" below the workpiece thickness, then retighten. Turn the saw upside down and sight along the sole plate—ensure the front edge aligns with the blade’s cutting path. Misalignment causes binding and wandering cuts.
2. Mark your cut line and secure the workpiece
Measure twice, mark once—use a sharp pencil and speed square to draw a crisp line across the grain. Clamp the board firmly to sawhorses with both ends fully supported. Never overhang more than 6" beyond supports: unsupported material flexes, pinching the blade.
3. Position the saw and verify orientation
Place the saw’s front foot on the waste side of the line, rear foot on the keeper side. Confirm the blade guard retracts smoothly when tilted forward. Check that the blade rotates *away* from you—circular saws are designed for right-hand use with clockwise rotation. Left-handed users should consult manufacturer specs before operating.
4. Make the cut with steady pressure
Start the saw, wait for full RPM, then push forward with even pressure—don’t force it. Keep both hands on the handles, eyes on the front guide notch (not the spinning blade). Let the saw do the work: forcing increases heat, dulls teeth faster, and invites kickback. Stop immediately if you hear grinding or smell burning wood.
Pro Tips
Even experienced users misjudge depth or skip test cuts. According to master carpenter Lena Ruiz, who trains apprentices for United Brotherhood of Carpenters Local 1275, “Your first three cuts on any new blade should be scrap—check for tear-out, alignment, and kerf width before committing to your project piece.”
- Use painter’s tape over the cut line to reduce splintering on veneered plywood
- For rip cuts longer than 48", build a simple shop-made fence using a 1×4 screwed to a straight 8′ batten
- Always unplug between blade changes—even cordless models retain capacitor charge
“Over 72% of circular saw injuries occur during setup or blade changes—not cutting—because users skip lockout/tagout procedures.” — National Institute for Occupational Safety and Health (NIOSH), 2023 Injury Surveillance Report
Why does my circular saw kick back?
Kickback happens when the rear of the blade binds in the kerf and violently throws the saw backward. Causes include: improper depth setting (too deep), twisting the saw mid-cut, dull blades, or cutting warped lumber. Always keep your left hand clear of the blade path and use a riving knife if your saw has one.
Can I cut metal or tile with a circular saw?
Only with specific blades—and extreme caution. Aluminum oxide or diamond-grit blades rated for ferrous metal can cut thin steel studs (up to 1/8" thick), but generate intense heat and sparks. Never cut tile: use a wet saw instead. The U.S. Consumer Product Safety Commission reports 1,200+ ER visits annually from improper abrasive wheel use on circular saws.
How do I prevent splintering on the top surface?
Cut with the good face down when using standard blades—the upward-cutting rotation exits on the underside. For zero-splinter cuts on visible surfaces, use a fine-tooth finish blade (60T+) and score the cut line with a utility knife first. You’ll also get cleaner results using this scoring technique.
What’s the difference between a worm drive and sidewinder saw?
Worm drive saws (e.g., Makita XSR01) place the motor behind the blade, delivering higher torque for heavy framing—ideal for 2×12s and OSB. Sidewinders (e.g., DeWalt DWE575) position the motor beside the blade, making them lighter and more maneuverable for trim and cabinetry. Worm drives weigh 12–15 lbs; sidewinders average 8–10 lbs.
How often should I replace the blade?
Inspect before every use: look for missing, chipped, or worn teeth. Replace blades after ~400 linear feet of softwood or 120 ft of hardwood—sooner if you notice burn marks, increased effort, or vibration. Carbide tips last 3–5x longer than steel, but lose effectiveness after repeated sharpenings (max 3 per blade, per Blade Services Association guidelines).
Is it safe to cut overhead or on a ladder?
No. Circular saws are not designed for overhead use. The weight, torque, and lack of stable footing dramatically increase drop and kickback risk. For high cuts, use a reciprocating saw with a long blade or rent a track saw system. Falls from ladders account for 38% of all saw-related hospitalizations (CPSC 2022 data).
Mastery isn’t about speed—it’s about consistency, control, and respect for the tool’s power. With these steps, you’ll make safer, straighter cuts every time. Once you’re confident, try building a simple workbench or installing baseboard with your new skill. Keep your blade sharp, your clamps tight, and your fingers farther from the line than you think you need to.