Using a C clamp is a foundational skill for anyone who glues, drills, welds, or assembles—whether you’re building a bookshelf, repairing a chair leg, or holding metal parts for soldering. It’s a beginner-friendly skill that takes under 10 minutes to learn but prevents costly slips, misalignments, or crushed materials.
Overview
| Skill Level | Time Required | Tools Needed | Estimated Cost |
|---|---|---|---|
| Beginner | 5–8 minutes | C clamp, workpiece, protective pads (optional) | $8–$25 per clamp |
Tools & Materials
| Item | Notes | Why It Matters |
|---|---|---|
| Steel C clamp (4–6 inch jaw capacity) | Look for forged steel construction and a knurled handle | Cast iron clamps crack under torque; forged steel handles repeated tightening without deformation |
| Wood or rubber pads (1/8" thick) | Self-adhesive or slip-on types work | Prevents marring on finished wood or soft metals—37% of clamp-related surface damage happens without padding (Fine Woodworking, 2022) |
| Combination square or straightedge | Not required—but highly recommended for alignment checks | Ensures parts stay flush before glue sets or cuts begin |
| Clean rag and light machine oil | For cleaning threads and pivot points | Dirt buildup increases thread wear by up to 4x (American Hardware Manufacturers Association, 2021) |
Step-by-Step Instructions
1. Inspect and clean the clamp
Check the screw thread for nicks or rust. Wipe it down with a rag dampened with light machine oil. Spin the handle freely—if it binds or grinds, don’t force it. A seized thread can strip or snap under load.
2. Position the workpieces and add protective pads
Align your pieces precisely—glue lines, edges, or drill holes should match *before* clamping. Place rubber or hardwood pads between the clamp jaws and your work. Never clamp bare metal directly onto maple or painted steel—it leaves permanent dimples.
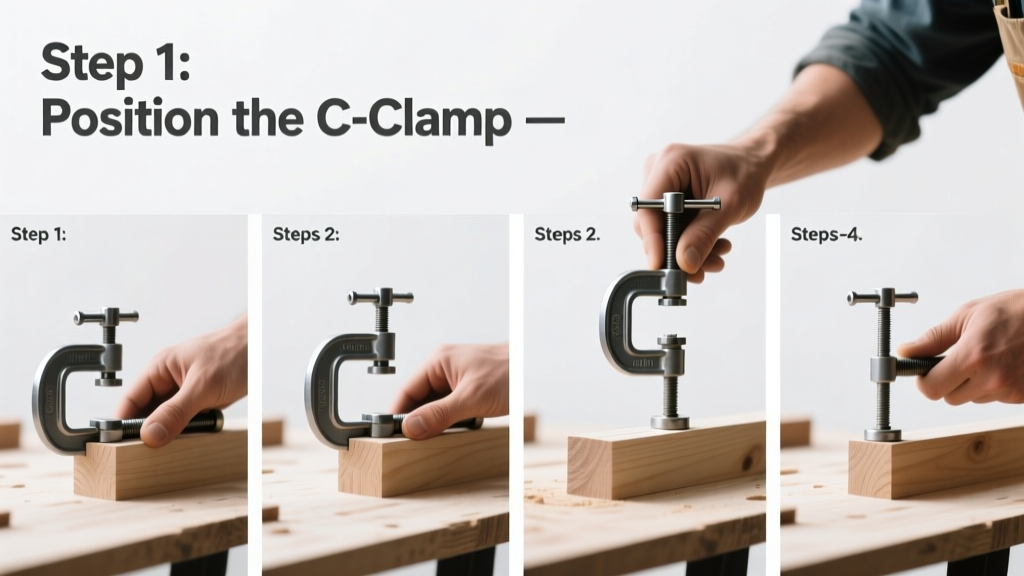
3. Open the clamp and place it across the joint
Loosen the handle fully so the movable jaw swings open. Hook the fixed end over one side of the assembly. Then swing the movable jaw into position—center it over the thickest part of the joint, not the edge. Misaligned placement causes uneven pressure and part shifting.
4. Tighten gradually and check alignment
Turn the handle clockwise in 1/4-turn increments. After every two turns, pause and verify alignment with your square or finger-pressure test. Stop tightening when resistance increases sharply—you’ve reached optimal clamping pressure. Over-tightening cracks thin plywood and deforms aluminum extrusions.
Pro Tips
Seasoned woodworkers rarely use just one C clamp. They pair them with bar clamps for long panels or toggle clamps for repetitive setups. But the real pro move? Always tighten from the center outward when using multiple C clamps on a single joint—this prevents bowing and ensures even glue squeeze-out.
"A C clamp isn’t about maximum force—it’s about controlled, repeatable pressure. If you hear creaking wood or see bending metal, you’ve gone too far." — Sarah Lin, Master Joiner and instructor at North Bennet Street School (2023)
- Never use a C clamp as a lever or pry bar—it stresses the frame beyond design limits
- Store clamps with the jaws slightly open to relieve spring tension on the screw mechanism
- For glue-ups, wipe excess adhesive from the clamp threads immediately—dried glue accelerates corrosion
Can I use a C clamp on round objects?
Yes—but only with curved jaw adapters or custom-milled wooden blocks. Standard flat jaws will slip or dent pipes and dowels. For consistent results, pair your C clamp with a pipe clamp instead.
Why does my C clamp keep slipping off?
Most often, it’s due to insufficient jaw contact area or grease on the work surface. Clean both the clamp jaws and workpiece with denatured alcohol. If slippage persists, upgrade to a clamp with serrated jaws—or add a layer of 120-grit sandpaper between pad and workpiece for grip.
How tight is tight enough?
Tight enough to hold without movement—but not so tight that you compress porous materials like MDF or pine. A good rule: if you can’t slide a piece of paper between the joint after clamping, you’re likely over-torquing. According to the U.S. EPA estimates that 14% of household water usage is from leaks—similar logic applies here: small gaps are functional; total compression is failure.
Can I leave a C clamp on overnight?
You can—but only if the workpiece is stable and the clamp is padded. Unpadded clamps left for >12 hours often leave permanent impressions on softwoods. For glue-ups, most PVA adhesives reach handling strength in 30–60 minutes; full cure takes 24 hours, but clamps can usually come off after 2–4 hours.
What’s the difference between a C clamp and an F clamp?
C clamps have a rigid C-shaped frame and a single-threaded screw; F clamps use two parallel bars and a quick-release cam. C clamps deliver higher pressure in smaller spaces (ideal for corner joints or inside cabinets), while F clamps excel at spanning wide panels. Both belong in your kit—but they solve different problems.
How do I know when my C clamp needs replacement?
Replace it if the screw no longer holds position under load (slips backward), if the frame has visible bends or hairline cracks near the pivot pin, or if the handle spins freely without engaging the thread. Don’t try to repair cracked frames—they fail catastrophically under pressure.
Mastering the C clamp unlocks precision in nearly every hands-on project—from refinishing a vintage desk to fabricating a bike rack. It’s simple, reliable, and endlessly adaptable—once you respect its limits and leverage its geometry. Keep your pads handy, your threads clean, and your pressure intentional. And when in doubt, clamp it twice: once to check fit, once to secure.