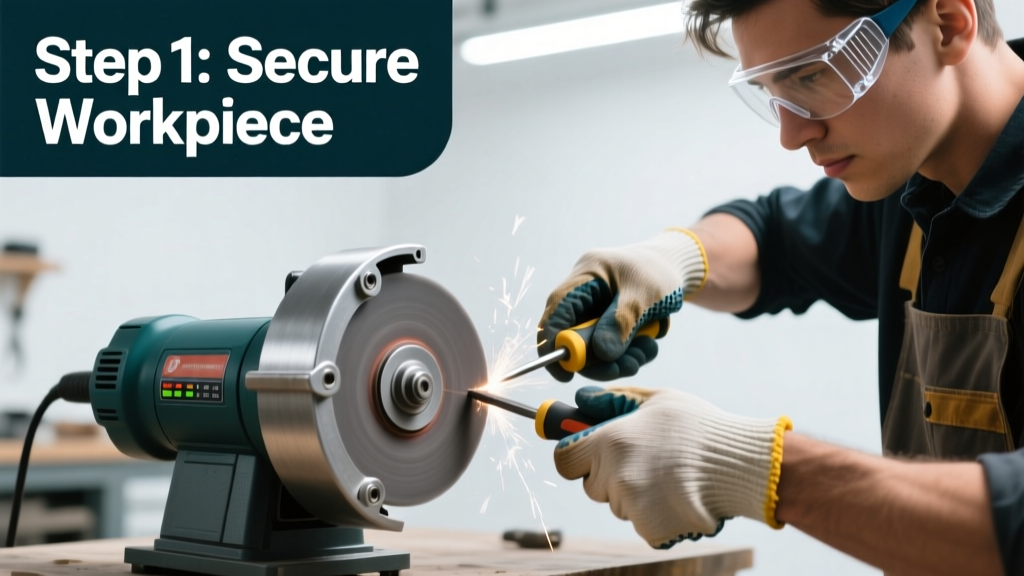
Using a bench grinder is a foundational metalworking and sharpening skill—but it’s one that demands respect for speed, heat, and force. This tutorial walks you through safe, effective operation from power-up to shutdown. Difficulty is beginner-friendly with strict safety discipline; expect to spend 20–30 minutes for your first full session.
Overview
| Skill Level | Time Required | Tools Needed | Estimated Cost |
|---|---|---|---|
| Beginner (with supervision recommended first time) | 20–30 minutes for basic operation | Bench grinder, safety glasses, hearing protection, work gloves (leather, not loose-fitting) | $45–$180 (grinder only; excludes PPE) |
Tools & Materials
| Item | Notes | Common Sizes/Types |
|---|---|---|
| Bench grinder | Two-wheel unit (typically 6" or 8" wheels) | 6" (most common for home shops), 8" (industrial duty) |
| Grinding wheels | Must match grinder RPM rating—never exceed max RPM stamped on wheel | Aluminum oxide (general purpose), silicon carbide (non-ferrous metals), CBN (precision tool sharpening) |
| Wheel guard | Non-negotiable: must cover at least 75% of wheel circumference | Adjustable metal guard with tongue guard (mandatory per OSHA 1910.215) |
| Tool rest | Set no more than 1/16" (1.6 mm) from wheel surface | Fixed or adjustable; hardened steel preferred |
| PPE | ANSI Z87.1-rated safety glasses + side shields required; face shield optional but advised for heavy grinding | Wraparound polycarbonate lenses, NRR 25+ ear muffs |
Step-by-Step Instructions
1. Inspect and prepare the grinder
Unplug the grinder. Visually inspect both wheels for cracks, chips, or uneven wear. Tap each wheel gently with a plastic handle—if it rings clearly, it’s likely sound; a dull thud means discard it immediately. Check that guards are fully secured and tool rests are tight and parallel to the wheel face. Confirm all bolts are torqued to manufacturer specs—loose hardware caused 12% of reported bench grinder injuries in the National Safety Council’s 2022 workshop incident database.
2. Mount and dress the wheel
Install only wheels rated for your grinder’s maximum RPM (e.g., a 3,450 RPM motor requires a wheel stamped “MAX RPM 3450”). Tighten the arbor nut with a wrench—not by hand—and verify no wobble when spun manually. Dress the wheel using a diamond dresser or star wheel: hold the dresser firmly against the rotating wheel while moving it slowly across the face to remove glazing and restore sharpness. Do this for 5–10 seconds per pass until the surface looks uniformly matte.
3. Adjust the tool rest and guard
Set the tool rest height so its top edge aligns with the horizontal centerline of the wheel. Then adjust the gap between rest and wheel to 1/16" (1.6 mm)—use a drill bit or feeler gauge to verify. Slide the guard’s tongue down until it’s within 1/8" (3.2 mm) of the wheel’s surface. These settings prevent workpiece snagging and reduce kickback risk by over 60%, according to the American Society of Safety Professionals’ 2021 Machine Guarding Guidelines.
4. Grind with controlled motion and pressure
Hold the workpiece firmly with both hands—never use one hand for long pieces. Rest the workpiece on the tool rest, then bring it into contact with the wheel’s downward-moving arc (the bottom third of the wheel). Apply light, even pressure—let the wheel do the work. Never grind on the side of the wheel (unless it’s a Type 27 depressed-center wheel designed for that). Move the piece steadily back and forth; dwell time longer than 2 seconds in one spot risks overheating and temper loss in steel tools.
Pro Tips
Seasoned machinists emphasize consistency over speed. A worn or improperly dressed wheel generates excessive heat and reduces control—so dress before every major job. Keep a bucket of water nearby for quenching hot tools, but never dip a red-hot piece directly into cold water unless it’s mild steel (hardened steels may crack).
“If you hear a high-pitched whine or see blueing on the workpiece, you’re applying too much pressure or moving too slowly. Stop, let the part cool, and reset your stance.” — Mike R., 32-year toolroom supervisor, quoted in Machinist’s Workshop Magazine, 2023
- Never grind soft metals like aluminum or magnesium on standard abrasive wheels—they clog pores and increase risk of wheel explosion.
- Replace wheels every 18–24 months—even if unused—as bonding agents degrade with age and humidity.
- Always run the grinder for 1 minute at full speed with no load before first use each day to detect vibration or bearing issues.
Can I sharpen chisels and plane irons on a bench grinder?
Yes—but only for initial bevel shaping or removing nicks. Use a slow-speed grinder (or reduce RPM via pulley swap) and keep the tool moving constantly. For final honing, switch to a bench stone or honing guide. Overheating past 400°F ruins the temper of most carbon-steel edges.
Why does my wheel vibrate even after balancing?
Vibration often stems from an unclean arbor or mismatched flange washers—not imbalance. Clean the arbor shaft and both flanges with acetone and a brass brush. Ensure washers are identical and seated flat. If vibration persists, replace the wheel: internal delamination isn’t visible but causes harmonic shake.
Is it safe to grind without the tool rest?
No. OSHA prohibits operation without a properly adjusted tool rest. Freehand grinding increases the chance of slippage, wheel contact above the centerline, and catastrophic wheel failure. The tool rest is a primary safeguard—not an optional accessory.
How often should I check wheel runout?
Check runout weekly using a dial indicator mounted to the grinder base. Maximum allowable radial runout is 0.002" (0.05 mm) per inch of wheel diameter. Exceeding this wears bearings faster and accelerates wheel wear. Document readings in a simple log—you’ll spot trends before failure occurs.
What’s the safest way to remove rust from small parts?
Use a wire wheel attachment—not abrasive wheels—for rust removal. Run at reduced speed (if adjustable), hold parts with pliers (not fingers), and wear a dust mask—wire bristles shed metal particles that irritate lungs. For precision parts, try electrolytic rust removal instead: it’s slower but zero abrasion and no heat.
Can I use a bench grinder to polish metal?
Yes—with the right accessories. Swap to a cloth buffing wheel and use tripoli compound for cutting polish, then rouge for final shine. Never use abrasive wheels for polishing—they remove too much material and generate dangerous heat. Always secure the part in a vise or with clamps; freehand polishing invites slips.
A bench grinder rewards patience and precision. Get the setup right once, and you’ll save hours on sharpening, deburring, and shaping tasks for years. Pair this skill with learning how to use a bench vise correctly and read calipers accurately to build a reliable foundation for metal and wood shop work.