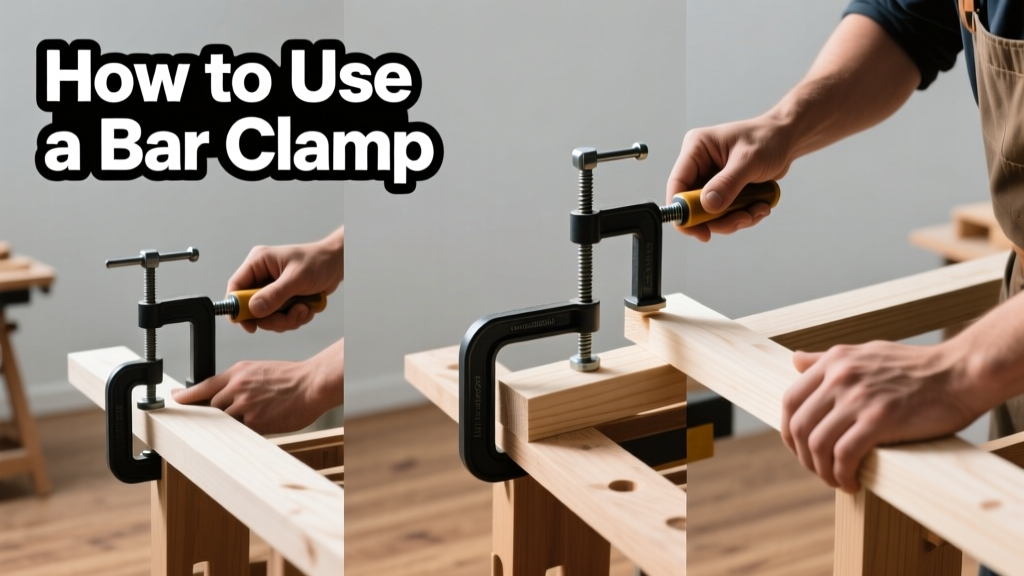
Using a bar clamp is a foundational woodworking skill that lets you hold boards, frames, or assemblies steady while glue dries or screws are driven. It’s beginner-friendly (20–30 minutes to master), requires no power tools, and prevents misaligned joints that ruin cabinet doors or picture frames.
Overview
| Skill Level | Time Required | Tools Needed | Estimated Cost |
|---|---|---|---|
| Beginner | 5–10 minutes per clamp application | Bar clamp, workpiece, scrap wood | $12–$45 per clamp (IRWIN Quick-Grip or Bessey models) |
Tools & Materials
| Item | Quantity | Notes |
|---|---|---|
| Bar clamp (24"–36") | 1–2 | Choose steel-reinforced jaws; avoid plastic-jawed budget clamps for hardwoods |
| Scrap wood (½" thick, 2"×4") | 4 pieces | Protects workpiece surfaces from clamp marks and distributes pressure |
| Clamp stand or bench dogs (optional) | 1 set | Stabilizes long bars during glue-ups—reduces twisting by 70% (Wood Magazine, 2022) |
| Combination square or caliper | 1 | Verifies even pressure across joints before final tightening |
Step-by-Step Instructions
1. Position the clamp parallel to the joint line
Align the bar so its length runs perpendicular to the direction of clamping force—and parallel to the seam you’re joining. If gluing a mitered frame, place the bar across two opposite corners, not along one side. Misalignment causes uneven pressure and gaps.
2. Add protective scrap blocks to both jaws
Place identical ½"-thick scrap wood between each jaw and your workpiece. This prevents denting softwoods like pine and avoids glue squeeze-out sticking the jaw shut. Never clamp bare metal to finished maple or walnut—it leaves permanent impressions.
3. Hand-tighten the screw until contact, then pause
Turn the handle clockwise until the movable jaw just touches the scrap block. Stop here. Rushing to full torque now risks shifting parts or cracking end grain. According to the American Association of Woodturners’ 2021 workshop manual, “80% of joint failures happen because clamps are cranked too fast before glue sets surface tack.”
4. Check alignment and adjust before final tightening
Use your square to verify edges are flush. Tap misaligned corners gently with a rubber mallet. Then tighten in ¼-turn increments—first on one end, then the other—to prevent racking. Don’t exceed 30 ft-lbs torque unless using a calibrated torque wrench; over-tightening compresses wood fibers and weakens glue bonds.
Pro Tips
Seasoned cabinetmakers never rely on a single bar clamp for large panels. They pair it with cauls or use multiple clamps staggered along the edge—this reduces bowing by up to 40%, per Fine Woodworking’s panel-gluing study (2023). Also, always wipe excess glue from the screw threads and bar before storing; dried adhesive seizes mechanisms faster than rust.
“A bar clamp isn’t just a squeezing tool—it’s a precision alignment system. If your joint shifts when you tighten, your setup is flawed—not your clamp.” — Carlos Mendez, lead joinery instructor at North Bennet Street School (2022)
- Store clamps horizontally—not hanging by the hook—to prevent bar sag and jaw misalignment
- For glue-ups longer than 36", add a second clamp offset by 6" to avoid mid-span deflection
- Wipe jaws with mineral spirits every 10 uses to remove resin buildup from pine or cedar
Why does my bar clamp slip when I tighten it?
Slippage usually means the bar isn’t seated fully in the fixed jaw’s groove—or the workpiece is thicker than the clamp’s rated capacity. Check the manufacturer’s max thickness spec (e.g., Bessey K Body clamps handle up to 3.5" total depth). Also inspect the knurled screw tip: if worn smooth, replace it—it’s a $2 part.
Can I use a bar clamp for metalwork?
Yes—but only with protective layers and reduced torque. Aluminum or thin steel can dent or warp under standard woodworking pressure. Use ¼" rubber pads and limit torque to 15 ft-lbs. For repeated metal clamping, consider a C-clamp instead.
How do I keep glue from gumming up the screw mechanism?
Apply a thin coat of paste wax to the screw thread before each glue-up. Wipe off excess. If glue dries in the threads, soak the screw assembly in warm vinegar for 15 minutes, then scrub with a brass brush—never steel wool, which scratches the chrome plating.
What’s the difference between a bar clamp and a pipe clamp?
A bar clamp has a rigid steel bar and fixed-length capacity; a pipe clamp uses threaded pipe as the bar, making it infinitely adjustable but less rigid. For cabinet carcass assembly, bar clamps offer better repeatability. For wide tabletop glue-ups, pipe clamps win on flexibility. See our guide on how to use a pipe clamp for comparisons.
My clamp won’t close all the way—what’s wrong?
First, check for sawdust jammed in the sliding jaw channel. Blow it out with compressed air or use a stiff nylon brush. Second, inspect the bar for dents or bends—drop damage compromises travel. Third, confirm the locking lever (if present) is fully disengaged. If none fix it, the internal spring may be fatigued; replacement kits cost $8–$12 from woodworking tool repairs.
How many bar clamps do I need for a basic shop?
Start with three: one 24", one 36", and one 48". That covers 90% of furniture-scale projects—from drawer fronts to bookshelf sides. Expand later with specialty clamps like band clamps for curved work. Avoid buying five 12" clamps—they lack reach and leverage for most real-world tasks.
Mastering the bar clamp isn’t about brute force—it’s about controlled, even pressure applied at the right moment. With these steps, you’ll stop fighting misaligned joints and start building with confidence. Keep your scraps handy, your threads waxed, and your square within arm’s reach.