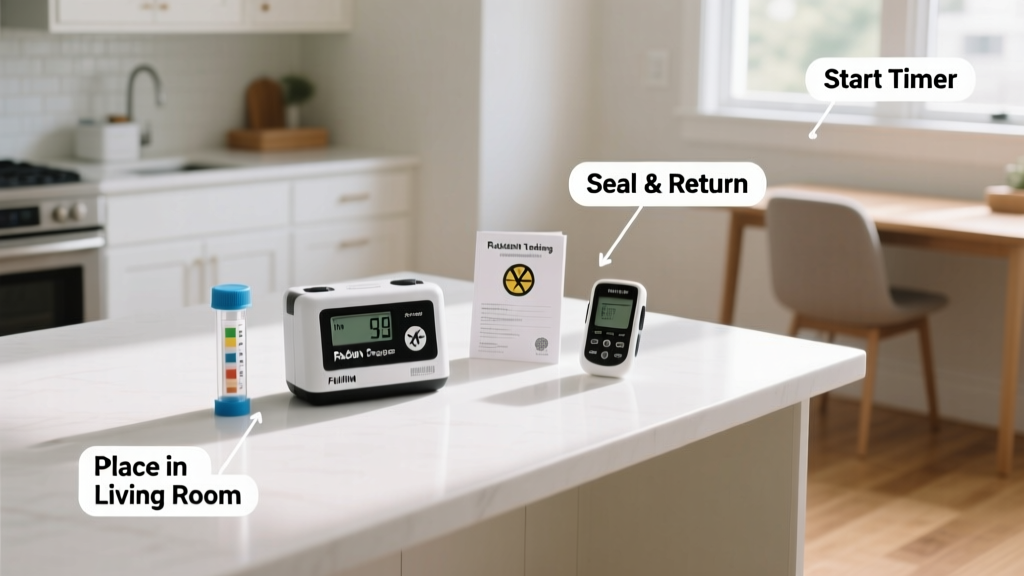
Testing radon levels is a straightforward, low-cost skill that any homeowner or renter can master in under five minutes of active setup—though the full process takes days to months depending on the test type. It’s beginner-friendly, requires no tools beyond what’s in the kit, and delivers critical data about an invisible, odorless gas linked to lung cancer.
Overview
| Skill Level | Time Required | Tools Needed | Estimated Cost |
|---|---|---|---|
| Beginner | 2–90 days (plus 2–5 days lab processing) | Test kit, pen, tape | $15–$30 (DIY) or $125–$300 (professional) |
Tools & Materials
| Item | Quantity | Notes |
|---|---|---|
| Short-term charcoal canister or electret ion chamber kit | 1 | Choose EPA-listed: e.g., Air Chek, Pro-Lab, or AccuStar. Avoid expired kits—check packaging date. |
| Long-term alpha-track detector (optional but recommended) | 1 | Measures average exposure over 90+ days; more accurate for year-round risk assessment. |
| Permanent marker or pen | 1 | For labeling the kit with start date, location, and your name. |
| Masking or painter’s tape | 1 roll | To secure kit in place without damaging walls or trim. |
| Smartphone or notebook | 1 | To log test conditions (e.g., windows closed, HVAC running normally). |
Step-by-Step Instructions
1. Choose the right test type and timing
Select short-term (2–7 days) for quick screening—or long-term (90+ days) for reliable annual average. Avoid testing during high winds, heavy rain, or HVAC renovations. The U.S. EPA recommends testing in winter when homes are most sealed, but summer basements with poor ventilation also yield telling results.
2. Pick the correct location
Place the kit in the lowest lived-in level—e.g., basement rec room, ground-floor bedroom—not a closet, laundry room, or garage. Position it 20 inches off the floor, away from drafts, exterior walls, sump pits, and humidifiers. According to the National Radon Proficiency Program’s 2022 Field Manual, “A test placed within 3 feet of a door or window will read up to 40% lower than actual living-space exposure.”
3. Set up and seal the test area
Close all windows and exterior doors for 12 hours before starting and throughout the test. Keep interior doors open for consistent air mixing—but don’t run fans, whole-house vacuums, or window AC units. Tape the kit securely to a shelf or table (not on carpet or near heat sources). Write start time/date clearly on the kit.
4. Mail it promptly after exposure ends
Seal the kit exactly as instructed—usually in its original foil pouch or prepaid mailer. Ship within 24 hours of closing; delays skew results. Most labs require receipt within 4 days. If using a digital continuous monitor (like Airthings Corentium), download the app and follow calibration prompts—no mailing needed.
- Tip: Take a photo of the labeled kit before sealing—it helps track which room was tested if you run multiple tests.
- Warning: Don’t open the charcoal canister before deployment. Exposure to ambient air ruins absorption capacity.
Pro Tips
Radon fluctuates daily and seasonally—so one short-term test isn’t enough to rule out risk. The EPA estimates that 1 in 15 U.S. homes has radon above the 4.0 pCi/L action level, yet only 6% of homeowners have ever tested (EPA National Radon Survey, 2023). That gap is where real danger hides.
“If your short-term test reads ≥4.0 pCi/L, do a second short-term test immediately—or switch to a long-term test. Never ignore a single high reading, but never panic over it either. Context is everything.” — Dr. Laura Sadowski, Indoor Air Quality Specialist, Kansas State University Radon Program, 2022
- Never test in kitchens or bathrooms—their humidity and airflow distort readings.
- If you’re buying a home, request a test conducted by an certified radon mitigator, not just a general home inspector.
- Renters: You have legal rights in 22 states to request landlord-conducted radon testing—see our radon laws by state guide.
What does “pCi/L” mean?
It stands for picocuries per liter—a measure of radioactivity. The EPA’s 4.0 pCi/L action level means that, over a lifetime, breathing air at that concentration carries roughly the same lung cancer risk as smoking 8 cigarettes daily. For context, outdoor air averages 0.4 pCi/L; some granite countertops emit up to 0.01 pCi/L.
Can weather affect my test?
Yes—strong storms, rapid barometric drops, and high winds increase soil gas entry. That’s why the EPA advises against testing during extreme weather. If a tornado warning or blizzard hits mid-test, note it on your log and consider retesting.
Do I need to test again after mitigation?
Absolutely. Post-mitigation testing must happen no sooner than 24 hours after system activation—and ideally 30 days later, once the fan has stabilized pressure differentials. Use a different test kit than the one used pre-mitigation to avoid cross-contamination bias.
Is DIY testing as accurate as professional testing?
When using an EPA-listed kit and following instructions precisely, yes—lab-analyzed DIY kits match professional accuracy within ±10%. But pros bring calibrated continuous monitors and interpret results alongside building diagnostics. For real estate transactions, many buyers insist on third-party verification.
My neighbor’s test was low—do I still need to test?
Yes. Radon levels vary drastically even between adjacent homes due to soil composition, foundation cracks, and sump design. One house may read 0.5 pCi/L while the next reads 12.0 pCi/L. There’s no substitute for measuring your own space.
Testing radon isn’t about perfection—it’s about awareness and agency. With under $25 and less than 10 minutes of setup, you gain insight into a leading environmental cause of lung cancer. Once you’ve got your results, you’ll know whether to install a radon mitigation system, retest, or simply file the report with peace of mind. Either way, you’ve taken the first real step toward safer air.