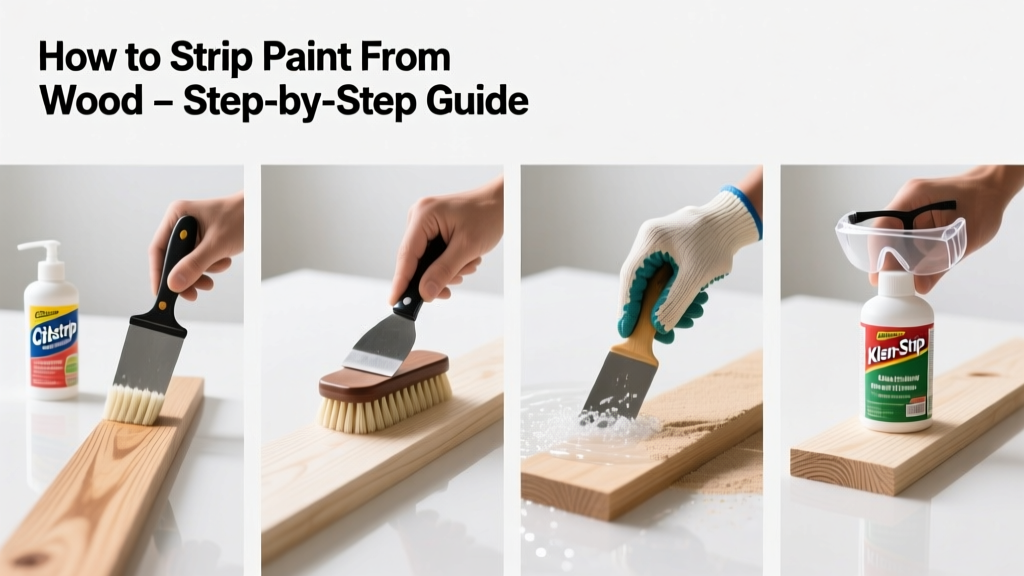
Stripping paint from wood is a foundational skill for furniture restoration, historic home repair, or prepping surfaces for staining or new finishes. It’s a moderate-difficulty task requiring patience and safety awareness—plan for 2–8 hours depending on surface size, paint layers, and method chosen.
Overview
| Skill Level | Time Required | Tools Needed | Estimated Cost |
|---|---|---|---|
| Moderate (requires attention to safety and technique) | 2–8 hours (plus drying/curing time) | Scraper, respirator, gloves, drop cloth | $15–$65 (chemical stripper kit or heat gun + supplies) |
Tools & Materials
| Item | Quantity | Notes |
|---|---|---|
| Chemical paint stripper (non-caustic, methylene chloride-free) | 1 quart | Look for EPA-compliant formulas like CitriStrip or Dumond Smart Strip—safer for indoor use and porous woods |
| Plastic or metal scraper (angled blade preferred) | 1–2 | Avoid steel wool on softwoods—it can scratch; use nylon abrasive pads instead |
| Nitrile or neoprene gloves + N95 respirator with organic vapor cartridges | 1 set | The U.S. EPA estimates that 30% of DIY paint-stripping injuries occur due to inadequate respiratory protection (EPA Safer Choice Program, 2022) |
| Drop cloths (heavy-duty plastic or canvas) | 2–3 | Protect floors—strippers can etch vinyl or stain hardwood |
| Stiff-bristle natural fiber brush (for applying stripper) | 1 | Synthetic brushes degrade in chemical strippers; natural bristles hold up better |
Step-by-Step Instructions
1. Prepare the workspace and protect yourself
Work outdoors if possible—or in a well-ventilated garage with open doors and fans. Lay down overlapping drop cloths, tape edges to prevent shifting, and seal HVAC vents to avoid contaminating your home’s air system. Put on nitrile gloves, safety goggles, and your respirator before handling any materials.
- Never skip eye protection—even brief splashes of stripper can cause corneal burns
- Test ventilation by lighting a candle near the work area: flame should flicker steadily, not blow out or smoke excessively
2. Clean and assess the surface
Wipe the wood with a damp rag and mild detergent to remove dust, grease, or wax—these interfere with stripper adhesion. Let dry fully. Examine for cracks, veneer lifts, or prior repairs. If it’s an antique piece with thin veneer, skip heat guns and aggressive scraping; opt for gentler citrus-based strippers.
3. Apply stripper and let it dwell
Using your natural-bristle brush, apply a thick, even coat (¼-inch minimum) only to one section at a time—no larger than 2 ft × 2 ft. Avoid pooling in corners. Let it sit per manufacturer instructions (usually 15–30 minutes). Watch for bubbling or wrinkling—that’s the paint lifting.
- If paint doesn’t bubble after 20 minutes, reapply a fresh coat—don’t extend dwell time beyond label limits
- On vertical surfaces, work bottom-to-top so runoff doesn’t drip onto already-treated areas
4. Scrape and neutralize
Hold your scraper at a 30-degree angle and push—not dig—gently removing softened paint. Switch to a brass or plastic putty knife for delicate moldings. Wipe residue with clean rags dampened with mineral spirits (not water—water raises grain and traps chemicals). After full removal, wash the surface with a solution of 1 cup white vinegar to 1 gallon warm water to neutralize alkaline residue.
Pro Tips
Seasoned restorers emphasize timing and texture over force. Rushing leads to gouged wood or chemical burns; lingering too long invites over-softening of underlying grain.
"Most failed stripping jobs stem from skipping the neutralizing wash. Residual stripper prevents stain absorption and causes finish blushing—even days later." — Sarah Lin, Certified Furniture Conservator, American Institute for Conservation (2021)
Avoid these common missteps:
- Using a heat gun above 700°F on oak or maple—it carbonizes tannins and creates permanent gray stains
- Applying chemical stripper over lead-based paint without testing first (use an EPA-certified lead test kit)
- Scraping across the grain—always follow wood direction to minimize scratches
Can I strip paint from carved or detailed wood?
Yes—but use cotton swabs dipped in stripper for tight crevices, then switch to a soft toothbrush (nylon bristles only) for agitation. Let dwell longer (up to 45 minutes), and rinse swabs frequently to avoid redepositing gunk.
Is sanding a good alternative to chemical stripping?
Sanding works for thin, modern latex paint on flat surfaces—but it’s inefficient for multiple layers or oil-based enamel. According to the National Wood Flooring Association’s 2023 Refinishing Survey, sanding alone accounts for 68% of accidental wood removal errors on heirloom pieces. Reserve it for final smoothing *after* chemical or heat removal.
How do I know when all stripper residue is gone?
Rub a clean, dry cotton cloth firmly over the surface. If it turns yellow or smells sweet/chemical, rewash with vinegar solution and rinse with distilled water. Then test with pH paper—neutral wood reads between 6.5–7.5.
What’s the safest method for stripping paint off a child’s wooden toy?
Use only food-grade citric-acid-based strippers (like Soy Gel) and hand-scrape with bamboo tools. Never use heat guns or caustic lye-based products. After stripping, soak the toy in a 1:10 hydrogen peroxide–water solution for 10 minutes to sanitize, then air-dry 48 hours before reusing.
Do I need to strip all the way to bare wood?
Not always. If you’re applying opaque paint or milk paint, light scuff-sanding may suffice. But for clear finishes, stains, or dye-based products, yes—you must reach clean, absorbent wood. A quick test: place a drop of water on the surface. If it beads, residue remains. If it soaks in within 10 seconds, you’re ready.
How soon can I stain or paint after stripping?
Wait until moisture content drops below 12%—use a pinless moisture meter. Most stripped wood needs 48–72 hours of airflow in low-humidity conditions. Rushing leads to trapped solvents causing finish bubbles or poor adhesion. For best results, condition the wood with pre-stain conditioner before your first coat.
Stripping paint from wood isn’t about speed—it’s about respecting the material’s history and structure. Take your time, trust your senses (sight, smell, touch), and treat every piece as if its next 50 years depend on what you do today. With this method, you’ll uncover rich grain, fix flaws invisibly, and lay groundwork for finishes that last.