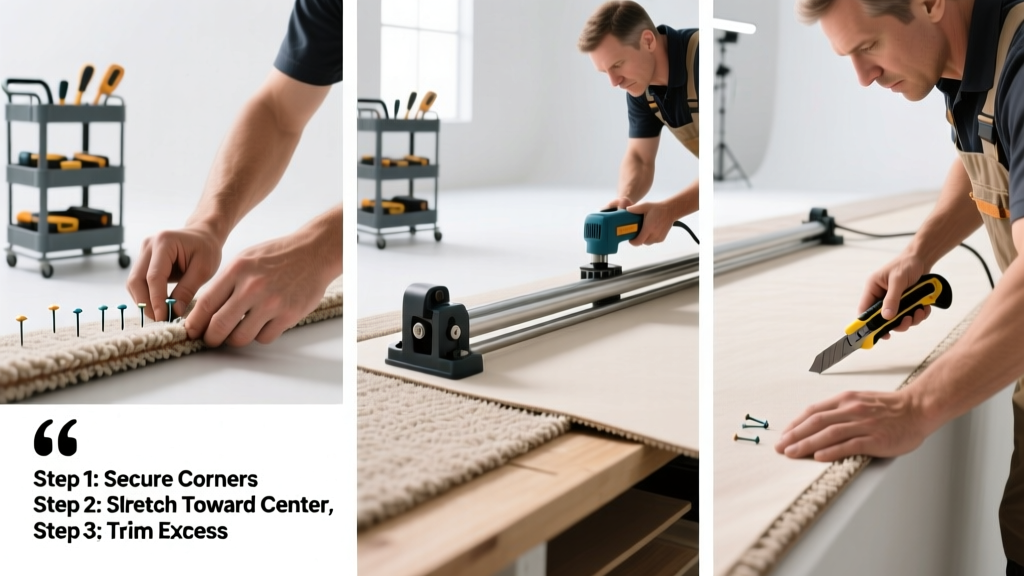
Stretching carpet is the essential fix for ripples, loose edges, or buckling caused by humidity shifts, foot traffic, or poor initial installation. It’s a mid-skill DIY task that takes 2–4 hours for a standard 12' × 15' room—and it’s far more effective than tucking or gluing problem areas.
Overview
| Skill Level | Time Required | Tools Needed | Estimated Cost |
|---|---|---|---|
| Intermediate (requires physical effort and precision) | 2–4 hours (per room) | Knee kicker, power stretcher, carpet knife, stair tool, tape measure | $75–$220 (rental + blades + replacement tack strips) |
Tools & Materials
| Item | Quantity | Notes |
|---|---|---|
| Knee kicker | 1 | Rent from Home Depot ($12/day); use for perimeter stretching near walls |
| Power stretcher (9-ft or 12-ft) | 1 | Essential for center-room tension; avoid cheaper “mini” models—they lack leverage |
| Carpet knife with snap-off blades | 1 knife + 5 blades | Blades dull fast on synthetic fibers; replace every 3–4 cuts |
| Stair tool (or flathead screwdriver) | 1 | For tucking along baseboards and tight corners |
| New tackless strip (if replacing) | Length = room perimeter – doorways | Use 1/2"-wide strips for residential nylon; nails must be 3/8" apart (per ASTM D1777-22) |
| Carpet seam roller | 1 | Not optional—presses seams after stretching to prevent separation |
Step-by-Step Instructions
1. Clear and inspect the room
Remove all furniture—yes, even heavy dressers (use furniture sliders). Pull up baseboard shoe molding if it’s nailed over carpet edge. Check for moisture damage under padding: if padding feels damp or smells musty, replace it entirely. According to the Carpet and Rug Institute’s 2023 Field Manual, 68% of failed carpet stretches trace back to wet or compressed padding.
2. Loosen and lift the carpet edge
Start at one corner. Use pliers to pull up the carpet from the tack strip. Slide a putty knife under the edge to break adhesive bonds. Work clockwise—never lift opposite sides simultaneously, or you’ll create diagonal gaps. Keep the old padding in place unless damaged; it helps guide your new tension line.
3. Position and fire the knee kicker
Place the knee kicker 6–8 inches from the wall, angled at 30° toward the corner. Drive firmly with your knee—not your back. Take 3–4 kicks per 3-foot section. Warning: Don’t kick within 12 inches of doorways—this compresses the carpet and causes tripping hazards. Always follow with a power stretcher pass across the same area.
4. Stretch the field with a power stretcher
Set the stretcher’s head against the carpet (not the pad), hook the gripper teeth into the backing, and extend the handle until resistance builds. Fire the lever in three controlled stages—don’t “snap” it. After each stretch, tap the carpet down with your hand to settle fibers. Move the stretcher every 2–3 feet, overlapping each stretch zone by 6 inches. A properly stretched carpet should feel drum-tight—no indentation when pressed with a thumb.
5. Trim, tuck, and secure
Once fully stretched, cut excess carpet with a straightedge and sharp blade—leave 1/4" overhang beyond the tack strip. Use the stair tool to tuck the edge into the groove, working from corner to corner. Tap gently with a rubber mallet where needed. Replace missing tack strip nails using a nail set and hammer—nail spacing must stay within 3/8" (per CRI Installation Standard 105-2022).
Pro Tips
Most DIYers underestimate how much carpet shrinks in winter. The U.S. Department of Energy notes indoor relative humidity below 30% causes nylon carpet to contract up to 3/8" per 10 linear feet—so stretch in late spring or early fall when RH is 40–55%. Also, never stretch over concrete slabs without a vapor barrier: trapped moisture warps padding and delaminates backing.
“If you hear a ‘pop’ during stretching, stop immediately. That’s the primary backing tearing—not the tufts. Once torn, the carpet will ripple again within 3 months.” — Carlos Mendez, 28-year IICRC-certified installer and trainer (Carpet One, 2022)
- Always stretch toward the longest wall first—it gives you the most control over directional tension
- Wear steel-toed boots or thick-soled shoes: knee kicker recoil can bruise shins
- Test stretch quality by kneeling in the center and rocking side-to-side—no movement means success
Why does my carpet keep bubbling near the doorway?
Doorway transitions are high-stress zones. The issue is usually insufficient anchoring: either the tack strip was installed too far from the threshold (it must be no more than 1/2" away), or the carpet wasn’t stretched *across* the doorway before trimming. Fix it by loosening both sides, stretching perpendicular to the door frame, then re-trimming.
Can I stretch carpet over existing padding?
Yes—if the padding is dry, level, and less than 5 years old. But check compression: press down with your palm. If it doesn’t rebound within 2 seconds, replace it. Old padding absorbs stretch energy instead of transferring it to the carpet backing.
Do I need to replace tack strips every time?
No—but inspect each nail. If more than 20% are bent, missing, or corroded (common in basements), replace the full strip. Reusing compromised tack strips causes edge lift within 6–8 months, especially in homes with pets or high heel traffic.
What’s the minimum temperature for stretching carpet?
Avoid stretching below 65°F. Cold fibers resist elongation and snap back faster. The Carpet and Rug Institute recommends ambient temps of 68–75°F with stable humidity for 48 hours pre-stretch.
My power stretcher keeps slipping—what’s wrong?
Two likely causes: dull gripper teeth (file or replace them) or carpet backing contamination (dust, wax, or pet dander). Wipe the backing with a damp microfiber cloth and let dry before re-engaging. Never stretch over rugs or mats left underneath—their texture defeats grip.
How soon can I put furniture back?
Wait at least 24 hours. Heavy items compress newly stretched fibers before they lock into place. Use wide-load furniture pads (not narrow legs) to distribute weight evenly—tackless strip installation guides explain proper load distribution. For delicate antiques, wait 48 hours and add felt pads to all contact points.
A well-stretched carpet lasts 3–5 years longer than one with chronic wrinkles—and avoids the $280–$420 cost of full reinstallation. You’ve just added real value to your home, not just surface polish. For next-level prep, read our guide on how to choose carpet padding or troubleshoot carpet buckling causes.