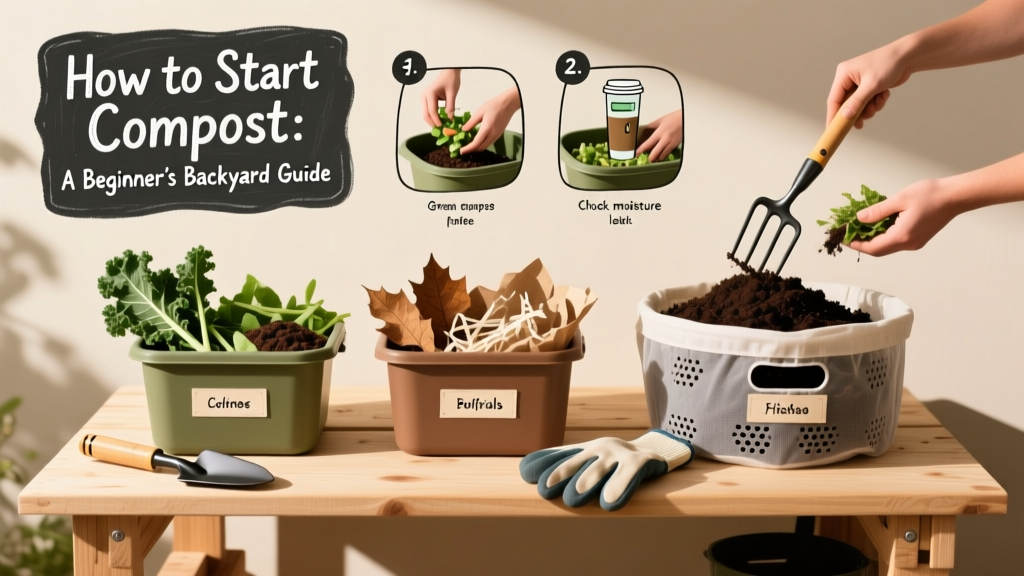
Starting compost is a foundational home sustainability skill—low-cost, low-effort, and high-impact. It’s rated beginner-friendly (no special tools or experience needed), takes under 30 minutes to set up, and yields usable compost in 2–6 months depending on method and climate.
Overview
| Skill Level | Time Required | Tools Needed | Estimated Cost |
|---|---|---|---|
| Beginner | 30 minutes setup; 2–6 months active maturation | Bin or open pile space, pitchfork or garden fork, gloves | $0–$120 (free if using scrap wood or repurposed pallets; $45–$120 for ready-made tumblers) |
Tools & Materials
| Item | Quantity | Notes |
|---|---|---|
| Brown materials (carbon-rich) | 3 parts by volume | Dry leaves, shredded cardboard, straw, or sawdust—avoid glossy paper or treated wood |
| Green materials (nitrogen-rich) | 1 part by volume | Fruit/veggie scraps, coffee grounds, fresh grass clippings (not Bermuda or zoysia—too invasive) |
| Water | As needed | Moisten pile to damp sponge consistency—not dripping, not dusty |
| Aeration tool | 1 | Garden fork or compost aerator; critical for oxygen flow and odor control |
| Optional: compost thermometer | 1 | Helps track microbial activity; ideal range: 135–160°F (57–71°C) for pathogen kill |
Step-by-Step Instructions
1. Choose your composting method
Decide between an open pile (fastest, lowest cost, best for yards >¼ acre), stationary bin (neat, rodent-resistant, fits small patios), or tumbler (quickest decomposition, ideal for urban spaces). According to the U.S. EPA, backyard composting diverts an average of 24% of household waste from landfills—so even a simple pile makes measurable impact.
2. Pick a location
Select level, well-drained ground with partial sun—full shade slows breakdown; full sun dries it out too fast. Keep it within 10 feet of your kitchen door for habit-building, but at least 1 foot from fences or foundations to prevent moisture transfer. Avoid low spots where rain pools.
3. Layer your first batch
Start with 4 inches of coarse browns (twigs or straw) for airflow. Then alternate 3-inch layers: brown → green → brown → green. Top with 2 inches of finished compost or garden soil to introduce microbes. Never add meat, dairy, oils, pet waste, or diseased plants—they attract pests or carry pathogens.
- Tip: Chop food scraps into <1-inch pieces to speed decomposition by up to 40% (University of California Cooperative Extension, 2022).
- Warning: Don’t layer greens alone—this causes slimy, smelly anaerobic conditions.
4. Maintain moisture and aeration
Check weekly: squeeze a handful of compost. If water drips, it’s too wet—add browns and turn. If it crumbles, it’s too dry—sprinkle with water while turning. Turn the pile every 3–7 days with a fork to reintroduce oxygen. After 2 weeks, internal temps should rise visibly—indicating healthy microbial activity.
- Tip: Keep a small bucket with lid under your sink for daily green collection—empties directly into pile.
- Warning: Skipping turns for >2 weeks invites fruit flies and slows decomposition by 50% or more.
Pro Tips
Seasoned composters know timing and balance trump perfection. The biggest mistake? Overcomplicating ratios. Stick to the 3:1 browns-to-greens rule by volume—not weight—and adjust as you go. If your pile steams when turned, you’re on track. If it smells like ammonia, add browns and turn immediately.
“Most failed compost piles aren’t too cold or too wet—they’re just ignored for three weeks straight. Consistency beats precision every time.” — Dr. Linda Chalker-Scott, Washington State University Extension, 2021
Also avoid these common errors: burying scraps under soil (slows breakdown), adding citrus peels in bulk (alters pH and deters worms), or using plastic-lined bins without drainage (causes rot and odor).
How often should I turn my compost?
Every 3–7 days for hot composting (fastest results). For passive piles, turn once per month—but expect 6–12 months for finished compost. Turning introduces oxygen, which fuels aerobic microbes responsible for efficient, odor-free decomposition.
Can I compost in winter?
Absolutely—just insulate your pile with 6+ inches of straw or leaves on top and sides. Microbial activity slows below 40°F (4°C), but doesn’t stop. In colder zones (USDA 3–5), consider an insulated tumbler or indoor vermicompost bin for year-round output.
What if my compost smells sour or rotten?
This signals excess moisture and lack of oxygen—classic anaerobic conditions. Immediately mix in dry browns (shredded cardboard works great), break up clumps, and turn thoroughly. Let it sit 24 hours before checking moisture again. Sour odors usually resolve within 48 hours of correction.
Do I need worms to compost?
No—earthworms arrive naturally once conditions stabilize. But if you want faster, finer-textured output, add red wigglers to a covered bin or vermicompost system. They thrive at 55–77°F and process ~½ lb of scraps per day per pound of worms.
How do I know when compost is ready?
Finished compost is dark, crumbly, earthy-smelling, and unrecognizable as original ingredients. No heat generation after turning, and no visible scraps or twigs. Screen it through ¼-inch hardware cloth to remove large chunks—you can return those to the active pile. Use it as mulch, soil amendment, or potting mix base.
Can I compost weeds or diseased plants?
Yes—if your pile reaches and holds 140°F+ for 3 consecutive days, most weed seeds and plant pathogens die. That requires consistent turning, proper moisture, and sufficient mass (minimum 3 ft x 3 ft x 3 ft). Otherwise, skip tomato blight or bindweed roots—better safe than sorry.
Compost isn’t about perfection—it’s about returning nutrients to the soil in a way that feels good, works with your space, and builds confidence over time. Start small, observe closely, and adjust. Within months, you’ll have rich, living soil—and one less bag headed to the landfill.