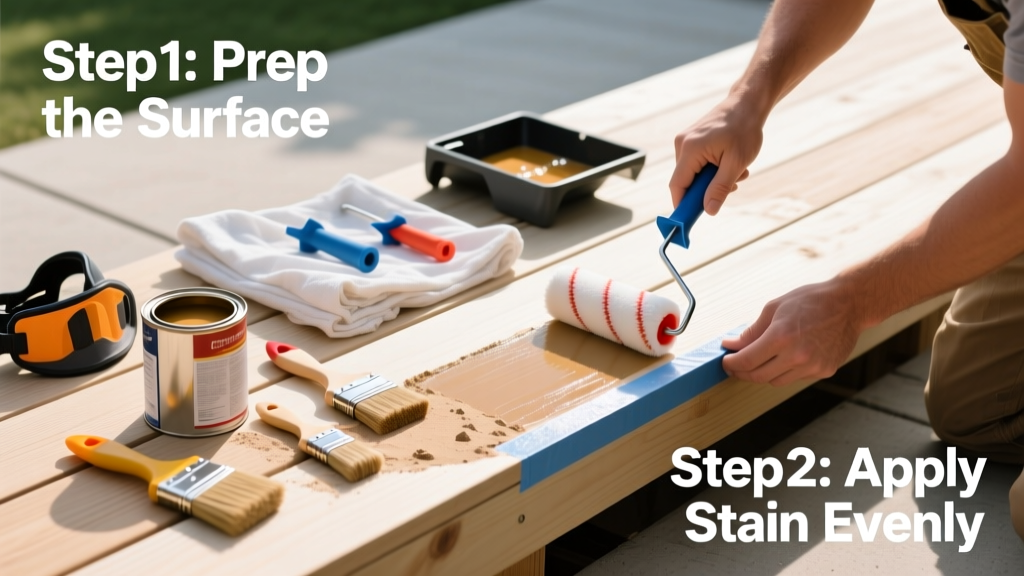
Staining a deck is a mid-skill outdoor maintenance task that takes 2–3 days (including drying time) and delivers 3–5 years of protection and curb appeal. It’s more forgiving than painting but less tolerant of rushed prep—so timing and surface readiness matter more than brush technique.
Overview
| Category | Details |
|---|---|
| Skill Level | Intermediate — requires attention to weather, wood moisture, and product compatibility |
| Time Required | 12–18 hours of active work across 3 days (prep: Day 1; stain: Day 2; touch-ups/dry: Day 3) |
| Tools Needed | Pressure washer (3000 PSI max), stiff-bristle brush, orbital sander (80–120 grit), paint rollers, 4-in foam brushes, caulk gun, drop cloths |
| Estimated Cost | $120–$320 for a 400 sq ft deck (stain: $45–$95/gal; cleaner: $25–$40; supplies: $30–$60) |
Tools & Materials
| Item | Specs/Notes | Why It Matters |
|---|---|---|
| Wood cleaner | Oxygen-based (e.g., Restore-A-Deck or Wolman Clean & Bright) | Removes grayed lignin without damaging wood fibers—unlike chlorine bleach, which weakens cellulose (U.S. Forest Service, 2021) |
| Wood brightener | 100% oxalic acid formula (e.g., BEHR Premium Wood Brightener) | Restores pH balance and opens pores for even absorption; skip this and you’ll get streaky, patchy results |
| Deck stain | Semi-transparent acrylic-oil hybrid (e.g., TWP 100 Series or DEFY Extreme) | Blocks UV rays while letting grain show; oil-only stains degrade faster in sun (Consumer Reports, 2022) |
| Application tools | 18-in roller frame + lambswool sleeve (for planks); 4-in angled foam brush (for rails/joints) | Rollers cover fast but leave lap marks; brushes control flow in corners where pooling occurs |
Step-by-Step Instructions
1. Test wood moisture and choose your window
Use a moisture meter—wood must read 12–15% (not higher). Check the forecast: no rain for 48 hours after staining, and temperatures between 50°F–90°F. Avoid staining in direct midday sun—it dries stain too fast, causing lap marks and poor penetration.
2. Clear, clean, and rinse thoroughly
Remove furniture, sweep debris, then apply wood cleaner per label instructions. Let it dwell 10–15 minutes—not longer—then pressure wash at 500–800 PSI with a 25° fan tip, moving parallel to grain. Rinse twice. Let dry 48 hours minimum. Warning: Never exceed 1,200 PSI on older decks—you’ll raise grain or gouge softwood.
3. Brighten and sand problem areas only
Apply brightener within 48 hours of cleaning. Spray evenly, scrub with stiff nylon brush, rinse immediately. Let dry 24 hours. Lightly sand splintered board ends or heavily worn rail caps with 120-grit paper—do not sand entire deck. Over-sanding closes pores and blocks stain absorption.
4. Apply stain with the “wet-on-wet” method
Stir stain constantly (not shake—it creates bubbles). Start at the farthest corner. Roll stain onto 2–3 boards, then immediately back-brush joints and edges with your foam brush to prevent buildup. Work in 4-ft sections, maintaining a wet edge. Wipe excess from railings and hardware with a lint-free rag before it skins over.
- Tip: Use painter’s tape on house siding—but remove it within 30 minutes. Leaving it on too long risks pulling off cured stain.
- Tip: If you see drips on vertical surfaces, lightly dab with a dry microfiber cloth—not a wet one.
Pro Tips
Most failed deck stains trace back to skipping prep—or using the wrong product for your wood species. Cedar and redwood contain tannins that bleed through many stains unless neutralized first. Pine and pressure-treated lumber absorb unevenly without proper brightening.
“The biggest mistake I see? People stain right after rain or morning dew. Even if the surface feels dry, trapped moisture pushes stain off the wood like oil on water.” — Carlos Mendez, 22-year deck restoration contractor, Pacific Northwest Deck Co. (2023)
Always do a test patch on an inconspicuous area—especially if re-staining over old product. Wait 48 hours to check for blotching or lifting. If the old stain is peeling, you’ll need to strip it first with a citrus-based stripper like Citristrip, not just clean and recoat.
- Avoid solid-color stains on high-traffic decks—they peel faster and hide wood defects that could indicate rot.
- Don’t mix brands: TWP and DEFY formulas aren’t compatible. Residue from one can repel the next coat.
How long does deck stain last?
Semi-transparent stains last 3–5 years on horizontal surfaces, 5–7 on vertical rails—assuming annual cleaning and no heavy foot traffic. Solid stains may last longer but require full removal before re-coating, per the how to strip deck stain process.
Can I stain over existing stain?
Yes—if the current stain is intact, clean, and fully bonded. Do the “tape test”: press strong packing tape onto several spots, rip off quickly. If stain lifts, you must strip or sand first. For best adhesion, always brighten before recoating—even over the same brand.
What’s the difference between oil-based and water-based stain?
Oil-based (e.g., TWP) penetrates deeper and resists mildew better in humid climates—but has stronger fumes and longer dry time (24–72 hrs). Water-based (e.g., Behr Premium) cleans up with soap/water and dries in 4–6 hours, but may require two coats for equal UV protection. The best deck stain for hot climates leans oil-based for heat resistance.
Do I need to seal after staining?
No—quality deck stains include built-in sealers. Adding a topcoat (like polyurethane) traps moisture and causes blistering. If your stain label says “no topcoat,” treat that as non-negotiable.
Why did my stain dry blotchy?
Three main causes: (1) applying over damp wood, (2) inconsistent application speed (letting edges dry before blending), or (3) staining in temps above 90°F. Blotching also appears when brightener isn’t rinsed completely—residual acid reacts with stain pigments.
How do I fix lap marks after staining?
You can’t fully erase them once cured. Prevention is key—but if they’re fresh (under 24 hrs), lightly dampen a microfiber cloth with mineral spirits and gently feather the edge. For cured marks, wait until next recoat cycle and sand *only* the raised lap line with 220-grit, then re-stain that board alone.
A well-stained deck doesn’t just look better—it extends the life of your investment by blocking UV degradation and slowing moisture absorption. Keep a log of your stain date and type, and inspect annually for wear patterns near stairs and seating zones. When you spot fading or water beading less readily, it’s time to refresh—not replace. For help choosing between semi-transparent and semi-solid options, see our semi-transparent vs semi-solid deck stain comparison.