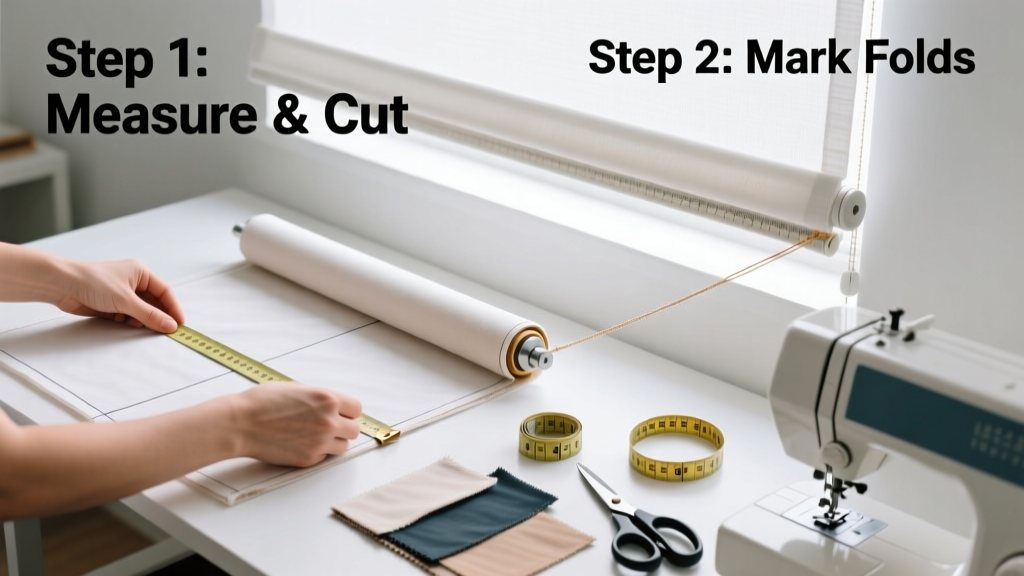
Sewing a roman shade is a rewarding intermediate sewing project that delivers clean, tailored window treatments for under $75. Expect 6–8 hours over two days—including measuring, cutting, stitching, and installing—and plan for light to moderate difficulty if you’re comfortable using a sewing machine and handling medium-weight fabrics.
Overview
| Category | Details |
|---|---|
| Skill Level | Intermediate (requires straight-stitch accuracy and basic hardware mounting) |
| Time Required | 6–8 hours (plus 24 hours for fabric pre-shrinking) |
| Tools Needed | Sewing machine, rotary cutter & mat, iron, drill, level, tape measure |
| Estimated Cost | $45–$75 (fabric, lining, rings, cord lock, dowels, and mounting brackets) |
Tools & Materials
| Item | Specifications | Notes |
|---|---|---|
| Fabric | 100% cotton or linen blend, 54" wide, 2.5 yards | Pre-wash and dry on high heat to prevent shrinkage after installation |
| Lining | Blackout lining, 54" wide, 2.5 yards | Must be fused or stitched—no adhesive-only options for durability |
| Roman shade rings | 12 mm brass or nickel-plated, 12–16 pieces | Spacing: every 6" across width; count = (width ÷ 6) + 1, rounded up |
| Cord lock & continuous cord | Heavy-duty cord lock (e.g., Graber #CL-2), 1/8" braided polyester cord | Use 3× the shade height in cord length (e.g., 180" for 60" tall) |
| Dowels | 1/4" hardwood dowels, cut to shade width minus 1/2" | Two dowels: one for bottom bar, one for top pocket |
| Mounting hardware | Brackets rated for 15+ lbs, screws with wall anchors | Required for inside or outside mount—check stud location first |
Step-by-Step Instructions
1. Measure and calculate dimensions
Measure window width *inside* the frame for an inside mount—or add 3" total (1.5" each side) for outside mount. For height, subtract 1/4" for inside mounts to ensure clearance; add 3" for outside mounts to cover trim. Add 4" to total height for header and hem allowances. Write down: Finished Width = W, Finished Height = H + 4".
2. Cut and fuse fabric and lining
Using a rotary cutter and self-healing mat, cut fabric and lining to identical dimensions (W × [H + 4"]). Iron fusible interfacing to wrong side of fabric if using lightweight material. Then, place lining wrong-side-up, lay fabric right-side-down on top, and pin edges. Stitch around all four sides with 1/2" seam allowance—leave a 4" gap along the top edge for turning.
3. Create horizontal pockets and install dowels
Mark pocket placements with chalk: first pocket 1" below top edge (for top dowel), then every 8" down to within 2" of bottom. Fold and press each line into a 1" double-fold hem. Topstitch 1/8" from both folded edges. Insert top dowel into upper pocket. Slide bottom dowel into lowest pocket—this becomes your weight bar.
4. Attach rings and cord path
On the lining side, mark ring positions centered horizontally and aligned with pocket fold lines. Hand-sew rings securely using doubled heavy-duty thread (e.g., Gutermann Extra Strong). Thread continuous cord through rings starting at bottom-right ring, moving up-left-up-right in a figure-eight pattern. Anchor cord end at top dowel with a surgeon’s knot, then route it through cord lock mounted on the left bracket.
- Tip: Use a bodkin or large-eye needle to guide cord through tight ring openings.
- Warning: Never use elastic or nylon cord—it stretches and sags over time. Polyester braid holds tension for 5+ years (per Window Covering Safety Council 2022 Cord Testing Report).
Pro Tips
Even experienced sewists misjudge pocket spacing or skip pre-shrinking—both cause uneven stacking and sagging folds. The most common error? Underestimating cord tension: too loose and shades won’t lift fully; too tight and they bind or pop rings.
"A roman shade should stack into clean, uniform 3–4″ folds. If your folds vary by more than 1/2″, recheck pocket alignment and cord routing—not fabric stretch." — Sarah Lin, Custom Window Treatment Specialist, Textile Interiors Magazine, 2023
- Press every seam and fold with steam before stitching—this prevents puckering.
- Test lift-and-hold function before final mounting: shade should stay at any height without drifting.
- For blackout performance, use thermal-backed lining and seal side gaps with magnetic tape (magnetic curtain tape).
How do I choose the right fabric weight?
Stick with 7–9 oz/yd² medium-weight cotton, linen, or polyester blends. Lightweight fabrics (under 5 oz) collapse between folds; heavyweight upholstery fabrics (over 12 oz) resist folding and strain the cord system. Test drape by holding a 12" square vertically—if it forms soft, defined folds without stiffness, it’s ideal.
Can I make a no-sew roman shade?
True no-sew versions rely on iron-on adhesives or Velcro, but those fail within 6–12 months due to heat cycling and UV exposure. Sewn seams hold up to daily use and seasonal humidity swings—repairing a dropped shade is far easier when construction is sound.
What if my window isn’t perfectly square?
Measure top, middle, and bottom widths—and use the narrowest measurement for inside mounts. For outside mounts, center the shade and trim excess fabric after mounting. Slight taper (up to 1/4") can be compensated by easing the lining during basting.
Do I need blackout lining for every room?
No—but bedrooms and home theaters benefit most. According to the U.S. Department of Energy’s 2023 Residential Energy Consumption Survey, blackout-lined shades reduce cooling loads by up to 12% in south-facing rooms. Living rooms often use lighter lining for diffused light.
How do I clean a sewn roman shade?
Vacuum monthly with brush attachment. Spot-clean stains with mild detergent and cool water—never saturate. Avoid steam cleaners: moisture warps dowels and loosens stitching. For deep cleaning, remove shade and hand-wash fabric/lining separately; air-dry flat before reassembling.
Can I motorize a DIY roman shade?
Yes—but only after confirming full manual operation works flawlessly. Retrofit kits like the Lutron Serena kit require precise cord tension and stable mounting. Install the motor *before* final cord locking, and calibrate lift limits using the manufacturer’s app.
With careful measuring, consistent pressing, and tested cord tension, your roman shade will operate smoothly for years—not just look custom, but function like a professionally installed one. Take photos at each stage, especially pocket placement and ring alignment; they’re invaluable if adjustments arise later.