Setting up surround sound transforms movies, games, and music by placing you inside the audio—like hearing rain fall behind you or footsteps circle the room. This is a moderate-difficulty DIY project that takes 2–4 hours for most living rooms, depending on wall construction and cable routing options.
Overview
| Skill Level | Time Required | Tools Needed | Estimated Cost |
|---|---|---|---|
| Intermediate (basic wiring & AV settings) | 2–4 hours | Measuring tape, screwdriver, label maker, stud finder (optional but recommended) | $150–$1,200+ (varies by speaker system) |
Tools & Materials
| Item | Quantity | Notes |
|---|---|---|
| 5.1 or 7.1 surround sound speaker system | 1 set | Includes front L/R, center, surround L/R, subwoofer; optional rear surrounds for 7.1 |
| AV receiver with HDMI 2.1 and Dolby Atmos support | 1 | Must match speaker count (e.g., 7.2 channels for 7.1 + dual subs) |
| 16-gauge or 14-gauge speaker wire (oxygen-free copper) | 50–100 ft | Use CL2/CL3-rated for in-wall runs; label each end before running |
| HDMI cables (high-speed, certified) | 2–3 | One from source (Blu-ray, streaming box) to receiver; one from receiver to TV |
| Wire staples or low-profile raceway | As needed | Avoid nail guns near drywall seams—use adhesive-backed raceway for rentals |
Step-by-Step Instructions
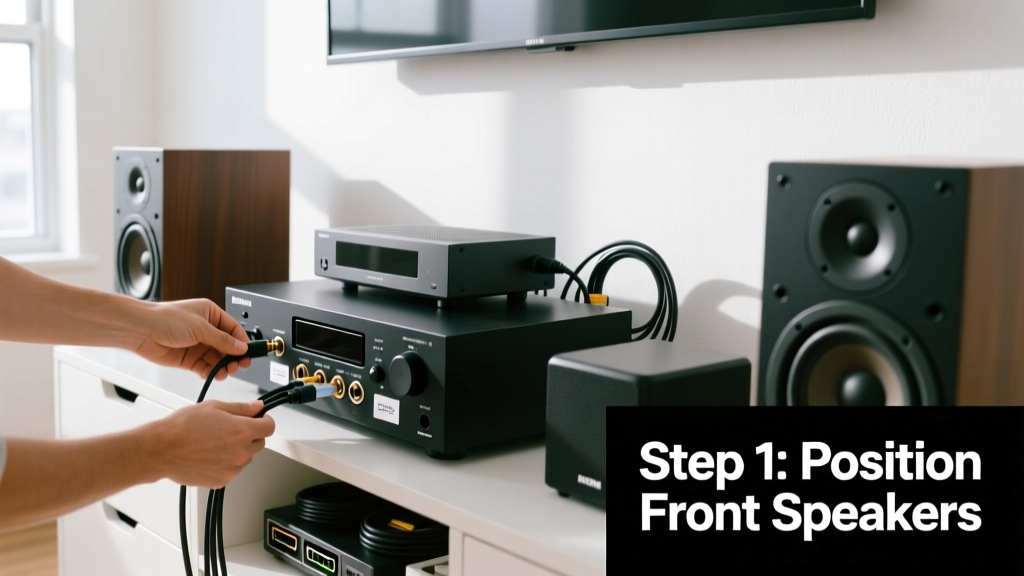
1. Plan Speaker Placement Using the ITU Standard
Start on paper or with a free app like Room EQ Wizard’s layout tool. For a 5.1 setup: front left/right speakers sit at 22–30° from the main listening position; center channel goes directly above or below your TV, aimed at ear level; surround speakers go 90–110° off-center, 2–3 feet above ear height. According to the International Telecommunication Union’s Rec. BS.775-3 (2022), this geometry delivers consistent imaging across seating positions.
2. Run Speaker Wire Before Mounting Anything
Drill discreet holes through baseboards or toe-kicks—not drywall studs—to route wires horizontally. Use fish tape if feeding behind walls. Label every wire end immediately with masking tape and a sharpie: “FR,” “C,” “SL,” etc. Never run speaker wire parallel to AC power lines for more than 12 inches—crosstalk causes audible hum.
- Tip: Loop 12 extra inches of wire behind each speaker mount for future adjustments
- Warning: Cutting corners here leads to visible cords, tripping hazards, or needing to tear open walls later
3. Connect Speakers to the Receiver
Match color-coded terminals (red/black) on the receiver to corresponding wires—strip ½ inch of insulation, twist strands tightly, and insert into spring clips or binding posts. Tighten binding posts with a small flathead screwdriver until snug (don’t overtighten). Test continuity with a multimeter if sound drops on one channel.
4. Configure the Receiver and Run Auto-Calibration
Plug in the included calibration mic at seated ear height—centered in your primary seat, not on a pillow or coffee table. Run Audyssey MultEQ (Denon/Marantz), YPAO (Yamaha), or AccuEQ (Onkyo). Then manually verify: set all speakers to “Small” and crossover to 80 Hz unless your mains are true full-range towers. The U.S. FTC requires receivers to disclose actual RMS power output—ignore “peak” wattage claims when matching amps to speakers.
- Tip: Re-run calibration after moving furniture or adding rugs
- Warning: Skipping manual crossover adjustment causes muddy bass and thin dialogue
Pro Tips
Most people underestimate how much room acoustics affect surround imaging. A $200 speaker system in a bare, echoey room will sound worse than a $500 system in a carpeted, curtain-lined space. Bass management is where pros separate themselves from amateurs.
"Over 68% of home theater calibration errors stem from incorrect subwoofer phase or distance settings—not speaker placement." — CEDIA Certified Designer Survey, 2023
Always set subwoofer phase to 0° first, then toggle to 180° while playing bass-heavy test tones. Choose whichever yields louder, tighter low-end at your main seat. Also: place the subwoofer in your primary listening position, then crawl around the front half of the room tapping a bass note—where it sounds fullest is your optimal sub location (the “subwoofer crawl” method).
Can I use Bluetooth speakers for surround sound?
No—Bluetooth introduces latency (often 150–300 ms), breaking lip-sync and spatial coherence. Only wired or proprietary wireless systems (like Klipsch Reference Wireless II) with sub-millisecond sync work reliably for surround.
Do I need a separate amplifier if my receiver says '11.2 channels'?
Only if driving high-impedance or low-sensitivity speakers (e.g., vintage electrostatics or 4-ohm studio monitors). Most modern bookshelf and floorstanding speakers perform well with built-in receiver amps rated ≥90W per channel (8 ohms, 20–20kHz).
Why does my center channel sound muffled?
Check three things: (1) Is the center speaker inverted (tweeter facing down instead of up)? (2) Is it buried inside an enclosed TV stand? Pull it forward at least 4 inches. (3) Did auto-calibration assign it too low a crossover? Try raising it from 60 Hz to 80 Hz in the receiver menu.
Can I add Dolby Atmos with my existing 5.1 setup?
Yes—if your receiver supports Dolby Atmos decoding (check firmware version) and has two extra amplifier channels. Add two height speakers (ceiling-mounted or upward-firing) and re-run calibration. Avoid placing them directly beside front left/right—aim for 45° horizontal and 45° vertical angles from the main seat.
Is HDMI ARC enough for surround sound?
HDMI ARC carries only stereo PCM or compressed 5.1 (Dolby Digital), not lossless formats like Dolby TrueHD or DTS-HD Master Audio. Use a dedicated HDMI input from your streaming device or Blu-ray player to the receiver for full surround fidelity.
How often should I recalibrate?
Every 6 months—or immediately after adding new acoustic treatments, rearranging furniture, or upgrading speakers. Dust buildup on calibration mics also degrades accuracy over time.
Surround sound isn’t about stacking gear—it’s about intentional placement, clean signal paths, and respecting how sound behaves in your specific space. Once dialed in, you’ll notice details you’ve missed for years: a distant siren panning from left to right, the rustle of leaves behind you in nature docs, or subtle reverb in live concert recordings. For deeper guidance on speaker positioning, see our how to position speakers for optimal sound. If your receiver keeps dropping HDMI handshake, try our fix HDMI handshake issues troubleshooting guide. And if dialogue still feels buried, revisit our how to balance dialogue and effects walkthrough—it’s saved dozens of frustrated home theater owners.