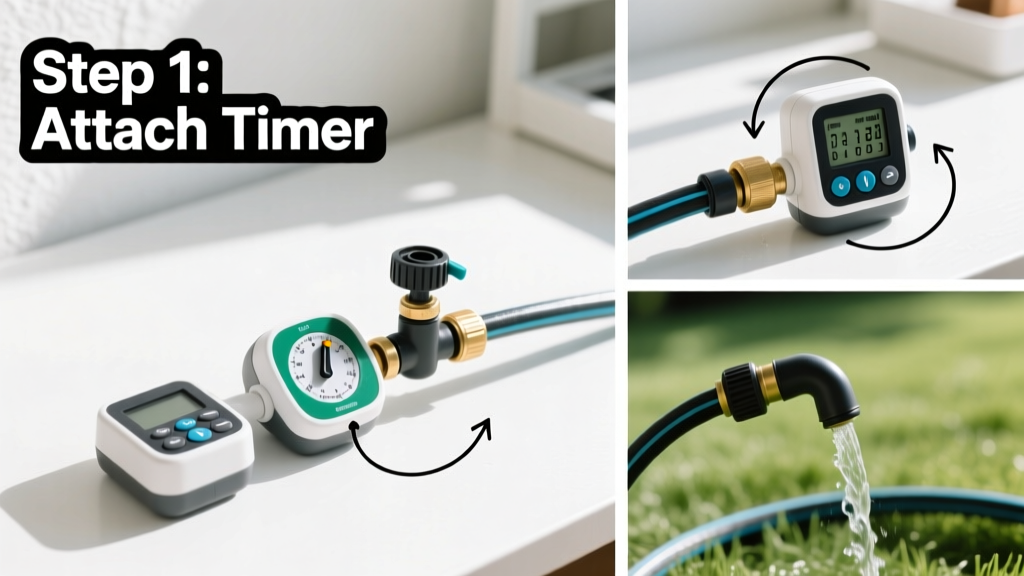
Setting up a sprinkler timer is a practical skill that takes under 30 minutes once you understand the wiring, programming logic, and local watering restrictions. It’s beginner-friendly—no electrician needed—but requires attention to valve timing, zone sequencing, and seasonal adjustments.
Overview
| Skill Level | Time Required | Tools Needed | Estimated Cost |
|---|---|---|---|
| Beginner (basic electrical safety awareness) | 20–45 minutes | Screwdriver, wire strippers, multimeter (optional), pencil & paper | $25–$120 (timer unit; basic models start at $25) |
Tools & Materials
| Item | Notes | Where to Find It |
|---|---|---|
| Programmable sprinkler timer (e.g., Rain Bird ESP-Me, Orbit B-hyve, or Rachio 3) | Choose indoor/outdoor rated; ensure it supports your number of zones (most homes need 4–8) | Home improvement stores or best sprinkler timers |
| 18–22 AWG stranded irrigation wire | Use direct-burial rated if running underground; 7-conductor common + zone wires recommended | Garden centers or irrigation wire guide |
| Wire nuts (UL-listed, waterproof-rated) | Size #10–#12 for most residential solenoid valves | Hardware aisle — not standard electrical nuts |
| Valve box (if mounting timer near valves) | Prevents moisture damage; use lockable for rental properties | Landscaping supply outlets |
Step-by-Step Instructions
1. Power down and identify your system layout
Turn off power to your existing timer at the circuit breaker—even battery-backed units may hold residual charge. Locate your valve manifold: count each solenoid valve (one per zone) and note its label (e.g., “Front Lawn,” “East Beds”). Sketch a simple map showing zones, valve numbers, and distances from timer location.
2. Mount and wire the timer
Mount the timer indoors (garage, utility closet) or in a weatherproof outdoor enclosure. Strip ½" of insulation from each wire end. Connect common (white or black) wire to the “COM” terminal. Attach zone wires one at a time to numbered terminals (Zone 1, Zone 2, etc.), matching your sketch. Tighten screws firmly—loose connections cause intermittent zone failures.
- Tip: Label wires with masking tape *before* stripping—color-coding prevents miswiring.
- Warning: Never connect zone wires to the “Master Valve” terminal unless your system has a dedicated master valve (common in commercial setups).
3. Program start times and run durations
Set current date/time using the menu buttons. For each zone, assign: (a) start time (e.g., 5:30 AM), (b) run time (e.g., 8 minutes for rotor zones, 12 minutes for spray heads), and (c) days of week. Avoid overlapping start times—valves can’t open simultaneously on most single-transformer systems.
- Tip: Start conservatively: 6–10 minutes per zone. Adjust upward only if soil remains dry 2 hours after watering.
- Warning: Don’t exceed 30 minutes per zone—runoff wastes water and erodes soil.
4. Test and verify operation
Switch to manual mode. Activate each zone individually and confirm the correct sprinkler heads pop up and spray evenly. Use a bucket test: place identical buckets across a zone, run for 5 minutes, then measure depth. Consistent depth = even coverage. Inconsistent depth means clogged nozzles or misaligned heads—not timer issues.
Pro Tips
Seasonal adjustment isn’t optional—it’s essential. According to the U.S. EPA’s 2023 WaterSense report, households using programmable timers with seasonal schedules reduce outdoor water use by up to 15% compared to fixed settings.
“Most failed timers aren’t broken—they’re misprogrammed. Always reset to factory defaults before reprogramming, especially after power outages.” — Greg Linville, Irrigation Technician, California Urban Water Conservation Council (2022)
Avoid these common mistakes: skipping the bucket test (leads to over/under-watering), setting all zones to run daily (lawns rarely need daily watering), and ignoring local watering ordinances (many cities restrict midday use or limit frequency).
Why does my timer show ‘ERR’ or flash zone numbers?
This usually indicates a short circuit or open wire. Disconnect all zone wires, then reconnect one at a time while testing. If the error returns with a specific zone, inspect that valve’s wiring and solenoid coil with a multimeter (should read 20–60 ohms). Replace faulty solenoids—don’t bypass them.
Can I add smart features to an older timer?
Yes—but only if it has a 24V AC output and dry-contact terminals. Devices like the smart sprinkler controllers can retrofit many legacy timers via relay interface. Check compatibility with your model’s manual first.
How often should I update timer settings?
Adjust every 3–4 weeks during growing season (April–September). Reduce run times by 25% after rainfall exceeds 0.5 inches. Use a rain gauge—not weather apps—for accuracy.
Do I need a rain sensor?
Yes—if your city requires it (e.g., Florida, California) or if you want automatic shut-off. Hardwire it between transformer and timer, or use wireless models compatible with your brand. The Insurance Institute for Business & Home Safety’s 2023 report found rain sensors prevent 22% of unnecessary watering cycles.
What if a zone won’t turn on, but others do?
First, swap the suspect zone wire with a working one at the timer terminal. If the problem moves, it’s a wiring issue. If not, test voltage at the valve—no 24V AC means timer output failure. If voltage is present, the solenoid or valve diaphragm is likely stuck.
Can I run multiple timers on one system?
Technically yes—but not recommended. Multiple timers create conflicting signals and increase transformer load. Instead, upgrade to a timer with more zones (e.g., 12-station Rachio) or install a zone expander module compatible with your model.
A properly set-up sprinkler timer pays for itself in water savings within one season—and keeps your grass green without guesswork. Revisit your settings each spring and fall, and treat your timer like any other appliance: clean its vents, check battery backups annually, and update firmware when prompted. You’ll gain control, conserve resources, and spend less time troubleshooting leaks or brown patches.