Setting up a smoke detector is a foundational home safety skill—moderate difficulty, under 30 minutes per unit, and requires no electrical license for battery-operated models. Hardwired units take slightly longer and benefit from a licensed electrician if you’re unfamiliar with household circuits.
Overview
| Skill Level | Time Required | Tools Needed | Estimated Cost |
|---|---|---|---|
| Beginner (battery) / Intermediate (hardwired) | 15–25 min (battery) / 30–45 min (hardwired) | Drill, screwdriver, ladder, pencil, voltage tester (hardwired only) | $15–$45 per unit (ionization vs. photoelectric vs. dual-sensor) |
Tools & Materials
| Item | Battery-Powered Unit | Hardwired Unit |
|---|---|---|
| Smoke detector | ✓ UL-listed 9V or 10-year sealed battery model | ✓ UL-listed AC-powered unit with battery backup |
| Mounting hardware | Included mounting bracket + screws & anchors (drywall or ceiling) | Included bracket + screws; junction box must be accessible and rated for ceiling use |
| Power tools | Drill (for pilot holes), level, pencil | Drill, voltage tester, wire strippers, wire nuts, screwdriver |
| Safety gear | Sturdy step ladder (6-ft minimum), safety glasses | Same + insulated gloves when testing live wires |
Step-by-Step Instructions
1. Choose the right location
Install detectors high on walls (within 12″ of ceiling) or directly on ceilings—avoid corners (dead air space) and within 3 ft of HVAC vents, fans, or windows. Place one inside each bedroom, outside every sleeping area, and on every level—including basements. According to the National Fire Protection Association’s NFPA 72 (2023), interconnected units provide the earliest warning: if one sounds, all sound.
2. Prepare the mounting surface
Clean the ceiling or wall area with rubbing alcohol to remove dust and grease. Mark the bracket’s screw holes using a pencil and level. For drywall or plaster, use plastic anchors rated for 20+ lbs unless mounting into a ceiling joist (locate with a stud finder). Never mount on acoustic tile or suspended ceilings without manufacturer approval.
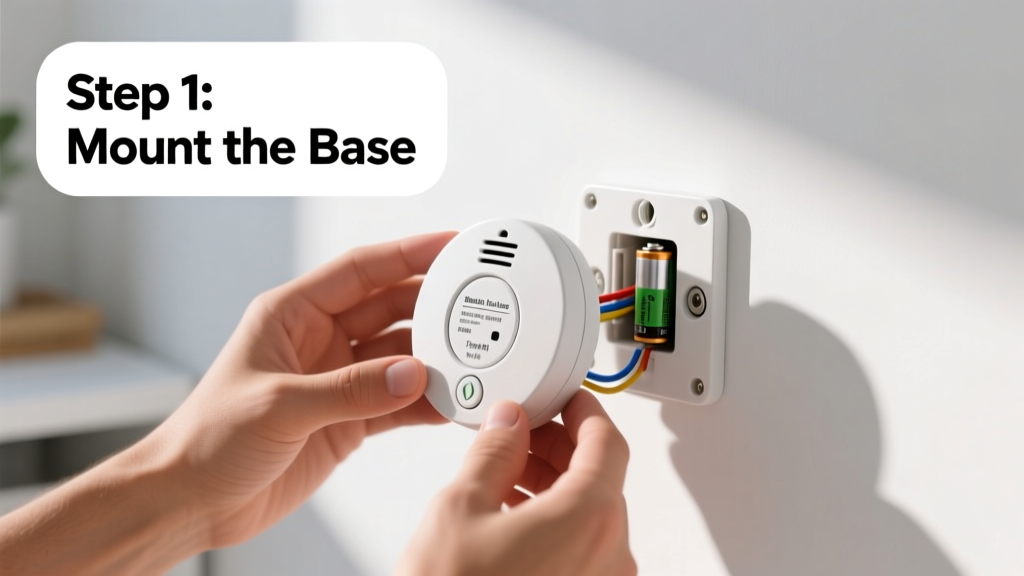
3. Mount the base and connect (if hardwired)
For battery units: secure the mounting bracket with screws and anchors. For hardwired units: turn off power at the breaker, verify with a non-contact voltage tester, then connect black (hot), white (neutral), and orange/red (interconnect) wires using UL-listed wire nuts. Tuck wires neatly into the junction box before attaching the base.
4. Attach detector and test immediately
Align the detector with the bracket and twist or snap into place. Insert batteries (or restore power for hardwired units). Press and hold the test button for 5 seconds—expect a loud, pulsing alarm. If silent, recheck battery orientation or wiring continuity. Test monthly and replace batteries annually—or as indicated by chirping (every 30–60 sec).
Pro Tips
Interconnection is non-negotiable for whole-home coverage. Wireless interconnect models (like Kidde RF series or First Alert SCO500CN) eliminate running wires but require compatible units. Avoid painting over detectors—paint clogs sensors and voids UL certification.
"Nearly 60% of home fire deaths between 2018–2022 occurred in homes with no smoke alarms or non-working alarms." — U.S. Fire Administration, Home Structure Fires Report 2023
- Replace all smoke detectors every 10 years—even if they seem functional. Sensors degrade silently.
- Use photoelectric detectors near kitchens and bathrooms to reduce nuisance alarms from steam or cooking smoke.
- Label each detector’s location and installation date on the back with permanent marker.
Where should I install a smoke detector in a finished basement?
Mount on the ceiling near the bottom of the stairs leading upstairs—and add a second unit midway along a long basement ceiling (over 30 ft). Basements often contain furnaces, water heaters, and stored flammables, making early detection critical. See our guide on how to wire smoke detector for multi-level interconnect setups.
Can I replace a hardwired smoke detector with a battery-only model?
No—not safely. Removing a hardwired unit leaves exposed live wires in the ceiling box. Cap wires with wire nuts and cover the box with a blank faceplate, then install the battery unit nearby per NFPA spacing rules. Better yet: replace with a like-for-like hardwired unit or consult an electrician. Learn more about safe smoke detector wiring diagram standards.
Why does my smoke detector chirp randomly?
A single chirp every 30–60 seconds almost always means low battery (even in 10-year sealed units nearing end-of-life). Less commonly, it signals sensor contamination (dust, insects) or humidity interference. Vacuum the exterior vents gently with a soft brush attachment. Never ignore chirping—it’s your last warning before failure.
Do I need both smoke and carbon monoxide detectors?
Yes. Smoke detectors sense fire particles; CO detectors sense odorless, colorless gas from faulty heating systems or generators. The International Residential Code (IRC R315.2, 2021) requires CO alarms outside each sleeping area and on every level. Install them 5–20 ft from fuel-burning appliances—but not directly above or beside them.
How do I test interconnected smoke detectors?
Press the test button on any unit for 5 seconds. All units should sound within 10 seconds. If some stay silent, check interconnect wiring (hardwired) or pairing status (wireless). Reset wireless units per manufacturer instructions—some require holding buttons for 10+ seconds. Refer to our smoke detector troubleshooting checklist for signal-loss fixes.
Once installed and tested, your smoke detectors become silent guardians—not just equipment. Revisit them every six months during daylight saving time changes: test, vacuum, and document. That small habit cuts your risk of fire-related injury by nearly half, according to CDC injury prevention data. Stay alert, stay safe.