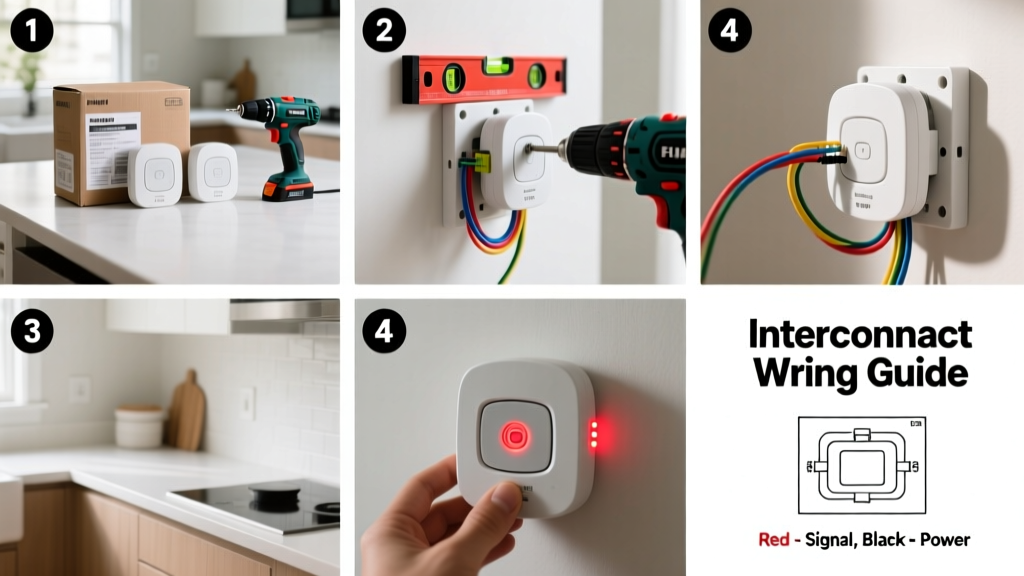
Setting up interconnected smoke alarms means when one detects smoke, all alarms in your home sound simultaneously—giving you critical extra seconds to escape. This is a moderate-difficulty electrical task that takes 2–4 hours for a typical 3-story home with six alarms. No prior wiring experience is required, but comfort using a voltage tester and basic hand tools is essential.
Overview
| Skill Level | Time Required | Tools Needed | Estimated Cost |
|---|---|---|---|
| Moderate (basic wiring) | 2–4 hours | Voltage tester, screwdrivers, wire strippers, ladder | $85–$220 (alarms + materials) |
Tools & Materials
| Item | Quantity | Notes |
|---|---|---|
| Interconnect-compatible smoke alarms (hardwired or battery-powered) | Minimum 3 units | Must share same manufacturer & model series (e.g., Kidde PI2010 or First Alert SA320CN) |
| 14/3 NM-B cable (for hardwired) | Per circuit run | Black (hot), white (neutral), red (interconnect) |
| Wire nuts (red or yellow) | 6–10 | UL-listed, rated for 2–3 #14 AWG wires |
| Electrical box extensions (if replacing old boxes) | As needed | Required if existing boxes lack depth for new alarm bases |
| 9V alkaline batteries (for backup) | 1 per alarm | Even hardwired units need backup power per NFPA 72-2023 |
Step-by-Step Instructions
1. Verify compatibility and plan alarm locations
Check each alarm’s packaging or manual for “interconnect-ready” labeling—and confirm they’re from the same product family. Map locations: install one alarm inside each bedroom, one outside each sleeping area, and one on every level—including basements. Avoid placing within 36 inches of HVAC vents or corners where airflow stagnates. According to the National Fire Protection Association’s NFPA 72-2023, interconnected alarms reduce fire-related fatalities by up to 50% compared to standalone units.
2. Turn off power and test circuits
Shut off the correct breaker at your main panel—then verify no voltage is present at each ceiling box using a non-contact voltage tester. Test both hot and neutral wires. Never assume the breaker label is accurate; mislabeled panels cause over 20% of DIY electrical injuries (Electrical Safety Foundation International, 2022 Residential Incident Report).
3. Run interconnect wiring (hardwired) or pair devices (wireless)
For hardwired systems: Feed 14/3 cable from the first alarm location to the second, then daisy-chain to all others. Cap the red (interconnect) wires together at each junction box using UL-listed wire nuts. For wireless systems: Press and hold the “Hush/Test” button for 10 seconds on the master unit until it chirps twice—then repeat on each slave unit within 60 seconds. Confirm pairing via LED indicator pattern (e.g., alternating green/red flash).
- Hardwired tip: Use cable staples every 4.5 feet and leave 8 inches of slack at each box.
- Wireless tip: Keep units within 150 ft line-of-sight; concrete walls cut range by ~60%.
4. Mount bases, connect wires, and install alarms
Secure mounting bases to boxes using supplied screws. Connect black to black (hot), white to white (neutral), and red to red (interconnect) at each base—tighten wire nuts until no copper is visible. Snap alarms onto bases. Insert fresh 9V batteries even in hardwired models. Then press and hold the test button for 5 seconds on any unit: all alarms should sound within 2 seconds.
- Warning: Never mix hardwired and battery-only interconnect models—even from the same brand.
- Warning: Do not use aluminum wire for interconnect; only copper #14 AWG is approved.
Pro Tips
Interconnection isn’t just about convenience—it’s about survivability. The U.S. Fire Administration reports that 70% of home fire deaths occur in homes without working smoke alarms or with alarms that aren’t interconnected.
“If your home has multiple levels or closed doors, standalone alarms create dangerous silence zones. Interconnect closes that gap—and it’s the single most cost-effective upgrade you can make to your fire safety system.” — Carla D’Angelo, NFPA Public Education Division, 2023
Avoid these top three mistakes: (1) Using mismatched alarm generations (e.g., 2018 model paired with 2022 firmware), (2) Skipping the end-of-line resistor check on hardwired systems (causes false alarms), and (3) Installing alarms too close to kitchen or bathroom doors (steam and cooking aerosols trigger nuisance alarms).
Can I interconnect alarms from different brands?
No. Interconnect protocols are proprietary. Even if two brands use a red wire, their signaling voltage and pulse timing differ. Attempting cross-brand interconnect often results in no response—or random chirping. Stick with one manufacturer’s ecosystem. For replacement scenarios, see our guide on how to replace smoke alarm batteries.
Do I need an electrician for hardwired interconnect?
You don’t legally require one in most U.S. jurisdictions for simple daisy-chaining—but local codes vary. If your home was built before 1999, older wiring may lack grounding or proper box depth. When in doubt, hire a licensed electrician for the first alarm; then finish the rest yourself. Review your state’s rules in the 2023 International Residential Code Appendix E.
Why does my wireless interconnect keep losing sync?
Battery voltage below 7.2V disrupts radio transmission. Replace all batteries at once—even if some read “OK” on the tester. Also check for interference: LED light drivers, Wi-Fi 6E routers, and smart meter transmitters operating near 2.4 GHz can desensitize receivers. Try relocating one alarm 3 feet away from recessed lighting.
How often should I test interconnected alarms?
Test monthly by pressing the test button on any unit—confirming all sound. Vacuum alarm vents every 6 months to prevent dust buildup. Replace all units every 10 years, regardless of function. Per Underwriters Laboratories (UL 217, 2022), sensor sensitivity degrades measurably after 84 months.
Can I add a new alarm to an existing interconnect system?
Yes—if it’s the same model and generation. For hardwired: splice into the nearest red interconnect wire using a pigtail and wire nut. For wireless: enter “add device” mode on the master unit (usually a 3-second button sequence), then activate the new unit. Always re-test the full chain afterward. See our article on how to troubleshoot smoke alarm beeping if chirping persists.
What if my home has both hardwired and battery-only alarms?
You’ll need to upgrade or replace. Hardwired alarms with interconnect capability (like the Kidde i12040AC) include a wireless interconnect bridge that lets battery units join the network. Alternatively, replace all units with a unified wireless system—just ensure your local code permits it (most do for retrofits, per IRC R314.3.2).
Interconnected smoke alarms are one of those upgrades that quietly reshape your home’s safety baseline. Once installed, they work silently in the background—until the moment they don’t. That split-second advantage across floors and rooms? It’s not theoretical. It’s measured in lives saved. Take the time now. Your future self—and your family—will thank you. For ongoing maintenance, refer to our how to clean smoke detectors guide to keep sensors responsive year after year.