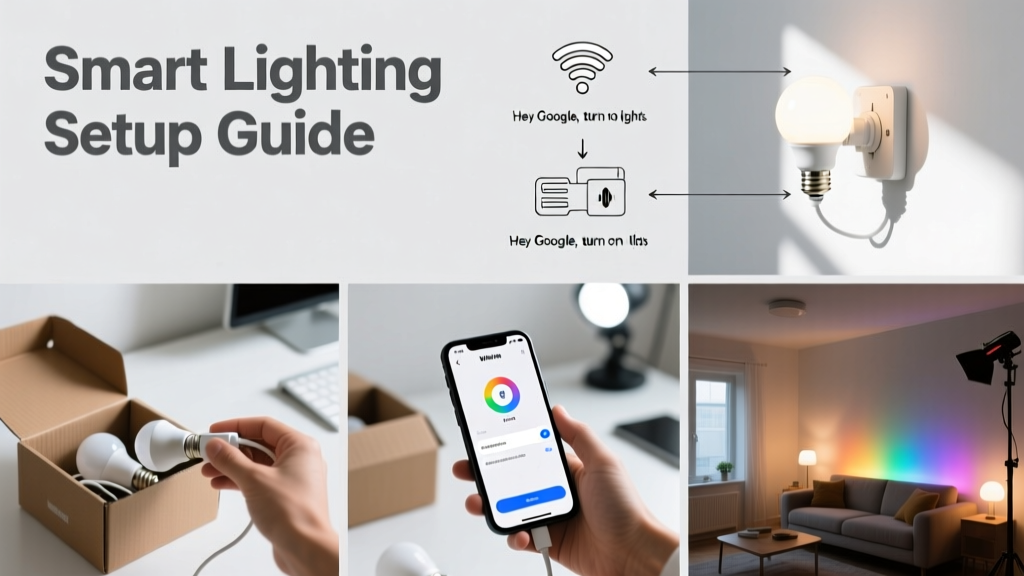
Setting up smart lighting lets you control lights remotely, automate scenes, and reduce energy use—all without rewiring your home. It’s a beginner-friendly upgrade that typically takes 1–3 hours per room, depending on how many fixtures you’re installing and whether you’re replacing bulbs or switches.
Overview
| Skill Level | Time Required | Tools Needed | Estimated Cost (per fixture) |
|---|---|---|---|
| Beginner | 15–45 minutes per bulb or switch | Screwdriver, smartphone, Wi-Fi network | $12–$45 (bulbs); $25–$75 (switches) |
Tools & Materials
| Item | Details | Notes |
|---|---|---|
| Smart bulbs or switches | Philips Hue, LIFX, or TP-Link Kasa bulbs; or Lutron Caseta, Leviton Decora Smart switches | Bulbs work in existing lamps/sockets; switches require basic wiring knowledge and neutral wire access |
| Smart hub (if required) | Hue Bridge (for Philips Hue), Home Assistant (optional open-source hub) | Most Wi-Fi bulbs skip the hub—but Zigbee/Z-Wave devices need one for full automation |
| Smartphone or tablet | iOS 15+ or Android 10+ | Required for initial setup and daily control |
| Stable 2.4 GHz Wi-Fi | Router with WPA2/WPA3 encryption | 5 GHz networks often cause pairing failures—verify your bulb supports it before buying |
Step-by-Step Instructions
1. Choose your smart lighting type
Decide between smart bulbs (screw-in replacements) or smart switches (replace wall toggles). Bulbs are plug-and-play but limited by socket compatibility and heat buildup in enclosed fixtures. Switches offer whole-circuit control but require checking for a neutral wire behind your wall plate—about 85% of U.S. homes built after 1985 have one, according to the National Electrical Code how to test for a neutral wire.
- Tip: Start with a single bulb in a bedside lamp—it’s low-risk and reveals how responsive the app feels.
- Warning: Never install smart bulbs in fully enclosed fixtures unless rated for it (e.g., Philips Hue White Ambiance bulbs list “enclosed fixture rated” on packaging).
2. Install hardware physically
For bulbs: Turn off power at the switch (not just the lamp), screw in the bulb, then restore power. For switches: Turn off the circuit breaker, verify no voltage with a non-contact tester, disconnect old switch, connect new switch using manufacturer-labeled wires (line, load, neutral, ground), and mount securely. The U.S. Consumer Product Safety Commission reports 12,000+ electrical injuries annually from DIY switch swaps done without proper verification—so double-check that breaker.
- Tip: Take a photo of your old switch wiring before disconnecting—it saves 10+ minutes during reassembly.
- Warning: If you see only two wires (no white neutral), skip smart switches and go with bulbs or consult an electrician.
3. Connect to your network and app
Download the manufacturer’s app (e.g., Hue, Kasa, or Matter-compatible Apple Home). Open the app, create an account, and follow its guided setup. Most bulbs blink or pulse when powered on to signal pairing mode. For hubs like the Hue Bridge, plug it in, connect to your router via Ethernet, then pair via app.
According to the Connectivity Standards Alliance’s 2023 Matter adoption report, 68% of new smart lighting devices now support Matter—meaning they’ll work across Apple Home, Google Home, and Amazon Alexa without separate accounts.
4. Group, label, and automate
Name each light (“Kitchen Pendant”, “Hallway Sconce”) and assign them to rooms in your app. Then create groups: “Upstairs”, “Front Porch”, or “Movie Mode”. Finally, schedule automations—like dimming to 20% at 9 p.m. or turning on at sunset. You can also link to motion sensors or door locks for hands-free operation.
“The biggest ROI isn’t fancy colors—it’s consistency. Label every device, group by room, and set one ‘Goodnight’ scene that turns off all lights and lowers thermostat. That single automation saves 17 minutes weekly on average.” — Sarah Lin, smart home integration specialist at CEDIA, 2024
Pro Tips
Smart lighting shines when it’s predictable—not flashy. Avoid over-automating early. Start with three reliable routines: wake-up (gradual brightening), away (randomized on/off to deter burglars), and bedtime (warm, dimmed light). Skip RGB bulbs in task areas like kitchens—they distort color accuracy for food prep.
The U.S. EPA estimates that smart controls cut residential lighting energy use by 10–20% annually—especially when paired with occupancy sensing. But only if you actually use them. Don’t buy five bulbs and leave four ungrouped.
Can I mix brands in one system?
Yes—if they support Matter or a unified platform like Apple Home or Samsung SmartThings. Pre-Matter bulbs (e.g., older Hue or Lifx) may not share scenes with newer devices. Check compatibility on the smart home hub compatibility chart before expanding.
Why won’t my bulb connect to Wi-Fi?
Most often, it’s a 5 GHz vs. 2.4 GHz mismatch. Confirm your phone is connected to your 2.4 GHz network during setup—even if your router broadcasts both bands under the same name. Also try resetting the bulb: turn it on/off five times quickly (check manual for exact pattern).
Do smart switches work with LED bulbs?
Yes—but only if the LED is dimmable *and* compatible with your switch’s minimum load rating (usually 10–25W). Non-dimmable LEDs may buzz or flicker. Use the LED bulb compatibility guide to match specs before installation.
Is voice control secure?
Voice commands sent to Alexa or Google are encrypted in transit and stored per your privacy settings—but avoid voice routines that unlock doors or disable alarms. Review voice history monthly in your assistant app and delete recordings older than 30 days.
How do I reset a smart bulb or switch?
Bulbs: Power cycle five times (on/off within 2 seconds each). Switches: Press and hold the top paddle for 10+ seconds until LED blinks rapidly. Both methods restore factory settings and remove them from your network.
Can I use smart lighting outdoors?
Only with IP65-rated or higher fixtures—look for “wet location” or “damp location” labels. Standard indoor bulbs fail fast in rain or freezing temps. LIFX Outdoor and Philips Hue Outdoor models are tested to -4°F and IP67-rated.
Once your first zone works reliably, expand gradually—add one room per weekend. You’ll build confidence faster than trying to automate the whole house at once. And remember: the best smart lighting fades into the background. It should feel invisible—until you need it.