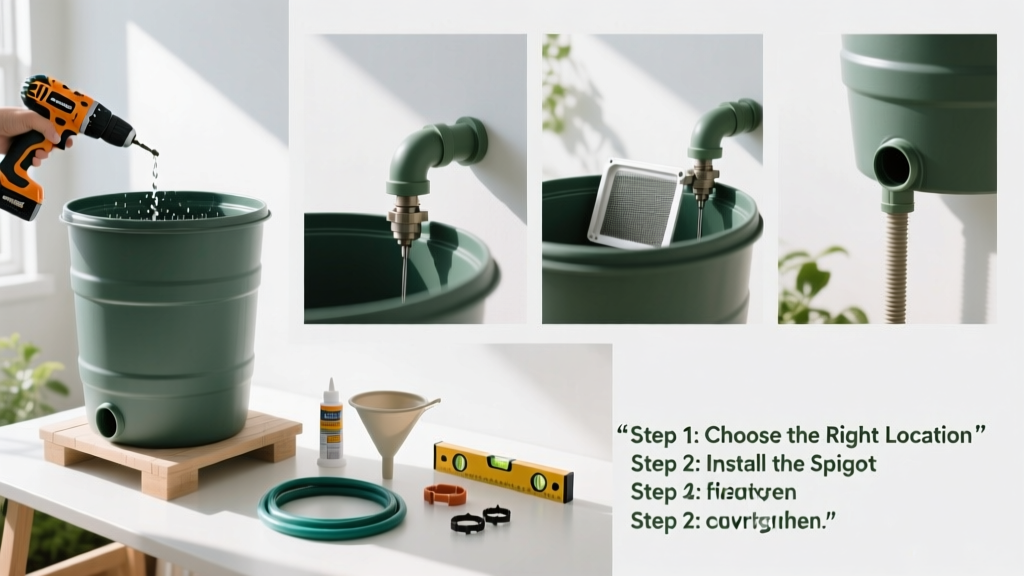
Setting up a rain barrel is a practical, beginner-friendly way to harvest rainwater for your garden, lawn, or outdoor cleaning tasks. It takes 2–4 hours (mostly assembly and positioning), requires no plumbing experience, and pays for itself in under two years through reduced municipal water use—especially in regions with summer watering restrictions.
Overview
| Skill Level | Time Required | Tools Needed | Estimated Cost |
|---|---|---|---|
| Beginner | 2–4 hours | Drill, screwdriver, level, hacksaw or PVC cutter, measuring tape | $75–$220 (barrel + accessories) |
Tools & Materials
| Item | Notes | Where to Buy |
|---|---|---|
| Food-grade 55-gallon drum or purpose-built rain barrel | Avoid repurposed chemical drums—even if labeled 'food-grade' unless certified NSF/ANSI 61 | Local garden centers, rainwater harvesting suppliers |
| Downspout diverter kit or flexible elbow adapter | Must match your downspout size (typically 2×3″ or 3×4″) | Home Depot, Lowe’s, or specialty irrigation retailers |
| Concrete pavers or pressure-treated 4×4 blocks | Minimum 3-inch height for gravity flow; never use cinder blocks (they absorb moisture and crumble) | Hardware stores or landscape supply yards |
| Brass spigot (¾" NPT) + Teflon tape | Stainless steel or brass only—plastic spigots crack in freeze-thaw cycles | Plumbing supply shops or Amazon (search "brass rain barrel spigot") |
| Mesh screen + gutter guard clips | 1/8" stainless steel mesh prevents mosquitoes and debris; must be removable for cleaning | Hardware stores or gutter supply specialists |
Step-by-Step Instructions
1. Choose and prepare the location
Select a downspout on a structurally sound section of roof—avoid sections over patios or walkways where overflow could cause slipping. Measure 3–5 feet from the foundation to prevent basement seepage. Use a level and chalk line to mark where the barrel will sit. Elevate it on concrete pavers: stack two 2″ pavers (or one 4″ block) to achieve 12–18 inches of height—this delivers ~1.5 PSI per foot of elevation, enough for a soaker hose or watering can fill.
2. Cut and modify the downspout
Turn off irrigation systems nearby. Mark the downspout 12 inches above the top of your barrel. Using a hacksaw, cut cleanly—file burrs smooth. Install a diverter kit according to manufacturer specs, or attach a flexible elbow that angles water into the barrel inlet. Test flow with a garden hose before rain: water should enter smoothly without splashing or backing up.
- Tip: If your gutter slopes away from the chosen downspout, add a 2-foot section of horizontal leader pipe with a slight pitch (¼" per foot) to redirect flow.
- Warning: Never drill directly into vinyl gutters—use strap-mounted brackets instead. Vinyl cracks under stress.
3. Install the barrel and fittings
Secure the barrel to wall studs or a fence post using galvanized lag bolts and L-brackets (not rope or zip ties—they degrade in UV). Drill the inlet hole using a hole saw sized for your diverter’s outlet (usually 3″). Install the brass spigot 3 inches above the base—this leaves sediment undisturbed. Wrap threads with 3 layers of Teflon tape, hand-tighten, then snug with a wrench (don’t overtighten—it strips plastic barrels).
4. Add overflow and mosquito protection
Attach a ¾" PVC overflow hose to the upper port, routing it at least 6 feet away from foundations. Cap the end with a splash block or gravel-filled trench. Stretch stainless steel mesh tightly over the top opening and secure with gutter guard clips—check monthly for leaves or pine needles. According to the U.S. EPA, properly screened rain barrels reduce mosquito breeding by 98% compared to open containers (EPA WaterSense, 2022).
"Most failed rain barrels aren’t leaking—they’re overflowing silently behind the house because the overflow wasn’t routed downhill. Always test full-capacity flow during your first moderate rain." — Sarah Lin, Certified Rainwater Harvesting Professional, ARCSA, 2023
Pro Tips
Seasonal maintenance matters more than fancy hardware. Flush your barrel twice yearly: once in spring (to remove winter sediment), once in fall (after leaf drop). Replace the mesh screen every 3 years—it loses tension and gaps widen. Never connect a rain barrel to a sump pump discharge—that water contains soil particles and oils that clog filters and harm plants.
- Use a 1-gallon pitcher to measure output: a 1,000 sq ft roof yields ~600 gallons per 1″ of rain
- Paint black barrels with exterior-grade latex paint to reduce algae growth—white reflects heat but shows stains faster
- If your area has lead-based roofing or older copper gutters, test first: the EPA recommends avoiding rainwater collection for edible gardens in those cases
How do I keep my rain barrel from freezing in winter?
Drain completely before first frost. Disconnect the diverter and store it indoors. Remove the spigot and store it dry. Tip the barrel upside-down or cover with a breathable tarp—never seal it airtight, which traps condensation and promotes mold.
Can I connect multiple rain barrels together?
Yes—use ¾" PVC or polyethylene tubing between the overflow port of the first barrel and the inlet of the second. Keep all barrels at the same height. For three or more, install a manifold system with equal-length runs to avoid uneven filling. The Texas A&M AgriLife Extension found linked barrels increase total capture by 40% vs. single units (2021).
Why is my rain barrel leaking at the spigot?
Over-tightening is the #1 cause—it cracks the barrel’s threaded insert. Replace with a brass insert kit ($8–$12) or use a rubber gasket washer behind the spigot. If leakage persists, inspect for hairline fractures near the base: these often appear after prolonged UV exposure or impact.
Do I need a permit to install a rain barrel?
In most U.S. municipalities, no—but check local codes. Colorado requires registration for barrels over 110 gallons; Utah prohibits rooftop collection without a water right (State Engineer’s Office, 2023). Some HOAs restrict visible barrels—opt for decorative enclosures or bury the lower half in landscaping.
How often should I clean my rain barrel?
At minimum, twice a year: early spring and late fall. Drain fully, scrub interior with diluted vinegar (1 part vinegar to 10 parts water), rinse with hose, and inspect for cracks or algae buildup. If you notice green slime, replace the mesh screen and consider adding a small amount of food-grade hydrogen peroxide (3%) after each rain—1 tablespoon per 55 gallons.
Can I use rainwater for my vegetable garden?
Yes—with caveats. Avoid spraying directly on leafy greens within 5 days of harvest. Use drip irrigation or soaker hoses to minimize contact with edible parts. The University of Florida IFAS advises testing water annually if used for edibles—especially near busy roads or industrial zones (IFAS Bulletin #CIR1282, 2022).
A properly installed rain barrel doesn’t just conserve water—it reshapes how you interact with your home’s microclimate. You’ll notice fewer puddles near foundations, healthier tomatoes in July, and a quieter downspout during storms. Start with one barrel, track your savings for six months, then expand. And remember: the best system is the one you maintain—not the most expensive one you ignore.