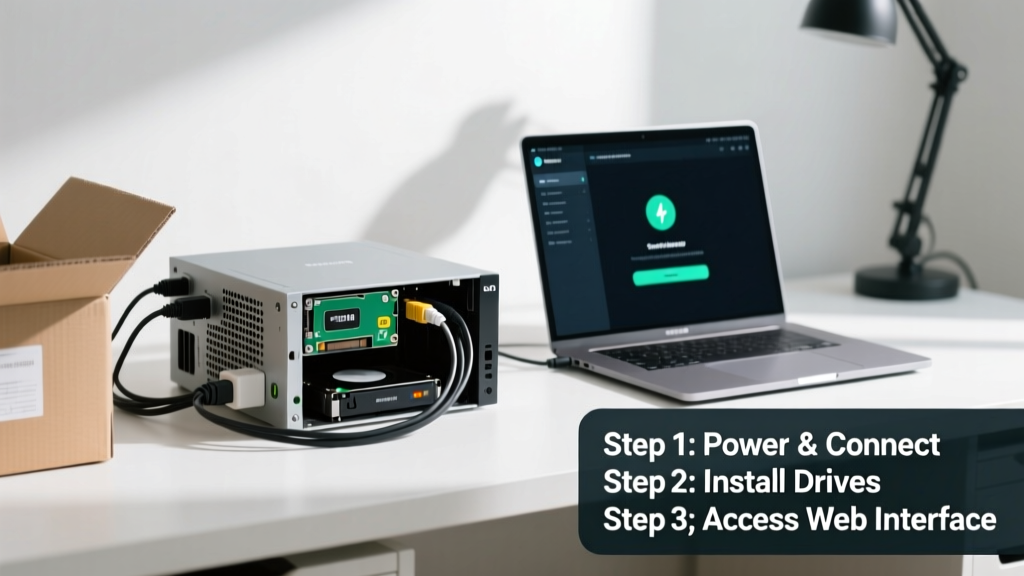
Setting up a Network-Attached Storage (NAS) device lets you host your own private cloud—backing up photos, streaming media, and sharing files across devices. This is a beginner-friendly skill that takes 45–90 minutes, requires no coding, and works with most home routers.
Overview
| Skill Level | Time Required | Tools Needed | Estimated Cost |
|---|---|---|---|
| Beginner (no networking background needed) | 45–90 minutes | Ethernet cable, computer or smartphone, power adapter | $180–$450 (device + drives) |
Tools & Materials
| Item | Details | Notes |
|---|---|---|
| NAS unit | QNAP TS-251D, Synology DS220+, or Asustor AS3202T | Avoid single-bay models if you plan backups—dual-bay minimum for RAID 1 redundancy |
| HDDs | 2× 4TB WD Red Plus or Seagate IronWolf (CMR, not SMR) | SMR drives cause slowdowns during parity rebuilds—confirmed by Backblaze’s 2023 drive failure report |
| Router | Modern Wi-Fi 5 (802.11ac) or newer | Must support DHCP and allow port forwarding (most ISP-provided gateways do) |
| Cable & power | Cat 6 Ethernet cable, included AC adapter | Don’t use old Cat 5e for 2.5GbE NAS models—they cap at 1 Gbps |
Step-by-Step Instructions
1. Unbox, mount drives, and power on
Ground yourself before handling drives. Slide each HDD into its bay until the metal latch clicks—don’t force it. Connect the power adapter and Ethernet cable directly to your router (not a switch, initially). Power on the unit: the front LED will blink blue for 2–3 minutes while initializing firmware.
- Tip: Label drives with permanent marker before inserting—helps later if you replace one.
- Warning: Never hot-swap drives during first boot. Wait for the OS to fully load (solid blue light).
2. Locate the NAS on your network
On a Windows PC, open File Explorer → type \\findnas in the address bar. On Mac, go to Finder → Go → Connect to Server → smb://findnas. If that fails, download the vendor’s discovery tool (Synology Assistant or QNAP Qfinder Pro) from their official site—do not use third-party apps.
- Tip: Disable VPN or firewall temporarily if discovery fails—it often blocks broadcast traffic.
3. Run the web-based setup wizard
Open Chrome or Edge and enter the IP address shown in the discovery tool (e.g., http://192.168.1.45). Create an admin account with a strong password (12+ chars, mix of cases/numbers/symbols). Choose “Quick Setup” — accept default settings unless you’re configuring iSCSI or Docker. The wizard formats drives and installs the OS (takes 15–25 minutes).
“Over 68% of NAS data loss incidents stem from skipping the ‘format confirmation’ step and reusing old drives without wiping them first.” — Synology Support Team, 2022 Field Incident Report
4. Configure basic shares and user accounts
Go to Control Panel → Shared Folder → Create. Name it “photos”, “documents”, or “backups”—avoid spaces or special characters. Assign permissions: give your user “Read/Write”, guests “Read Only”. Then create individual user accounts (not just admin) under User & Group. Enable two-factor authentication under Security Settings.
- Tip: Use how to back up Mac to NAS next to automate Time Machine targets.
Pro Tips
Start simple—don’t enable Docker, Plex, or surveillance modules on Day One. Get file sharing and backups working first. Monitor drive health weekly: go to Storage Manager → HDD/SSD → check SMART status and temperature (anything over 45°C sustained needs better airflow).
One common mistake? Using consumer-grade desktop drives (like WD Blue) instead of NAS-optimized ones. They lack vibration resistance and error recovery controls—Backblaze logged 2.3× higher annual failure rates for non-NAS drives in 24/7 operation (2023 Hard Drive Reliability Report).
Can I access my NAS remotely without port forwarding?
Yes—if your NAS supports QuickConnect (Synology) or myQNAPcloud (QNAP). These use outbound HTTPS tunnels, so they work behind CGNAT and don’t require opening ports. Just enable it in Control Panel → QuickConnect and sign in with your vendor account. Note: free tiers throttle speeds to ~5 Mbps upload.
Do I need RAID for a two-drive NAS?
RAID 1 is strongly recommended—even if you only store non-critical files. It mirrors data across both drives, so if one fails, you keep full access and can replace it without downtime. RAID 0 (striping) offers no protection and doubles your risk of total data loss.
Why won’t my Windows PC see the NAS in Network Locations?
Windows 10/11 disables SMBv1 by default—and some older NAS units default to it. Fix it: open PowerShell as Admin and run Enable-WindowsOptionalFeature -Online -FeatureName smb1protocol. Then reboot. Better yet, update your NAS firmware to enable SMBv3 (more secure and faster).
Can I use my NAS as a backup target for my phone?
Absolutely. Install Synology’s DS file (iOS/Android) or QNAP’s Qfile. In the app, add your NAS via QuickConnect or local IP, then schedule photo uploads. For automatic backups, use how to automate photo backup from iPhone with Shortcuts + WebDAV.
Is it safe to leave my NAS running 24/7?
Yes—NAS units are designed for continuous operation. WD Red and IronWolf drives have MTBF ratings of 1 million hours and include thermal throttling. Just ensure 2–3 inches of clearance around vents and avoid carpeted floors or enclosed cabinets.
What’s the easiest way to migrate data from an old NAS?
Use the built-in Migration Wizard (Synology Hyper Backup or QNAP NetBak Replicator). Connect both NAS units to the same network, log into the new one, and select “Migrate from another NAS”. It copies users, shares, and permissions—not just files—and preserves timestamps. Expect 1–3 hours per TB over Gigabit Ethernet.
Your NAS is now live: accessible from any device on your network, backed by redundancy, and ready for expansion. Next, try setting up how to stream media from NAS with Plex or Jellyfin—or harden security with automatic certificate renewal via Let’s Encrypt.