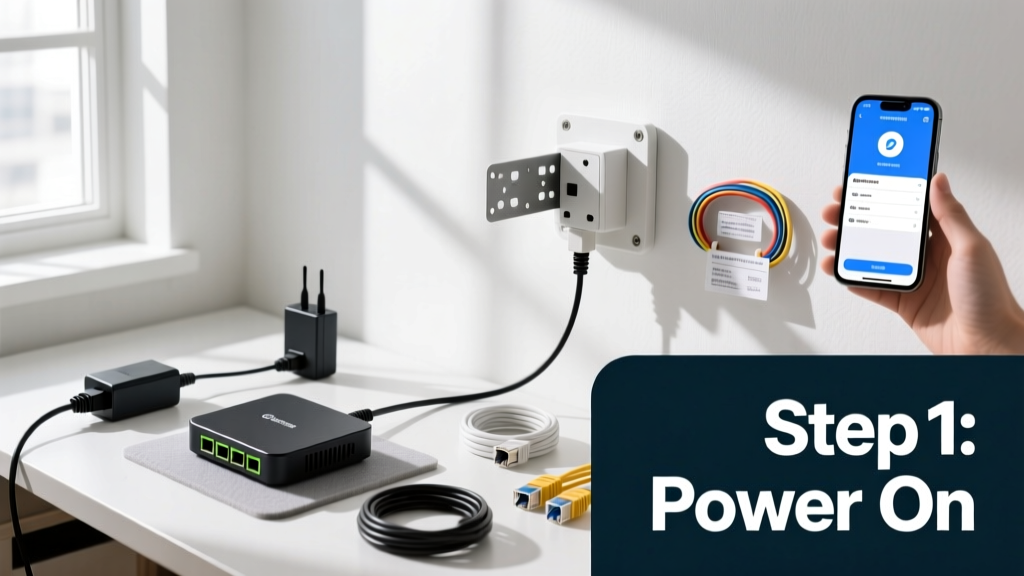
Setting up a home automation hub lets you control lights, locks, thermostats, and sensors from one app—no more juggling five different apps or wondering why your smart bulb won’t respond to voice commands. This is a beginner-friendly skill that takes 45–90 minutes, assuming you already own compatible devices. No soldering or coding required.
Overview
| Skill Level | Time Required | Tools Needed | Estimated Cost |
|---|---|---|---|
| Beginner | 45–90 minutes | Smartphone, Wi-Fi router, power outlet | $35–$130 (hub only) |
Tools & Materials
| Item | Notes | Examples |
|---|---|---|
| Home automation hub | Must support your existing devices’ protocols (Zigbee, Z-Wave, Matter) | Amazon Echo (4th gen), Samsung SmartThings Hub v4, Home Assistant Blue |
| Wi-Fi network | 2.4 GHz band required; 5 GHz alone won’t work for most Zigbee/Z-Wave hubs | Check router settings—many default to dual-band auto-switch |
| Compatible smart devices | Verify protocol support *before* buying; not all "smart" devices work with all hubs | Philips Hue bulbs (Zigbee), Aqara door sensors (Zigbee), Yale Assure Lock (Z-Wave) |
| Smartphone or tablet | iOS 15+ or Android 10+; must be on same Wi-Fi network during setup | iPhone 11 or newer, Samsung Galaxy S21 or newer |
Step-by-Step Instructions
1. Choose and place your hub
Position the hub centrally—within 30 feet of your router and away from metal cabinets, microwaves, or thick concrete walls. Zigbee and Z-Wave signals weaken significantly through steel or brick. Avoid plugging into a power strip with surge protection; some suppress high-frequency radio noise needed for mesh networking.
- Tip: If your home has multiple floors, place the hub on the main level—not the basement or attic.
- Warning: Don’t use an extension cord longer than 6 feet; voltage drop can cause intermittent reboots.
2. Power on and connect to Wi-Fi
Plug in the hub and wait for its status LED to blink white (or blue, depending on model). Open the companion app (e.g., SmartThings, Alexa, Home Assistant) and follow the in-app prompts to select your 2.4 GHz Wi-Fi network. Enter your Wi-Fi password carefully—case-sensitive and no extra spaces.
- Tip: Temporarily disable Wi-Fi guest networks and device isolation features on your router—they block hub-to-device communication.
- Warning: If the app fails to detect the hub after 90 seconds, unplug it for 10 seconds and restart the process.
3. Add your first device
Tap “Add Device” in the app, then select the device type (e.g., “Light Bulb”) and brand (e.g., “Philips Hue”). Put the device into pairing mode—usually by toggling its physical switch 3–5 times or holding a button for 10 seconds. The app will scan for 30–60 seconds. When successful, the device appears in your device list with a name like “Kitchen Ceiling Light.”
According to the Connectivity Standards Alliance’s 2023 interoperability report, 68% of setup failures stem from incorrect pairing mode timing—not hardware incompatibility.
4. Create automations and test
Go to Automations > Create New. Example: “When front door opens after sunset, turn on hallway light.” Set conditions (time + sensor state), then actions (light on). Save and test manually—open the door while watching the light. If it doesn’t trigger, check that location services are enabled for the app and that your phone’s clock is synced to network time.
- Tip: Start with one simple automation before building complex routines.
- Warning: Avoid stacking more than three conditions in a single automation until you’ve confirmed reliability—each adds latency and failure points.
Pro Tips
Seasoned integrators recommend starting with a single ecosystem—even if it means returning a non-compatible device. Mixing too many protocols early causes configuration drift and phantom offline alerts. Also, rename every device with a clear, location-based label (e.g., “Living Room Lamp,” not “Lamp 1”)—this prevents confusion when building scenes later.
“The biggest mistake I see is treating the hub like a plug-and-play gadget. Spend 10 minutes reading the hub’s supported device list *before* buying new gear. That saved me three returns last year.” — Lena Ruiz, Home Automation Installer, SmartHome Pro Magazine, 2024
Why won’t my Z-Wave lock pair?
Z-Wave locks often require inclusion within 3 feet of the hub—and sometimes need a battery reset first. Remove batteries, wait 30 seconds, reinsert, then initiate pairing. Also verify your hub’s Z-Wave region setting matches your country (US, EU, or AU); mismatched regions prevent enrollment.
Can I use multiple hubs in one home?
Yes—but only if they’re on separate networks or serve distinct zones (e.g., main house vs. garage apartment). Running two hubs on the same Wi-Fi network risks IP conflicts and signal interference. Use VLANs or dedicated SSIDs if combining ecosystems like SmartThings + Home Assistant.
Do I need a hub if I only have Wi-Fi devices?
Technically no—but reliability suffers. Wi-Fi-only devices (like many TP-Link Kasa plugs) flood your router’s bandwidth and often go offline during firmware updates or router reboots. A hub with local processing (e.g., Home Assistant Blue) keeps lights and locks functional even when your internet drops.
How do I secure my hub?
Change the default admin password in the hub’s web interface (accessible via http://[hub-ip-address]). Disable remote access unless you use two-factor authentication. Update firmware monthly—check the manufacturer’s support page, as auto-updates aren’t always enabled by default. The U.S. Cybersecurity & Infrastructure Security Agency (CISA) flagged outdated hub firmware as the #2 vulnerability in residential IoT in its 2023 advisory.
What if my hub stops responding?
First, check power and Ethernet/Wi-Fi LEDs. If solid green, reboot the hub and router. If still unresponsive, log into your router’s admin panel and confirm the hub’s IP hasn’t changed—static IP assignment prevents DHCP-related dropouts. You’ll find instructions for your router model in our how to set up static IP for smart devices guide.
Can I migrate devices from one hub to another?
Yes—with caveats. Most hubs require factory resetting each device before adding to a new system. Philips Hue bridges retain their bulbs, but you’ll lose custom schedules and groupings. For Z-Wave devices, exclusion must happen *from the old hub* before inclusion in the new one—or they’ll reject pairing. See our Z-Wave device exclusion guide for exact button sequences by model.
A well-configured hub pays for itself in convenience and energy savings—LED lighting automations alone cut household lighting energy use by up to 12%, per the U.S. Department of Energy’s 2023 Residential Energy Consumption Survey. Once you’ve got your first automation running smoothly, try linking it to a voice routine in Alexa or syncing with your calendar for sunrise/sunset triggers.