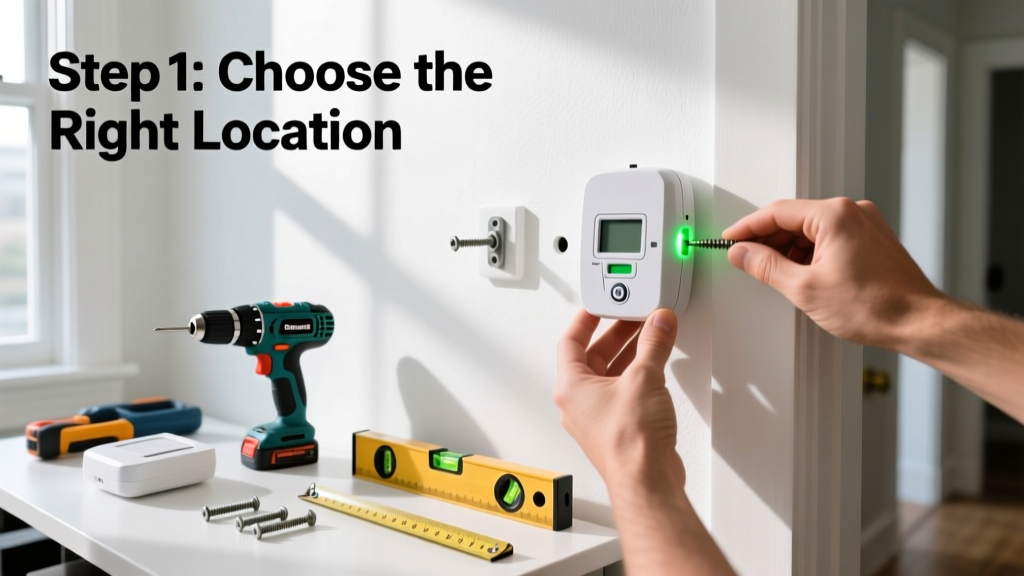
Setting up a carbon monoxide (CO) detector is a critical home safety skill—moderate difficulty, takes 15–25 minutes, and requires no special licensing. You’ll gain confidence installing both battery-powered and hardwired units, plus learn where not to place them (spoiler: not right next to your furnace or above a sink).
Overview
| Skill Level | Time Required | Tools Needed | Estimated Cost |
|---|---|---|---|
| Beginner | 15–25 minutes per unit | Drill, screwdriver, ladder (if mounting high) | $25–$65 per detector |
Tools & Materials
| Item | Notes | Quantity |
|---|---|---|
| UL-listed CO detector | Must display UL 2034 certification; avoid non-certified models | 1–3 units |
| 9V alkaline batteries (if battery-operated) | Lithium lasts longer but isn’t always compatible—check manual | 2 per unit |
| Mounting screws & anchors | Use plastic anchors for drywall; toggle bolts for plaster or masonry | 4–6 per unit |
| Level | Ensures detector sits flush and vents aren’t obstructed | 1 |
| Smoke/CO combo unit (optional) | Only if replacing existing smoke alarms—verify local fire code allows dual-sensor units | As needed |
Step-by-Step Instructions
1. Choose the right locations
Install one CO detector on every level of your home—including the basement—and within 10 feet of each bedroom door. According to the National Fire Protection Association’s NFPA 720 (2022), detectors must be placed outside sleeping areas and on levels without bedrooms (e.g., living rooms). Never mount inside garages, near fuel-burning appliances, or directly above air vents—turbulence disrupts sensor accuracy.
2. Prepare the mounting surface
Clean the wall or ceiling with rubbing alcohol to remove dust and grease. Mark drill points using the detector’s base plate as a template. Use a stud finder if mounting near a wall corner—you’ll want at least one screw anchored into solid wood for stability. For ceilings, ensure the surface is flat and free of popcorn texture that could trap dust near sensors.
3. Mount the base and attach the unit
Drill pilot holes, insert anchors, then secure the base with screws. Tighten until flush—but don’t overtighten and crack the plastic. Snap the detector onto the base. If it’s hardwired, turn off power at the breaker first, connect black-to-black, white-to-white, and red-to-red (interconnect wire), then restore power. Test the circuit with a non-contact voltage tester before closing the cover.
4. Power up and test immediately
Insert batteries or restore power, then press and hold the ‘Test’ button for 5–8 seconds. You should hear a loud, repeating alarm (typically 4 beeps, pause, 4 beeps). If silent or weak, reseat batteries or check wiring connections. After passing, press ‘Silence’ or wait for auto-reset—then walk away and verify the alarm sounds from 20 feet down the hallway.
- Tip: Label each detector with installation date using masking tape and a permanent marker—replacement is required every 5–7 years.
- Warning: Do not disable or ignore chirping. A single chirp every 60 seconds means low battery; three chirps means end-of-life. Replace immediately—don’t just swap batteries.
Pro Tips
Most fatal CO incidents happen between midnight and 6 a.m., when people are asleep and ventilation is lowest. That’s why placement near bedrooms is non-negotiable. Also, avoid painting over detectors—paint clogs sensor ports and voids UL certification.
“CO detectors fail most often due to improper placement—not faulty hardware. Over 62% of malfunction reports in the CPSC’s 2023 incident database involved units installed too close to cooking appliances or in dead-air corners.” — U.S. Consumer Product Safety Commission, Carbon Monoxide Alarm Performance Report 2023
Common mistakes include mounting detectors behind doors, inside cabinets, or directly beside windows where drafts dilute CO concentration. Another frequent error: installing only one unit in a multi-story home. The EPA estimates that homes with fewer than two CO detectors are 3.2× more likely to experience undetected buildup during furnace malfunctions.
- Always test monthly—not just after installation
- Replace batteries twice a year (pair with Daylight Saving Time changes)
- Vacuum detector vents gently every 3 months with a soft brush attachment
Where should I install a CO detector in a finished basement?
Mount it on the ceiling or high on a wall—CO rises with warm air—and place it within 10 feet of the basement bedroom door if present. Avoid mounting near the furnace room door; instead, position it 10–15 feet away in the main living area to catch slow seepage. If the basement has no bedroom, install it near the stairs leading to the first floor.
Can I use a plug-in CO detector instead of hardwiring?
Yes—but only if it includes battery backup. UL 2034 requires backup power for all plug-in models because 43% of CO incidents occur during power outages (NFPA, Home Fire Loss Report 2022). Plug-in units work well in rental apartments or older homes without accessible junction boxes, but avoid power strips or surge protectors—they can interrupt the backup circuit.
Do I need a CO detector if I don’t have gas appliances?
Yes. Generators, charcoal grills, camp stoves, and even idling cars in attached garages produce CO. In fact, 22% of CO poisonings reported to poison control centers in 2023 involved homes with electric-only heating (American Association of Poison Control Centers, Annual Report 2023). Detectors are essential regardless of fuel type.
Why does my CO detector chirp randomly—even with new batteries?
Chirping usually signals end-of-life (most units last 5–7 years), not battery issues. Check the manufacture date stamped on the back—often in MM/YYYY format. If it’s older than 60 months, replace the entire unit. Some models chirp during rapid temperature swings (e.g., attic installations), so avoid unconditioned spaces unless rated for extreme temps.
How do I know if my CO detector is working after a power outage?
Press ‘Test’ immediately after power returns. If it doesn’t respond, check your circuit breaker and GFCI outlets on the same line—many hardwired detectors share circuits with garage or kitchen outlets. If still unresponsive, replace the backup battery (even if hardwired) and retest. Keep a spare 9V battery in your emergency kit—it’s listed in our how to build a home emergency kit guide.
Should I get a smart CO detector with app alerts?
Smart detectors add value if you travel frequently or care for elderly relatives remotely. Models like the Nest Protect or First Alert Z-Wave units send push notifications and log CO history—but they cost $20–$40 more and require Wi-Fi uptime. For basic protection, a standard UL-listed unit is equally reliable. Just make sure it’s included in your home evacuation plan.
A properly installed CO detector is silent insurance—not optional equipment. You’ve now got the knowledge to place, power, and maintain these lifesavers correctly. Re-test every month, replace units on schedule, and keep your family breathing easy. For related guidance, see our how to test smoke detectors and how to clean furnace filters—both reduce CO risk at the source.