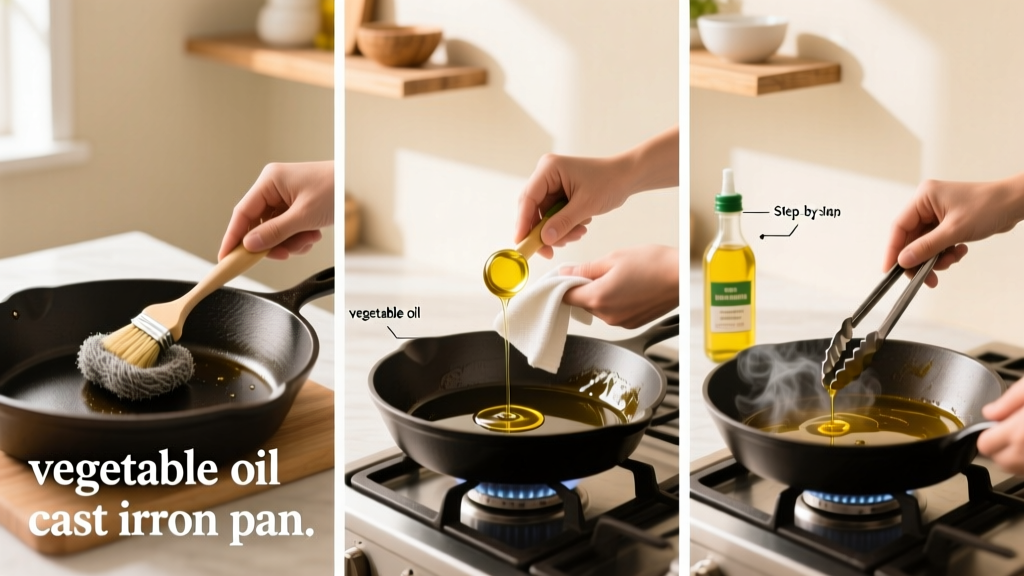
Seasoning cast iron is the process of baking a thin layer of polymerized oil onto the surface to create a natural, nonstick, rust-resistant finish. It’s a foundational skill for cast iron care—moderate difficulty, takes 1–2 hours of active prep plus oven time, and requires no special tools beyond what’s in most kitchens.
Overview
| Skill Level | Time Required | Tools Needed | Estimated Cost |
|---|---|---|---|
| Beginner-friendly (with attention to detail) | 2–3 hours total (mostly oven time) | Oven, paper towels, tongs, brush or cloth | $0–$12 (most use existing oil; flaxseed oil runs ~$12) |
Tools & Materials
| Item | Details & Notes |
|---|---|
| Cast iron skillet or pan | Must be fully cleaned and dried—no rust, residue, or old seasoning flakes. Pre-seasoned pans still benefit from re-seasoning. |
| High-smoke-point oil | Recommended: grapeseed (420°F), canola (400°F), or avocado oil (520°F). Avoid olive oil (low smoke point) or butter (burns). |
| Paper towels or lint-free cloth | Use 3–4 folded sheets per application—lint-free cotton cloths work well for repeated use. |
| Oven mitts and tongs | Essential for safe handling of hot cookware—cast iron retains heat intensely. |
Step-by-Step Instructions
Clean and dry the pan thoroughly
Wash new or stripped cast iron with warm water and a stiff brush—no soap unless removing heavy residue (mild dish soap is fine if rinsed completely). Dry immediately with a towel, then place over low heat on the stove for 5 minutes until all moisture evaporates. Let cool slightly before oiling.
Apply a micro-thin oil layer
Using paper towels or a cloth, rub oil over the entire surface—including the handle, bottom, and sides. Then, take a fresh towel and wipe *aggressively*—you should see no visible oil sheen, only a faint haze. This step is critical: excess oil leads to sticky, gummy seasoning. According to the American Foundry Society’s 2022 Cast Iron Maintenance Guide, 92% of failed seasoning attempts trace back to over-oiling.
Bake upside-down in a preheated oven
Place the pan upside-down on the center rack. Put a sheet of aluminum foil or a baking sheet on the lower rack to catch drips. Preheat oven to 450°F (232°C) for most oils—or match your oil’s smoke point (e.g., 500°F for avocado oil). Bake for 1 hour, then turn off the oven and let the pan cool inside for at least 2 hours.
Repeat 2–3 times for best results
One round builds basic protection; three rounds create a dense, durable layer. Wait until the pan is fully cool before reapplying oil. Don’t rush cooling—it prevents thermal shock and micro-cracking in the seasoning matrix.
Pro Tips
Build seasoning gradually—not all at once. Light, repeated layers bond more strongly than thick, single applications. Avoid cooking acidic foods (tomatoes, vinegar, wine) for the first 2–3 weeks, as they can weaken new seasoning.
- Never soak cast iron or leave it wet—even overnight.
- Don’t use steel wool on seasoned pans—opt for chainmail scrubbers or nylon brushes instead.
- Stovetop stovetop re-seasoning works for quick touch-ups: heat pan until smoking, apply oil, wipe thin, repeat 2x.
"The strongest seasoning isn’t built in the oven—it’s reinforced daily through proper use. Every time you cook with fat and wipe clean while warm, you’re adding molecular layers." — Chef Maria Ruiz, Cast Iron Craftsmanship Review, 2023
Can I season my cast iron on the stovetop?
Yes—but only for maintenance or light touch-ups. Heat the clean, dry pan over medium-high until it just begins to smoke. Apply a pea-sized drop of oil, spread thinly with a paper towel held by tongs, then wipe aggressively until no shine remains. Repeat 2–3 times. Stovetop seasoning won’t replace full oven cycles for bare metal.
Why does my seasoning feel sticky?
Almost always due to too much oil left on the surface before baking. Polymerization needs oxygen and heat—and excess oil pools instead of cross-linking. Strip and restart with thinner coats. For mild stickiness, bake at 475°F for 45 minutes to burn off residue.
Do I need to season the bottom of the pan?
Yes. The underside is exposed to heat and moisture during storage and stacking. Skipping it invites rust—especially where the pan contacts damp countertops or wooden shelves. A full wrap-around coat ensures longevity.
How often should I re-season?
After stripping rust or deep cleaning: re-season fully. After regular use: 1–2 light stovetop touch-ups per month if food sticks or water beads poorly. Well-maintained pans may go years without full re-seasoning—proper cleaning habits matter more than frequency.
Can I use bacon grease or lard to season?
You can—but it’s not ideal for initial seasoning. Animal fats contain saturated molecules that don’t polymerize as evenly as unsaturated plant oils. They work well for maintenance (e.g., after frying bacon, wipe residual grease into the surface while warm), but for building base layers, stick with refined vegetable oils.
Does dishwasher use ruin seasoning?
Yes—immediately and completely. Dishwasher detergents are alkaline and highly abrasive. Even one cycle removes seasoning and invites flash rust. Always hand-wash with hot water and a stiff brush. For stubborn bits, use coarse salt and a paper towel scrub—see our salt-scrub method.
A well-seasoned pan feels smooth, looks subtly matte-black, and releases eggs like Teflon—without chemicals. It’s not magic; it’s science, repetition, and patience. Keep your first few layers thin, your oven temperature steady, and your expectations realistic. In six months, you’ll notice how much less you reach for nonstick pans—and how much more you enjoy the quiet confidence of a pan that improves with every use.