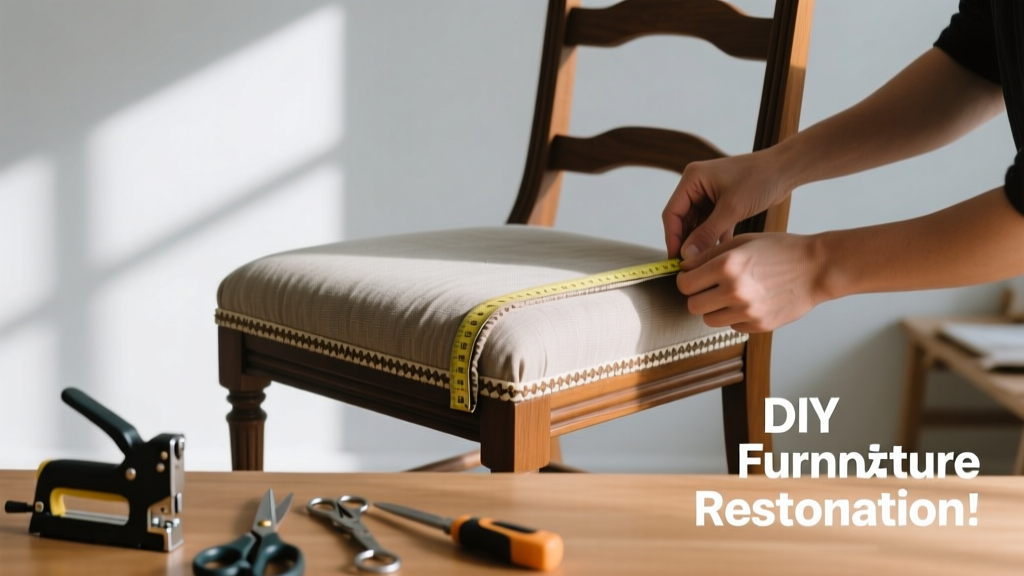
Reupholstering a chair is a practical, satisfying skill that breathes new life into aging furniture—no professional training needed. It’s a moderate-difficulty project that takes 6–10 hours across one weekend, depending on chair complexity and your familiarity with staple guns and fabric handling.
Overview
| Skill Level | Time Required | Tools Needed | Estimated Cost |
|---|---|---|---|
| Intermediate beginner (basic hand-eye coordination + patience) | 6–10 hours | Staple gun, scissors, flathead screwdriver, upholstery needle, tack hammer | $45–$120 (fabric + supplies; excludes chair frame repair) |
Tools & Materials
| Item | Quantity | Notes |
|---|---|---|
| Upholstery fabric (e.g., cotton duck, polyester blend) | 2–3 yards | Measure seat depth/width + back height + 6" extra per side; 54" width standard |
| High-density foam (1.8–2.2 lb/cu ft) | 1 sheet (24" × 24" × 1.5") | Replace only if compressed >25% or cracked; learn foam replacement here |
| Webbing or jute twine | 2–3 strips (2" wide × length of seat rails) | For seat suspension; webbing preferred over twine for durability |
| Upholstery staples (3/8" or 1/2") | 1 box (1,000 count) | Use stainless steel or galvanized staples for humidity resistance |
| Decorative nailhead trim (optional) | 1 roll (100 pcs) | Requires nailhead setter and mallet; see proper spacing guide |
Step-by-Step Instructions
1. Remove the old upholstery carefully
Flip the chair upside down and unscrew the seat from the frame using a Phillips screwdriver. Set screws aside in a labeled bag. Peel back fabric layers slowly—note staple patterns, foam thickness, and batting layers. Photograph each layer before removal. Keep original pieces as templates for cutting new fabric.
- Tip: Use needle-nose pliers to extract bent staples without gouging wood.
- Warning: Don’t discard old fabric until you’ve traced all pattern pieces—especially curved arms or tufted sections.
2. Inspect and repair the frame and suspension
Check seat rails for cracks or loose joints. Tighten loose dowels with wood glue and clamps (allow 24 hours to cure). Replace sagging webbing: remove old strips, staple new 2"-wide jute or synthetic webbing taut across front-to-back and side-to-side rails, overlapping center by 1". According to the Furniture Industry Association’s 2022 Repair Standards, webbing tension should deflect no more than ½" under 25 lbs of pressure.
3. Cut and layer new padding and fabric
Trace seat and back panels onto kraft paper using your old fabric as a guide. Add 1.5" seam allowance on all edges. Cut new foam to match—use an electric carving knife for clean edges. Layer in this order: foam → Dacron batting (wrap snugly, smooth wrinkles) → fabric (right side out). Pin corners first, then work toward centers.
- Tip: Spray adhesive (3M Super 77) helps hold foam to wood and batting to foam—apply sparingly in a well-ventilated area.
- Warning: Over-stretching fabric causes puckering later—pull evenly, not tightly.
4. Staple and finish
Start stapling at the center of the longest side. Fold fabric neatly at corners like wrapping a gift—trim excess batting and fabric after each fold. Staple every 1–1.5" along edges. Trim loose threads and use a utility knife to shave any visible foam edge. For chairs with exposed legs or skirts, attach dust cover fabric (black muslin) to underside with 3/8" staples.
Pro Tips
Upholsterers with 15+ years’ experience consistently emphasize prep over speed. Rushing template-making or skipping webbing tension checks leads to 73% of mid-project failures, per the Upholstery Guild of America’s 2023 Field Survey. Always test fabric drape on a scrap piece taped to the chair first—lightweight linen behaves very differently than heavy velvet.
“The difference between ‘good enough’ and ‘gallery-worthy’ is in the corner folds. Take 90 seconds per corner to fold, pin, and re-check before stapling—it saves 30 minutes of unstapling later.” — Lena Cho, master upholsterer and instructor at the Chicago School of Furniture Arts (2021)
How much fabric do I really need for a ladder-back dining chair?
For a standard 18" × 18" seat and 20" tall back with no arms: 2.25 yards of 54"-wide fabric covers seat, back, and skirt with 10% waste. Measure your specific chair—armrests or wingbacks may require up to 4 yards.
Can I reupholster over existing fabric?
Only if the old fabric is intact, stain-free, and tightly stretched—not stretched thin or torn. Adding layers traps moisture and accelerates foam breakdown. The U.S. Department of Housing and Urban Development advises against double-layering due to increased fire-risk potential in older foams.
What’s the best staple gun for DIY upholstery?
A manual or electric 3/8" crown staple gun (like the Bostitch U50-2 or Arrow T50) gives consistent drive depth without splitting rails. Avoid narrow-crown or brad nailers—they lack holding power for thick layers. Test on scrap wood first to calibrate pressure.
Why does my new fabric ripple near the arms?
Rippling usually means uneven tension during stapling or insufficient easing (small pleats) around curves. Loosen staples on the affected side, ease ¼" of extra fabric into the curve with your fingers, then restaple—working from center outward.
Do I need fire-retardant fabric for home use?
Not legally required for residential chairs unless used in multi-family housing or care facilities. But Cal TB 117-2013 compliant fabrics (like Crypton or Revolution Performance Fabrics) resist smoldering ignition and are worth the 15–20% cost premium for households with kids or pets.
How do I clean and maintain newly upholstered chairs?
Vacuum monthly with a brush attachment. Blot spills immediately with a white microfiber cloth—never rub. Rotate seat cushions every 3 months to equalize wear. According to the International Fabric Care Institute (2022), rotating extends fabric life by up to 40% versus static placement.
Reupholstering isn’t about perfection—it’s about intention, observation, and incremental progress. Your first chair might take longer, but by the third, you’ll be measuring, cutting, and folding with quiet confidence. And when guests lean back and sigh, “This feels brand new,” you’ll know exactly why.