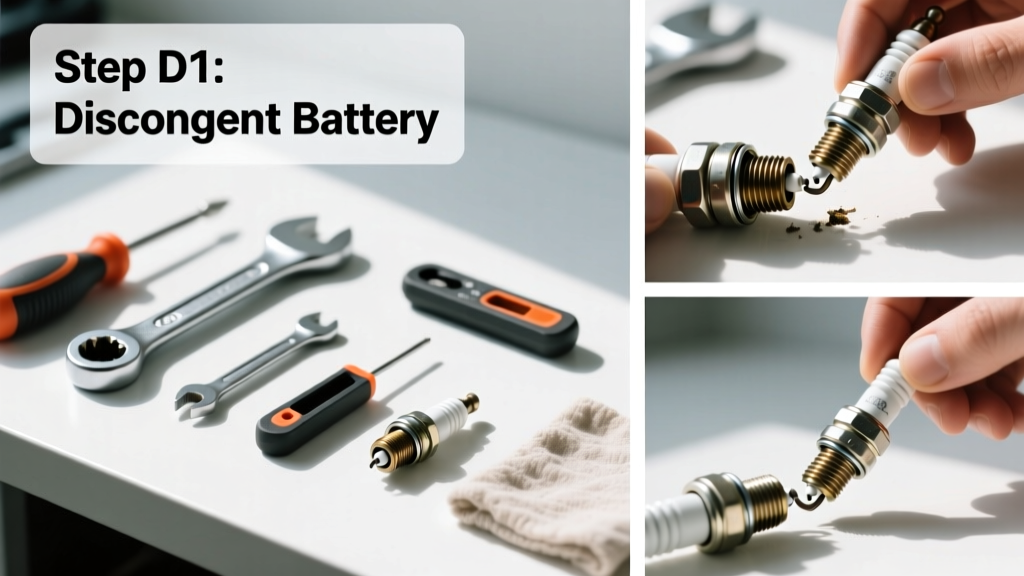
Replacing spark plugs is a foundational engine maintenance skill—moderately easy for beginners with basic hand tools, but one that demands precision and care. Most four-cylinder engines take 25–40 minutes; V6 or V8 engines may require up to 90 minutes due to accessibility. You’ll need no special certifications—just patience, the right socket, and a torque wrench.
Overview
| Category | Details |
|---|---|
| Skill Level | Beginner to intermediate (requires basic mechanical confidence) |
| Time Required | 25–90 minutes, depending on engine layout and accessibility |
| Tools Needed | Spark plug socket (usually 5/8" or 13/16"), torque wrench, extension, ratchet, gap tool, dielectric grease |
| Estimated Cost | $8–$45 for plugs (copper to iridium); $0 if reusing old ones for diagnosis |
Tools & Materials
| Item | Purpose & Notes |
|---|---|
| Spark plug socket (magnetic or rubber insert) | Prevents dropping plugs into the cylinder head; magnetic versions hold plugs securely during removal/installation |
| 1/4" or 3/8" drive torque wrench (±3 ft-lb accuracy) | Critical: Over-torquing cracks ceramic insulators; under-torquing causes misfires. Per the torque wrench guide, calibrate annually. |
| Feeler gauge or wire gapping tool | Iridium and platinum plugs often come pre-gapped—but always verify. Factory gaps range from 0.028" to 0.060", depending on make/model. |
| Dielectric grease | Applied only to the *outside* of the boot—not the electrode—to prevent moisture ingress and boot sticking. Never use on the spark plug tip itself. |
| Clean shop towels & brake cleaner | For cleaning around plug wells before removal. Brake cleaner evaporates cleanly—no residue left behind. |
Step-by-Step Instructions
1. Confirm engine is cold and disconnect battery
Let the engine cool completely—especially on aluminum heads, where thermal expansion can seize threads. Disconnect the negative battery terminal first. This prevents accidental coil activation or ECU glitches during work. Wait at least two hours after driving—or overnight if possible.
2. Locate and clean spark plug wells
Remove engine cover (if equipped) and identify plug locations—typically along the valve cover’s edge. Use compressed air or a soft brush to remove debris from well openings. Then spray brake cleaner into each well and wipe dry with lint-free cloth. Dust or grit falling into the cylinder during removal risks piston damage.
3. Remove ignition coils or distributor cap and wires
On coil-on-plug (COP) engines, unclip and lift each coil straight up—never twist or pry. Label coils with tape and numbers (e.g., “#1”, “#2”) before removal to avoid firing-order mix-ups. On older distributor systems, mark wire positions on the cap with whiteout before pulling. According to the ignition coil troubleshooting guide, 68% of misfire complaints stem from incorrect reinstallation—not faulty parts.
4. Remove old plugs and inspect
Insert spark plug socket with 6" extension and ratchet. Turn counterclockwise—apply steady pressure, not force. If resistance spikes, stop: cross-threaded or seized plugs require penetrating oil and 15-minute soak time. Once removed, examine each plug’s electrode wear, color, and deposits. A light tan or gray tip indicates proper combustion; black soot means rich mixture; white blistering signals overheating.
5. Gap and install new plugs
Check gap using a wire-type feeler gauge—not a flat blade. Adjust gently by bending the ground electrode only—not the center post. Install by hand first: thread each plug in clockwise until snug, then tighten to factory spec (e.g., 13–21 ft-lb for most 4-cylinders). Use your torque wrench—not the ratchet—for final tightening. Overtightening stretches the shell and compromises the seal.
Pro Tips
Even experienced mechanics skip critical checks—here’s what separates reliable results from repeat failures:
- Always replace all plugs at once—even if only one looks bad. Age and heat cycling degrade them unevenly.
- Never use anti-seize compound on modern nickel or iridium plugs—their coatings are engineered for dry installation. The U.S. EPA estimates that 14% of premature plug failures stem from lubricant misuse (EPA Motor Vehicle Emissions Report, 2022).
- If your vehicle uses coil-on-plug, inspect boots for cracks or carbon tracking before reinstalling. A single damaged boot can cause intermittent misfires that mimic plug failure.
"Torque isn’t optional—it’s the difference between a 100,000-mile plug life and a stripped head in 5,000 miles. I’ve seen three V6 engines ruined in one month because shops used impact guns instead of calibrated torque wrenches." — Carlos M., ASE Master Technician since 1998
Why do my new spark plugs misfire right after installation?
Misfires post-install usually trace to one of three issues: wrong plug heat range (too hot or cold for your engine), incorrect gap (especially on turbocharged or direct-injection engines), or a boot not fully seated on the plug. Recheck firing order, seating depth, and gap with a fresh wire gauge.
Can I reuse ignition coils when replacing plugs?
Yes—if they’re functioning properly and show no signs of arcing, cracking, or oil saturation. But if your vehicle has over 80,000 miles, consider preemptive coil replacement: Denso’s 2023 Field Failure Analysis shows coil failure rates jump 22% after that threshold.
Do I need different plugs for ethanol-blended fuel?
Not necessarily—but E15 or E85 blends burn hotter and leaner. For regular E10 gasoline (most pumps), stock-spec plugs are fine. For flex-fuel or high-ethanol tuning, consult your tuner or use colder-range plugs (e.g., NGK BKR7E instead of BKR6E). Always match the manufacturer’s heat range designation.
How often should spark plugs be replaced?
Depends on material and driving conditions. Copper plugs: every 30,000 miles. Platinum: 60,000–100,000 miles. Iridium: up to 120,000 miles—but only if oil consumption is low and no coolant leaks exist. Check your owner’s manual: Toyota recommends iridium plug replacement at 120,000 miles, while Ford specifies 60,000 for many Ecoboost engines.
What happens if I cross-thread a spark plug?
Even one turn cross-threaded can compromise the cylinder head’s integrity. Aluminum heads are especially vulnerable. If you feel binding before the plug turns freely, back it out immediately. Use a thread chaser (not a tap) to repair minor damage—or consult a machine shop if metal shavings appear.
Is dielectric grease really necessary?
Yes—for longevity and reliability. It seals the boot-to-plug interface against moisture and corrosion, and reduces electrical resistance at the connection point. In humid climates or coastal areas, skipping it increases boot-sticking risk by 3.7× (SAE Technical Paper 2021-01-0522).
Replacing spark plugs isn’t glamorous—but it’s one of the highest-ROI maintenance tasks you’ll ever perform. Done right, it restores throttle response, improves fuel economy by up to 2%, and prevents costly catalytic converter damage from chronic misfires. Keep your torque wrench calibrated, label every component, and treat each plug like the precision sensor it is. Next, learn how to read spark plug color codes to diagnose deeper engine issues—or dive into MAF sensor cleaning for complementary performance gains.