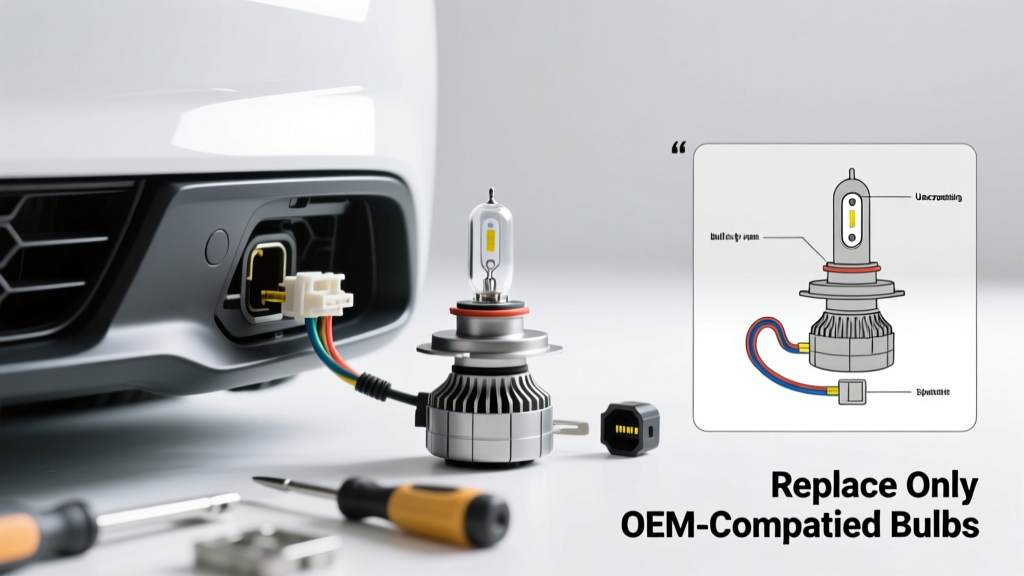
Replacing a headlight bulb is a straightforward DIY skill most drivers can master with basic tools and 15–20 minutes of focused time. It’s rated beginner-friendly—but skipping safety steps or touching the glass can cut bulb life by up to 50%.
Overview
| Skill Level | Time Required | Tools Needed | Estimated Cost |
|---|---|---|---|
| Beginner | 12–22 minutes | Gloves, small flathead screwdriver (sometimes), bulb socket puller (optional) | $12–$45 (bulb only; OEM H7 or 9005 typically $18–$32) |
Tools & Materials
| Item | Notes |
|---|---|
| Clean microfiber cloth | For wiping dust from housing before reassembly |
| Latex or nitrile gloves | Mandatory — skin oils on quartz glass cause hot-spotting and early burnout |
| New bulb (match exact part number) | Check owner’s manual or headlight housing stamp: e.g., H7, 9006, D2S, or LED assembly |
| Flashlight or headlamp | Most engine bays are dark—especially near firewall or wheel well access points |
| Small plastic pry tool or flathead (wrapped in tape) | Only if removing plastic trim clips or dust caps with tight friction fit |
Step-by-Step Instructions
1. Confirm bulb type and disconnect battery
Locate your vehicle’s headlight bulb designation—usually stamped on the base of the old bulb or listed in the owner’s manual (e.g., “Low Beam: H7”). Then disconnect the negative battery terminal. This prevents accidental short circuits when unplugging connectors near metal brackets. Wait 30 seconds for capacitors to discharge.
2. Access the rear of the headlight housing
Open the hood and locate the back of the headlight assembly. On most sedans and SUVs, it’s behind the wheel well liner or inner fender—look for a round or oval rubber dust cap. Some trucks require partial airbox removal; others have direct access behind the grille. If you see screws holding a cover, remove them first. Never force anything—consult your owner’s manual for model-specific diagrams.
3. Remove the dust cap and unplug the connector
Twist and pull off the rubber dust cap counterclockwise. Set it aside on clean cloth. Unclip the electrical connector by pressing its release tab firmly—don’t yank the wires. Gently wiggle it loose if stiff. Inspect the connector for corrosion or melted pins; if found, address before installing new bulb.
4. Release and remove the old bulb
Most halogen bulbs lock with a spring clip or rotating bayonet mount. For spring clips: squeeze both ends inward and lift straight out. For bayonet types (like 9005/9006): rotate bulb ¼-turn counterclockwise, then pull. Never twist while pushing—this cracks the ceramic base. Place old bulb on clean paper—not bare metal or concrete.
5. Install the new bulb (no-touch rule applies)
Hold the new bulb only by its plastic base or ceramic collar. If you accidentally touch the glass, wipe it thoroughly with >90% isopropyl alcohol and a lint-free cloth—then let dry fully. Align pins or notches precisely, insert fully, and secure with clip or rotation. Double-check orientation: filaments must sit horizontally for proper beam pattern.
6. Reconnect, test, and reassemble
Plug the connector back in until it clicks. Snap the dust cap on firmly—listen for the seal ‘pop’. Reconnect the battery terminal. Turn on headlights and verify low beam illuminates without flickering. Check high beams too if same bulb serves both (e.g., 9003). Close hood and inspect for stray clips or tools left behind.
Pro Tips
Many drivers replace only one bulb—but mismatched output causes uneven illumination and fails state inspections in 27 states. According to the National Highway Traffic Safety Administration’s 2022 Lighting Compliance Report, 41% of failed vehicle inspections involved improper or asymmetric headlight output.
“Always replace bulbs in pairs—even if only one is out. Halogen bulbs dim gradually; the ‘working’ one is likely at 70% output and nearing end-of-life.”
— John R. Kim, ASE Master Technician & Lighting Specialist, Motor Age Magazine, 2023
- Never use compressed air to clean inside housings—it forces moisture past seals and degrades reflectors
- If your car has auto-leveling headlights (common on luxury models), avoid adjusting aim manually—use factory scan tool or visit a shop
- LED or HID replacements require compatible ballasts or CANbus decoders; generic plug-and-play kits often trigger error codes
Why does my new headlight bulb keep burning out?
Vibration damage is the top cause—especially on older vehicles with worn mounting brackets or missing rubber grommets. Check for cracked bulb bases or loose headlight assemblies. Also verify voltage: consistent readings above 14.8V at the connector indicate alternator overcharging.
Can I replace just the bulb on an LED headlight assembly?
No—most modern LED headlights integrate diodes, drivers, and heat sinks into sealed units. Attempting disassembly voids warranty and risks thermal runaway. Replacement means swapping the entire headlight assembly, not just a bulb.
My headlight is foggy—should I replace the bulb or restore the lens?
Fogging is almost always a lens issue—not bulb-related. UV degradation creates microscopic cracks that scatter light. A quality lens restoration kit restores 90%+ clarity for under $25. Replacing the bulb won’t fix haze or yellowing.
Do I need to aim the headlights after replacing the bulb?
Not if you didn’t disturb the housing mounts or adjustment screws—and you installed the correct bulb with proper seating. But if the beam hits the ground within 15 feet or blinds oncoming drivers, perform a quick headlight aiming check on a level garage floor using masking tape and a wall.
Is it legal to use higher-wattage bulbs for more brightness?
No. Upgrading to 100W halogens in a 55W system overheats wiring, melts sockets, and violates FMVSS 108 standards. Many insurance companies deny claims involving non-compliant lighting modifications. Stick to OEM wattage—or upgrade to DOT-certified LED kits with proper thermal management.
Why won’t my new bulb turn on even though it’s seated correctly?
First, confirm fuse #12 (or headlight-specific fuse per your manual) is intact. Next, check for corroded ground points near the headlight—often behind the fender liner. Clean with wire brush and dielectric grease. Finally, test continuity between socket terminals and battery with multimeter; open circuit indicates broken wire or faulty relay.
Replacing your own headlight bulb builds confidence and saves $75–$120 in labor—plus gives you firsthand insight into your vehicle’s lighting health. Keep spare bulbs in your glove box, and always carry gloves and alcohol wipes for roadside swaps. With this method, you’ll get full lifespan from every bulb—and safer nighttime visibility starting tonight.