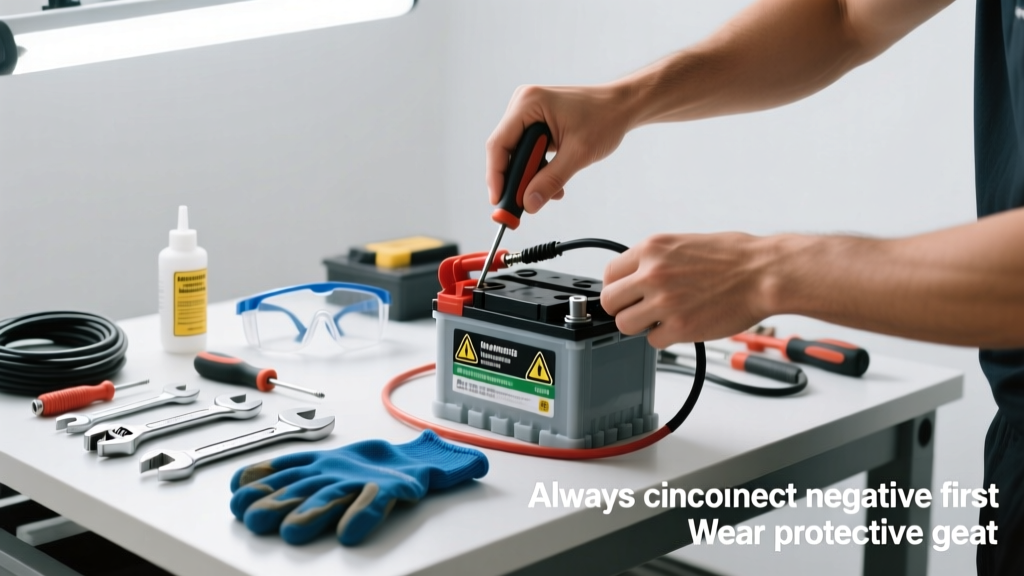
Replacing your car battery is a practical skill that takes less than 25 minutes once you know the sequence—and it’s far safer and cheaper than waiting for a roadside call. This is a beginner-friendly task (no engine disassembly or wiring cuts), but it demands strict attention to polarity and corrosion control.
Overview
| Skill Level | Time Required | Tools Needed | Estimated Cost |
|---|---|---|---|
| Beginner | 15–25 minutes | Wrench set (10mm socket common), gloves, safety glasses | $75–$220 (battery only; AGM models cost more) |
Tools & Materials
| Item | Quantity | Notes |
|---|---|---|
| Replacement battery (correct group size & CCA rating) | 1 | Check your owner’s manual or car battery size chart—mismatched CCA causes cold-start failure. |
| Terminal cleaner brush (wire + tapered) | 1 | Removes sulfate crust without damaging posts—critical for reliable contact. |
| Baking soda + water solution (1 tbsp : 1 cup) | Small bowl | Neutralizes acid residue safely; never use vinegar or bleach. |
| Dielectric grease | 1 tube | Prevents future corrosion on terminals—apply after tightening. |
| Memory saver (12V USB power bank + OBD-II adapter) | 1 (optional but recommended) | Preserves radio presets, seat positions, and adaptive throttle settings—especially vital for 2015+ vehicles. |
Step-by-Step Instructions
1. Park, power down, and locate the battery
Park on level ground, engage the parking brake, and turn off all accessories—including headlights and climate control. Open the hood and locate the battery—most are near the front fender, but some (e.g., Honda Accords, BMWs) mount in the trunk or under the rear seat. Check your owner’s manual if unsure. Look for the “+” (red) and “−” (black) labels stamped on the case or cover.
2. Disconnect the negative terminal first—always
Using a 10mm wrench or socket, loosen the nut on the black (negative) cable clamp. Slide the clamp off the post and tuck it away from any metal surface—tape it to the fender if needed. This prevents accidental short circuits. Never remove the positive terminal first: if your wrench touches grounded metal while loosening the red clamp, it can spark, melt tools, or fry your ECU.
3. Disconnect the positive terminal and remove mounting hardware
Now loosen and remove the red (positive) clamp. Next, unbolt the battery hold-down bracket—usually one or two 13mm bolts. Lift the old battery straight up; they weigh 30–40 lbs and are dense, so keep your back straight. Place it on a flat, non-porous surface (concrete or cardboard—not carpet).
4. Clean terminals and tray thoroughly
Scrub both posts and clamps with your wire brush and baking soda solution until shiny copper appears. Rinse with clean water and dry completely with a lint-free rag. Wipe the battery tray with a damp rag and inspect for cracks or acid pooling—replace the tray if compromised. Let everything air-dry fully before proceeding.
5. Install the new battery and reconnect in reverse order
Set the new battery into the tray, aligning vent caps with tray holes (if present). Secure the hold-down bracket snugly—but don’t overtighten plastic anchors. Attach the red (positive) clamp first: slide it fully onto the post and tighten the nut to 5–7 ft-lbs (use a torque wrench if possible). Then attach the black (negative) clamp and tighten to the same spec. Finally, coat both terminals with dielectric grease.
Pro Tips
Many DIYers skip voltage testing before replacement—yet nearly 30% of ‘dead battery’ calls turn out to be faulty alternators or parasitic drains, according to AAA’s 2022 Roadside Rescue Report. Always test battery voltage with a multimeter (here’s how) and load-test if below 12.4V at rest.
"If the battery case is swollen, leaking, or smells like rotten eggs, stop immediately—those are signs of internal failure or hydrogen gas buildup. Ventilate the area and call a pro." — ASE Master Technician Linda Ruiz, Auto Care Association 2023
Common mistakes include using mismatched group sizes (causing fit issues or loose clamps), skipping dielectric grease (leading to corrosion within 3 months), and forgetting to reset maintenance lights (some Toyotas require a 30-second ignition cycle after replacement).
Why does my car still show a battery warning light after replacement?
The light may persist because the vehicle’s battery management system (BMS) hasn’t recalibrated. For most GM, Ford, and Toyota models, drive for 10–15 minutes above 30 mph to trigger auto-recalibration. If it remains on, use an OBD-II scanner to clear codes—or check if the new battery’s CCA rating falls below factory specs.
Can I replace my flooded battery with an AGM one?
Yes—if your vehicle’s charging system supports it. Most 2013+ cars with start-stop tech do; older models may overcharge AGM batteries and shorten lifespan. Confirm compatibility with your dealer or battery manufacturer’s cross-reference guide—never assume.
Do I need to reprogram anything after battery replacement?
On vehicles made after 2010, yes—especially for keyless entry pairing, sunroof calibration, or throttle adaptation. A memory saver avoids most of this. If you didn’t use one, expect minor glitches for 2–3 drive cycles as modules resync. Reset procedures vary by make; consult our model-specific reset guides.
How often should I replace my car battery?
Every 3–5 years—even if it seems fine. Heat degrades batteries faster than cold: the average lifespan drops to 3.2 years in Phoenix vs. 4.8 years in Portland, per the National Institute for Automotive Service Excellence (2021). Test annually after year three.
What happens if I mix up positive and negative cables?
A momentary reversal can blow fuses, fry the radio, disable the instrument cluster, or permanently damage the alternator diode pack. Some modern ECUs won’t boot at all. If you suspect reversed polarity, disconnect immediately and consult a mechanic—don’t restart the engine.
Is it safe to dispose of my old battery at an auto parts store?
Yes—and required by law in 48 states. Retailers like AutoZone, O’Reilly, and Advance Auto accept old batteries for recycling, often offering a $5–$12 core charge refund. They recover 99% of lead and plastic; improper disposal risks soil contamination and EPA fines.
With the right prep and attention to polarity, replacing your car battery isn’t just doable—it’s empowering. You’ll save $80–$120 in labor, avoid towing fees, and gain confidence for your next under-hood task. Keep your terminal brush and dielectric grease in the glovebox—they’ll pay for themselves in one avoided no-start.