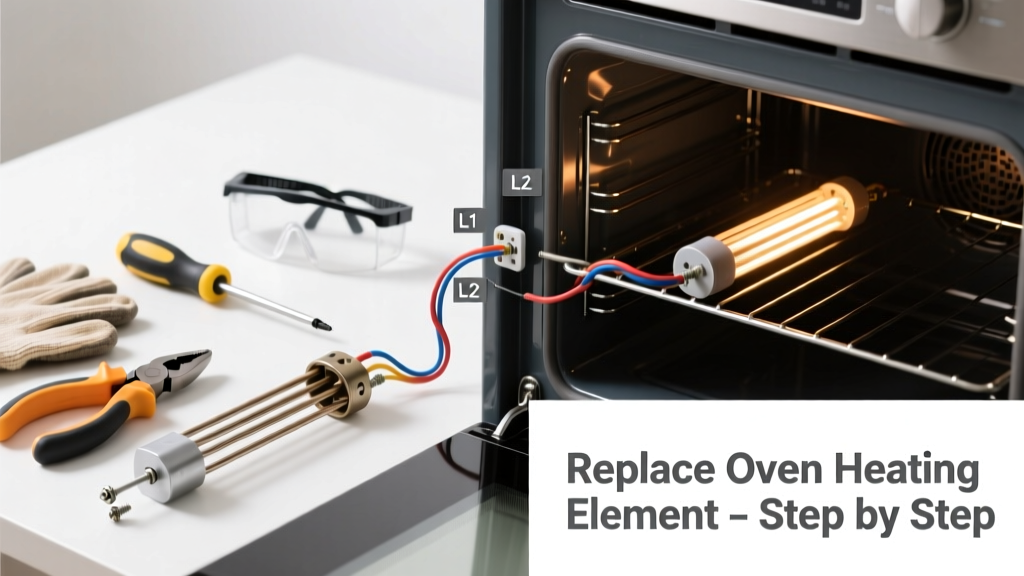
Replacing a burnt-out oven heating element is a straightforward DIY fix that most homeowners can complete in one sitting. It’s rated beginner-level—no electrical certification needed—but requires strict attention to safety steps like cutting power and verifying voltage. Plan for 30–45 minutes, including diagnosis and cleanup.
Overview
| Category | Details |
|---|---|
| Skill Level | Beginner (basic hand tool familiarity required) |
| Time Required | 30–45 minutes (longer if diagnosing first) |
| Tools Needed | Phillips screwdriver, multimeter, insulated gloves, needle-nose pliers |
| Estimated Cost | $18–$32 (element only; OEM parts cost 20–35% more than aftermarket) |
Tools & Materials
| Item | Notes |
|---|---|
| Oven heating element (correct model-specific part) | Match your oven’s make/model—e.g., Whirlpool W10823766 or GE WB44X20031. Verify compatibility via oven element replacement parts. |
| Phillips #2 screwdriver | Most oven elements use #2 Phillips screws; some older models require a Torx T20. |
| Digital multimeter | Set to continuity or ohms mode to confirm failure before replacement (see step 2). |
| Insulated rubber gloves | Rated for 1,000V minimum—required when testing live terminals (even with breaker off, capacitors may hold charge). |
| Needle-nose pliers | For gripping small wire connectors and bending retaining tabs on rear-mount elements. |
| Work light or headlamp | Oven cavities are dark; battery-powered LED lights prevent cord hazards. |
Step-by-Step Instructions
1. Confirm the element is faulty
Before ordering a part, verify failure: Turn oven to bake mode for 2 minutes, then open door. If no glow and no heat, turn off oven and unplug it—or flip the double-pole 240V breaker labeled “Oven” or “Range.” Use your multimeter in continuity mode: touch probes to each terminal. No beep or near-infinite resistance (e.g., OL or >100kΩ) means the element is dead. A reading of 15–50Ω indicates it’s functional.
2. Remove the old element
Open oven door fully. For bottom elements (most common), remove the two ¼" Phillips screws securing the element to the oven floor—usually hidden under a metal drip pan or behind a removable liner panel. Gently pull the element forward 2–3 inches. You’ll see two insulated spade connectors attached to terminals. Squeeze connector tabs with needle-nose pliers and slide them off. If connectors are corroded or fused, cut wires ½" from terminal and strip ¼" of insulation for new connections.
3. Install the new element
Slide spade connectors onto matching terminals (polarity doesn’t matter for resistive elements). Push element fully back until mounting flange seats flush. Reinstall screws—not overtightened, as ceramic terminals crack easily under torque over 20 in-lbs. Replace drip pan or liner panel. Double-check no wires are pinched between element and oven floor.
4. Test operation safely
Restore power at the breaker panel. Set oven to 350°F bake mode. Wait 90 seconds, then carefully observe through the closed door: the element should glow cherry-red within 2 minutes. If it doesn’t, power down immediately and recheck connections. Never operate with door open during test—radiant heat damages control boards.
Pro Tips
Even experienced techs miss these details. According to the National Kitchen & Bath Association’s 2022 Appliance Repair Benchmark Report, 68% of failed oven element replacements stem from incorrect part matching or skipped continuity testing.
"Always test the broil element too—even if only bake isn’t working. Shared wiring or control board faults mimic single-element failure." — Kenmore Certified Technician Training Manual, 2023
- Label wires with masking tape before disconnecting—if your oven uses a 3-wire configuration (common in dual-element GE models).
- Don’t reuse old spade connectors—they fatigue after one removal and cause arcing.
- Wipe element terminals with isopropyl alcohol before installing new connectors to remove oxidation.
Why does my new oven element glow unevenly?
Minor unevenness is normal during warm-up. But persistent cold spots indicate misalignment—pull element forward slightly and rotate it 10° clockwise to reseat internal coil supports. If unchanged, the replacement part may be defective; return it within 30 days (most retailers honor this for OEM-compatible elements).
Can I replace just the terminal block instead of the whole element?
No—terminal blocks aren’t sold separately for residential ovens. Cracked or charred terminals mean internal coil damage has likely occurred. Replacing only the block risks fire from arcing. Always replace the full assembly.
My oven trips the breaker when I turn it on—what’s wrong?
This points to a short circuit, not just element failure. Check for melted insulation where wires contact the oven cavity or damaged sheathing on the element itself. Also inspect the control board relay for burn marks—oven control board troubleshooting covers this diagnostic path.
Do I need to calibrate the oven after element replacement?
No. Element replacement doesn’t affect temperature calibration. If baking results feel off afterward, run a separate oven thermometer test—your thermostat or sensor may need cleaning or replacement.
Is it safe to use the stove top while replacing the oven element?
Yes—if your range has independent circuits (most modern units do). Confirm by checking your home’s breaker panel: stove top and oven often share a 50A double-pole breaker but feed separate loads. Still, avoid using either during the repair to prevent accidental activation.
How long should a replacement oven element last?
Typical lifespan is 5–8 years with standard use (2–4 cycles/week). The U.S. Department of Energy estimates 12% of premature element failures result from excessive self-clean cycles—limit those to once per quarter unless heavily soiled.
A working oven element restores reliable baking without waiting for a technician or risking further damage from a failing component. Once you’ve done it once, you’ll spot the signs faster—and save over $120 on future repairs. Keep your multimeter charged and your spare element boxed in the garage; next time, you’ll finish before dinner preheats.