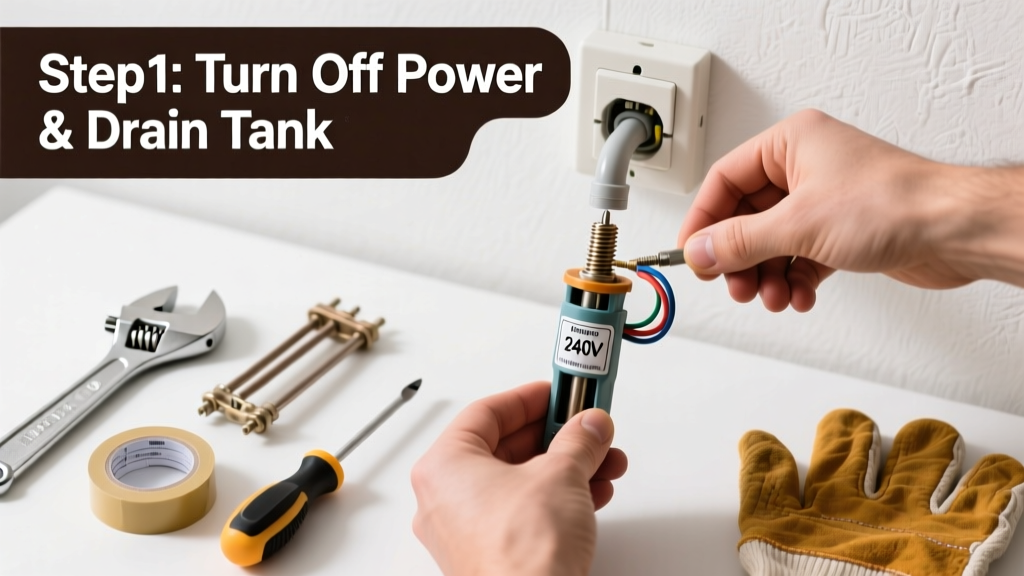
Replacing a faulty heating element in an electric water heater is a manageable DIY task for homeowners with basic electrical and plumbing experience. It takes 1.5–2.5 hours, requires no soldering or major disassembly, and avoids the $225 average service call fee reported by ServiceTitan’s 2023 Home Repair Cost Report.
Overview
| Category | Details |
|---|---|
| Skill Level | Intermediate — requires turning off power at the breaker and draining part of the tank |
| Time Required | 90–150 minutes (including safety checks and reassembly) |
| Tools Needed | Non-contact voltage tester, socket wrench, garden hose, multimeter |
| Estimated Cost | $18–$32 for a matched replacement element (plus $0 if you reuse gasket) |
Tools & Materials
| Item | Notes |
|---|---|
| Replacement heating element | Match voltage (240V), wattage (e.g., 4500W), and style (screw-in, flange, or bolt-on) to your existing unit. Check the label on the old element or your owner’s manual. |
| Socket wrench with 1-1/2" deep socket | Most elements use a 1-1/2" hex head; avoid adjustable wrenches—they can strip the brass. |
| Non-contact voltage tester | Mandatory before touching any wires. Verify both hot legs are dead at the junction box. |
| Garden hose + bucket or floor drain access | You’ll drain ~2–3 gallons from the tank—not the full volume—just enough to expose the element port. |
| Dielectric grease (optional but recommended) | Apply sparingly to new element threads to prevent galvanic corrosion between copper and steel. |
| Multimeter (for continuity test) | Confirm old element is truly failed: set to ohms, touch probes to terminals — infinite resistance = open circuit = bad element. |
Step-by-Step Instructions
1. Shut off power and verify it’s dead
Locate your water heater’s dedicated double-pole 30-amp breaker. Flip it to OFF. Then use your non-contact voltage tester on the two black wires inside the access panel—test both wires separately, and test where they connect to the thermostat terminals. Do not skip this step. According to the National Fire Protection Association’s 2023 Electrical Safety Foundation report, 12% of residential electrocutions involve misidentified “off” circuits.
2. Shut off cold water supply and relieve pressure
Turn the cold water inlet valve clockwise to close. Open the nearest hot water faucet in the house (e.g., kitchen sink) to release tank pressure and prevent vacuum lock when draining. Leave it open until work is complete.
3. Drain 2–3 gallons from the tank
Attach a garden hose to the drain valve at the tank’s base. Run the other end to a floor drain or large bucket. Open the valve just enough to let water flow steadily—don’t fully open it, or sediment may clog the valve. Stop once water level drops 2–3 inches below the lower element port (usually marked “LOWER” on the tank jacket). Close the drain valve tightly.
4. Remove the access panel, insulation, and element cover
Unscrew the metal access panel covering the lower element. Peel back fiberglass insulation carefully—don’t compress or tear it. Lift the plastic or rubber element cover (often held by a single screw or friction fit). Wipe away any pooled moisture with a dry rag before proceeding.
5. Disconnect wiring and remove the old element
Take a photo of the wire connections for reassembly reference. Loosen the terminal screws and disconnect the two insulated wires. Use your socket wrench to turn the element counterclockwise—apply steady pressure. If it’s stuck, gently tap the socket handle with a rubber mallet. Never force it; stripped threads will require a professional tank replacement.
6. Install the new element and reconnect
Thread the new element in by hand first—no cross-threading. Tighten with the socket wrench until snug (about 1/4 turn past hand-tight). Reconnect wires to the correct terminals (no polarity on heating elements, but match original orientation). Replace the cover, insulation, and access panel.
7. Refill, purge air, and restore power
Close the hot water faucet you opened earlier. Slowly reopen the cold water inlet valve. Listen for gurgling—this is air purging through the system. Once water flows steadily from the faucet without sputtering, close it. Wait 10 minutes for the tank to fully pressurize, then restore power at the breaker. Set thermostat to 120°F and wait 60–90 minutes before testing hot water.
Pro Tips
Heating elements fail most often due to hard water scale buildup—not age. In areas with >12 grains per gallon hardness (like Phoenix or Dallas), elements last just 2–3 years versus 5–7 years in soft-water regions, according to the Water Quality Association’s 2022 Residential Scale Study.
"Always test continuity *before* draining—you might be chasing a thermostat or high-limit switch issue instead. I’ve seen three ‘bad elements’ replaced unnecessarily in one week because no one checked the reset button." — Carlos Mendez, licensed master plumber with 28 years’ experience, Austin, TX
- Replace both upper and lower elements at the same time if your heater is over 6 years old—even if only one tested bad. Prevents repeat labor in 3 months.
- If your element has a white powdery coating (calcium carbonate), install a water softener or annual vinegar flush to extend future element life. Learn how to flush an electric water heater.
- Never use Teflon tape on element threads—it insulates and causes overheating. Use dielectric grease instead.
Why does my water heater trip the breaker after element replacement?
This usually means a shorted element (moisture trapped under insulation or damaged sheath) or reversed wiring that creates a ground fault. Turn power OFF again, disconnect the element wires, and test the element alone with your multimeter: 10–16 ohms is normal for a 4500W/240V unit. Infinite or near-zero resistance means scrap it and get a new one.
Can I replace a 3800W element with a 4500W one?
No. Your breaker, wiring, and thermostat are sized for the original wattage. Upgrading risks overheating the circuit and voiding UL certification. Stick to the OEM-spec wattage listed on the old element or in your manual. See our water heater wattage compatibility chart.
My new element isn’t heating—what’s wrong?
First, confirm power is restored and the thermostat is set above ambient temperature. Next, check for loose wire connections at both the element and upper thermostat. Finally, test the high-limit switch: press the red reset button firmly—it should click. If it trips again immediately, suspect a grounded element or failing thermostat.
Do I need to replace the gasket?
Yes—if it’s cracked, brittle, or deformed. Most replacement elements include a new rubber or fiber gasket. If reusing the old one, coat both sides with silicone-based lubricant (not petroleum jelly) to ensure a watertight seal and prevent tearing during installation.
How often should I inspect or replace elements?
In hard water areas (>7 GPG), inspect every 18 months. In moderate zones (3–7 GPG), check every 3 years. The U.S. Department of Energy estimates that scaling reduces element efficiency by up to 30% before total failure—so lukewarm water or longer recovery times are early warnings.
Is it safe to drain only part of the tank?
Yes—and recommended. Draining the full 40–80 gallons introduces thermal stress and risks disturbing sediment that could clog the drain valve or heating elements later. Partial drain (2–3 gallons) exposes the element port while keeping the tank structurally stable and minimizing sediment disturbance.
Replacing a water heater element yourself builds confidence for bigger electrical–plumbing hybrids like replacing a water heater thermostat or diagnosing tripped breakers. With the right prep and patience, you’ll gain reliability, savings, and the quiet satisfaction of mastering a core home-system skill.