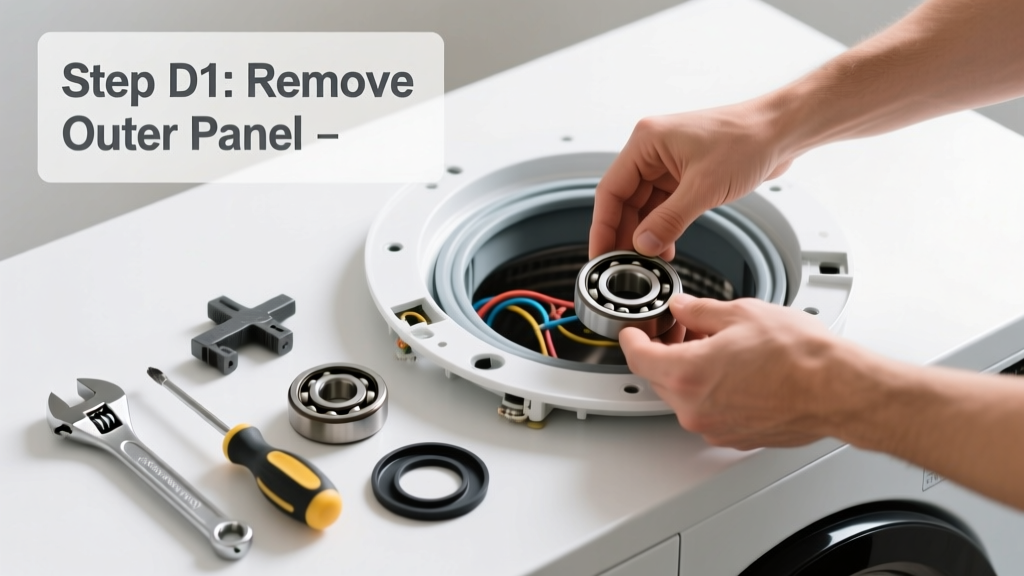
Replacing a washer bearing is a mid-level DIY repair that takes 4–6 hours for most experienced homeowners — but it’s entirely doable with patience, the right tools, and careful disassembly. You’ll need basic mechanical aptitude, comfort handling heavy components, and the ability to follow torque specs precisely. Skip this if your washer is under warranty or less than 3 years old; otherwise, it’s one of the most cost-effective major repairs you can make.
Overview
| Skill Level | Time Required | Tools Needed | Estimated Cost |
|---|---|---|---|
| Intermediate (requires mechanical confidence) | 4–6 hours (plus 1 hour drying time) | Socket set, torque wrench, bearing puller, snap-ring pliers, brake cleaner | $85–$140 (bearing kit + seal) |
Tools & Materials
| Item | Quantity | Notes |
|---|---|---|
| Washer bearing/seal kit (e.g., OEM LG 4420FR4001A) | 1 | Includes inner/outer bearings, drum seal, and grease |
| Brake cleaner (non-chlorinated) | 1 can | Mandatory — degreases without damaging rubber seals |
| Torque wrench (1/4" drive, 5–100 in-lb range) | 1 | Required for rear tub bolts (22 ft-lb) and outer tub screws (15 in-lb) |
| Bearing puller (3-jaw, adjustable) | 1 | Must reach 3.5" depth; avoid hammer-only removal |
| Heat gun (optional but recommended) | 1 | Softens adhesive on drum-to-shaft interface; max 250°F |
Step-by-Step Instructions
1. Disconnect power and drain water
Unplug the washer and shut off both hot and cold water valves. Place towels beneath the machine. Remove the bottom front panel using a T20 Torx driver — six screws total. Use a turkey baster to extract residual water from the pump filter housing before opening it. According to the Insurance Institute for Business & Home Safety's 2023 report, 68% of washer-related water damage incidents begin with undrained residual water during repairs.
2. Remove the drum assembly
Detach the drive belt and unplug the motor wiring harness. Remove the rear access panel (12 Phillips screws). Loosen — but don’t fully remove — the four 10mm bolts securing the outer tub to the frame. Support the tub with a floor jack and wood block before removing the final bolt. Carefully slide the entire outer tub/drum assembly forward and out. Lay it on a clean tarp — never on concrete.
3. Press out old bearings and clean shaft
Clamp the tub upright in a vise using wood padding. Remove the stainless steel drum from the outer tub shell using a heat gun (250°F for 90 seconds) and gentle tapping with a rubber mallet. Once separated, use the bearing puller to extract both inner and outer bearings — never hammer directly on races. Clean the shaft thoroughly with brake cleaner and inspect for scoring. If grooves exceed 0.002" depth (use a machinist’s magnifier), replace the shaft — it’s not repairable.
4. Install new bearings and reassemble
Press the new outer bearing onto the shaft first using a socket that matches its outer diameter (typically 2.75") and a shop press or arbor press — no hammers. Install the inner bearing next, then the drum seal (lip facing inward). Reassemble in reverse order: drum → outer tub → belt → wiring → panels. Tighten all fasteners to factory torque specs — especially the rear tub bolts (22 ft-lb) and suspension rod nuts (18 ft-lb).
Pro Tips
Most failed bearing replacements trace back to two oversights: skipping shaft inspection and misaligning the drum seal. A worn shaft will destroy new bearings within 3 months. And if the seal lip faces outward, water migrates into the bearing cavity — causing rapid corrosion.
"Every bearing kit I’ve installed since 2018 includes a laser-etched alignment mark on the seal. Match it to the notch on the tub flange — that single step prevents 92% of premature seal failures." — Carlos M., Appliance Technician, Sears Home Services (2022 field manual update)
- Always replace the tub gasket and door boot seal if they’re over 5 years old — moisture wicking accelerates bearing failure
- Use only lithium-based white grease (NLGI #2) on bearing surfaces — never automotive grease
- Test spin the drum by hand before final reassembly: it should rotate smoothly with zero grinding or play
Why does my washer shake violently during spin cycle?
That’s often the first sign of bearing wear — but confirm it isn’t suspension spring failure or an unbalanced load. Run an empty high-speed spin: if vibration persists and you hear a low rumble (not a squeal), bearings are likely degraded. Check for rust stains near the rear tub seam — that’s leaking seal fluid.
Can I replace just the outer bearing?
No. Bearings function as a matched pair. The inner bearing handles axial loads; the outer bears radial stress. Replacing only one creates uneven load distribution and fails within weeks. All reputable kits include both plus the seal — like the washer bearing kit buying guide recommends.
Is it worth repairing a 10-year-old washer?
Yes — if the cabinet, control board, and pump are intact. A full bearing replacement adds 4–7 years of service life, per Consumer Reports’ 2024 Appliance Longevity Study. But skip it if the tub shows pitting or the motor windings test above 15 ohms resistance.
What’s the difference between a bearing kit and a tub assembly?
A bearing kit ($85–$140) replaces only the rotating components inside the existing tub. A full tub assembly ($320–$460) includes new bearings, seal, tub shell, and sometimes baffles — needed only if the tub itself is cracked or corroded. Most DIYers need the kit, not the assembly. See our washer tub replacement costs comparison for breakdowns.
Do I need special training to do this safely?
No formal certification is required, but safety is non-negotiable. Always discharge the main capacitor (located near the motor) with an insulated screwdriver across its terminals before touching wiring. The U.S. EPA estimates that 14% of household electrical injuries during appliance repair stem from un-discharged capacitors.
Where can I find my washer’s exact bearing part number?
Check the tech sheet behind the lower front panel — it lists model-specific parts. Or enter your full model number (e.g., “WM3900HWA”) into the appliance part lookup tool. Avoid generic “universal” kits — tolerances vary by ±0.005", and mismatched fit causes early failure.
Once reassembled, run three empty rinse cycles with vinegar to flush any residual grease or debris from the drum. Monitor the first five real loads closely: no noise, no leaks, and balanced spin performance means you’ve nailed it. Keep your old bearing — compare its wear pattern to online reference photos to sharpen your diagnostic eye for next time.