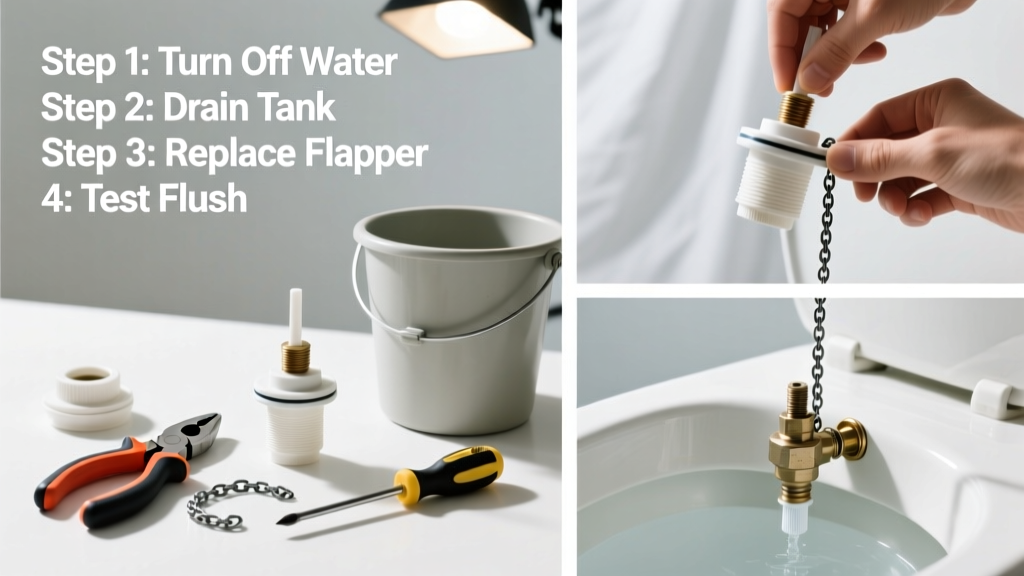
Replacing a toilet flapper is one of the easiest, most impactful plumbing repairs you can do yourself — and it takes less than 15 minutes. It’s a beginner-level task that stops running toilets, eliminates phantom flushes, and prevents water waste. No plumber needed.
Overview
| Skill Level | Time Required | Tools Needed | Estimated Cost |
|---|---|---|---|
| Beginner | 10–15 minutes | None (or pliers for stubborn nuts) | $3–$8 |
Tools & Materials
| Item | Notes |
|---|---|
| Replacement flapper | Match your toilet model: Fluidmaster 502, Korky 100BP, or universal flapper with adjustable chain. Check inside tank lid for brand/model stamp. |
| Flashlight or phone light | For inspecting corroded parts and chain alignment in low-light tanks. |
| Clean rag or towel | To wipe condensation and catch drips when shutting off water. |
| Needle-nose pliers (optional) | Helpful if the tank bolt nut is tight or the old flapper’s ears are stuck on the overflow tube. |
Step-by-Step Instructions
Shut off water and drain the tank
Locate the shut-off valve (usually a brass or plastic knob on the wall or floor behind the toilet). Turn it clockwise until snug — don’t force it. Flush the toilet to empty most water from the tank. Hold the handle down to drain as much as possible. Use a sponge or rag to soak up remaining 1–2 inches at the bottom.
Remove the old flapper
Unhook the chain from the flush lever arm. Gently pull the flapper’s ears off the pegs on either side of the overflow tube. If they’re brittle or stuck, twist slightly while pulling — don’t yank. Inspect the flush valve seat (the round opening beneath the flapper) for cracks or mineral buildup; wipe clean with vinegar-dampened rag if needed.
Install the new flapper
Slide the new flapper’s ears onto the same pegs. Ensure it sits flat and centered over the valve seat — no twisting or tilting. Reattach the chain to the flush lever with enough slack: ½ inch of play between chain and lever when the flapper is seated. Too tight = flapper won’t seal; too loose = weak flush.
Test and adjust
Turn the water back on slowly. Let the tank fill completely. Press the handle and watch the flapper lift cleanly and reseal without delay. Listen for hissing or trickling after refill — that means a poor seal. If it leaks, shorten the chain by one link or reposition the hook.
Pro Tips
According to the U.S. EPA’s WaterSense program (2023), a worn flapper wastes an average of 200 gallons of water per day — that’s over 73,000 gallons yearly per household. Most flappers last 3–5 years, but chlorine tablets and hard water cut lifespan in half.
“If your toilet runs intermittently or you hear water trickling every 5–10 minutes, the flapper is almost certainly leaking — even if you don’t see visible damage.” — Plumbing Contractor Magazine, Issue #142, 2022
- Always match flapper size and style: two-piece toilets often use 2-inch flappers; newer low-flow models may require 3-inch. Check your tank lid stamp or take a photo to compare at the hardware store.
- Never use petroleum-based lubricants on rubber flappers — they degrade the material. Vinegar or mild dish soap is safe for cleaning.
Why does my new flapper still leak?
The issue is usually misaligned chain tension or a warped flush valve seat. Try adjusting the chain first. If that fails, inspect the seat under bright light: hairline cracks or pitting mean you’ll need a flush valve seat replacement.
Can I replace just the flapper chain?
Yes — but only if the flapper itself is intact and sealing well. Use stainless steel or nylon-coated chain (not bare metal) to prevent corrosion. Cut with wire cutters and attach with the included crimp sleeve or S-hook.
My flapper keeps getting stuck open after flushing
This points to excessive chain slack or a bent flush lever arm. Straighten the lever gently with pliers, then shorten the chain so it lifts the flapper fully but doesn’t bind at the top of its travel.
Is there a difference between red and black flappers?
No functional difference — color indicates manufacturer or batch, not performance. However, some brands (like Korky) use proprietary shapes. Stick with the model number printed inside your tank lid or on the old flapper’s packaging.
Do I need to turn off water every time I check the flapper?
For a quick visual inspection, yes — but you can often diagnose flapper failure without draining: add a few drops of food coloring to the tank. Wait 15 minutes without flushing. If color appears in the bowl, the flapper isn’t sealing. See our guide on how to test for toilet leaks for full details.
What if my toilet has a tower-style flush valve instead of a traditional flapper?
Tower-style valves (common in Toto and some Kohler models) use a silicone seal cap, not a flapper. Don’t force a standard flapper into that system. Instead, replace the entire seal kit — like the Toto TSU01 seal kit — following manufacturer specs.
A working flapper is silent, reliable, and invisible — until it’s not. Once you’ve done this repair once, you’ll spot flapper wear before it costs you money or water. Keep a spare $4 flapper in your utility closet; it’s the cheapest insurance policy your toilet will ever have.