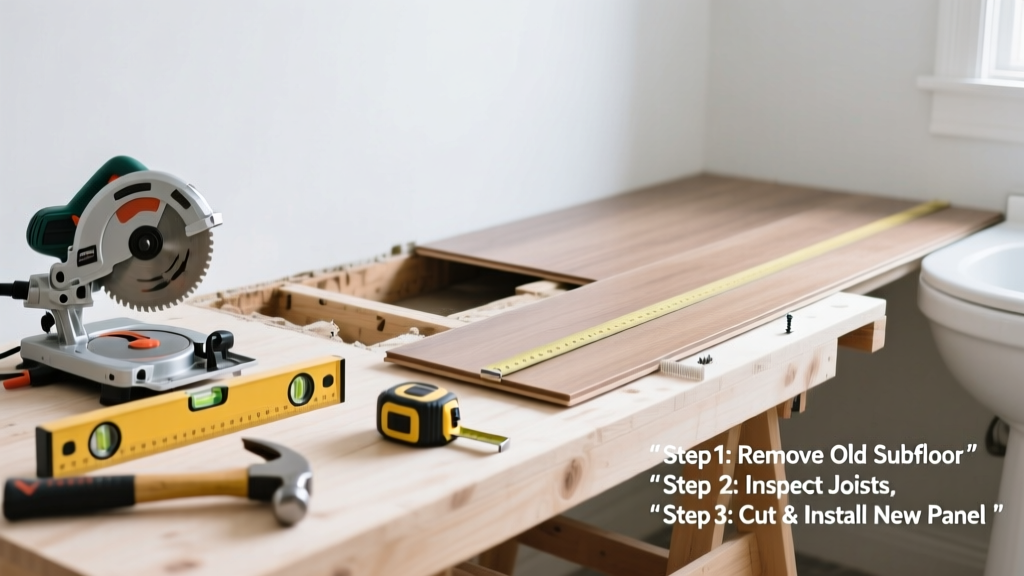
Replacing a subfloor is a foundational home repair skill that bridges carpentry and structural safety. It’s intermediate difficulty—requiring precision, not just muscle—and takes 1–3 days depending on room size and damage extent. You’ll need basic framing knowledge, but no prior subfloor experience is required if you follow these steps carefully.
Overview
| Category | Details |
|---|---|
| Skill Level | Intermediate (requires measuring, cutting, and nailing accuracy) |
| Time Required | 8–24 hours of active work (plus drying time if moisture is present) |
| Tools Needed | Circular saw, pry bar, framing square, tape measure, chalk line, drill/driver, stud finder |
| Estimated Cost | $120–$350 (for a 10' × 12' room using 3/4" tongue-and-groove OSB) |
Tools & Materials
| Item | Notes |
|---|---|
| 3/4" tongue-and-groove OSB or plywood | OSB preferred for moisture resistance; use APA-rated panels stamped 'Exposure 1' |
| 16d galvanized sinker nails or 3" deck screws | Screws reduce future squeaks—use every 6" along joists and edges |
| Circular saw with carbide-tipped blade | Set depth to 1-1/8" to cut cleanly through subfloor without nicking joists |
| Stud finder with deep-scan mode | Essential for locating joists when floor covering is intact (e.g., vinyl or carpet pad) |
| Moisture meter (optional but recommended) | Readings above 19% indicate active rot—replace all affected areas, not just visibly soft spots |
| Work gloves, safety glasses, N95 mask | Mandatory when removing old subfloor—especially if mold or asbestos-laden adhesive is suspected |
Step-by-Step Instructions
1. Confirm the damage and map joist locations
Start by pulling up baseboards and any finished flooring (vinyl, laminate, tile underlayment). Tap the floor with a hammer handle: dull thuds signal soft or rotten spots. Mark all compromised areas with painter’s tape. Then use a stud finder to locate joists every 16" or 24" on center—confirm spacing with a tape measure from wall to wall. Draw a chalk line over each joist across the full span.
- Tip: If you’re working in a bathroom, check for leaks under the toilet flange or tub surround first—fix the source before replacement.
- Warning: Never cut into a floor without verifying joist location. Cutting a joist compromises structural integrity and requires engineering review.
2. Cut and remove damaged sections
Set your circular saw depth to 1-1/8" and cut along your chalk lines—stopping 1/2" short of walls to avoid cutting into wall framing. Use a pry bar to lift sections, working from one corner outward. Remove fasteners from joists as you go. Inspect joists for rot, insect damage, or warping. Sand or treat minor surface rot with epoxy consolidant; replace joists showing >10% cross-sectional loss.
- Tip: Save a 6" × 6" piece of the old subfloor—it helps match thickness and material specs at the hardware store.
- Warning: If you find black, crumbly wood or visible mold growth, stop and consult an IAQ professional—mold remediation may be required before new installation.
3. Cut and fit new subfloor panels
Lay new panels perpendicular to joists (standard practice for stiffness and load distribution). Leave a 1/8" gap between sheets for expansion. Stagger end joints so they fall over different joists—not directly above one another. Use a framing square and pencil to mark cuts. For tight fits near walls, scribe the panel using a compass or utility knife and trim with a jigsaw.
According to the American Wood Council’s Design Values for Joists and Rafters (2022), subfloor panels installed perpendicular to joists increase floor stiffness by up to 40% compared to parallel orientation—critical for ceramic tile or hardwood installations.
4. Secure and seal the new subfloor
Fasten panels with 3" exterior-grade deck screws every 6" along joists and every 8" along panel edges. Sink screw heads just below the surface—don’t countersink too deeply. Fill screw holes with wood filler if installing finish flooring that requires a perfectly smooth surface. Seal all seams with 30-lb felt paper or a liquid-applied membrane like RedGard if moisture exposure is likely (e.g., bathrooms).
- Tip: Pre-drill pilot holes near panel ends to prevent splitting, especially with plywood.
- Warning: Don’t rely on adhesive alone. Screws or nails must carry structural load—adhesive only supplements shear resistance.
Pro Tips
Seasoned contractors emphasize two things most DIYers overlook: alignment and fastener pattern. A 1/16" misalignment between sheets creates a ridge that telegraphs through thin flooring. And skipping edge fasteners invites future squeaks—even if the center feels solid.
“I’ve torn out dozens of ‘quiet’ floors where the homeowner used only center-row screws. The fix? Pull up the finish floor, add edge screws, and reseal. Always fasten the perimeter first.” — Carlos Mendez, 28-year framing foreman, Chicago Remodeling Co. (2023)
Common mistakes include using interior-grade plywood in damp areas (causing delamination), forgetting to acclimate panels for 48 hours in the room, and installing panels with the stamp side down (which hides grade and exposure ratings).
Why does subfloor thickness matter?
Thickness affects deflection—the amount a floor bends under load. For 16" o.c. joists, 3/4" is minimum for hardwood; 5/8" is acceptable only for carpet or vinyl over sleepers. The International Residential Code (IRC R507.4) mandates 3/4" for decks and habitable rooms unless engineered drawings specify otherwise.
Can I replace just part of the subfloor?
Yes—if damage is localized and joists are sound—but cut back to the nearest full joist bay. Never leave unsupported panel ends. Patching small holes with plywood “dutchmen” works only for cosmetic repairs under resilient flooring—not structural fixes.
Do I need a permit for subfloor replacement?
Usually not for like-for-like replacement. But if you’re altering joist layout, adding support blocking, or upgrading from 1/2" to 3/4", check with your local building department. In flood-prone zones (like those mapped by FEMA’s 2022 updates), thicker or pressure-treated subfloors may be required.
How do I handle transitions to adjacent rooms?
Use a flush-mount reducer strip or sand the new subfloor down to match existing height. If the old subfloor is 5/8" and you’re installing 3/4", you’ll need a 1/8" transition ramp or adjust door clearances. Measure both sides with a straightedge before final fastening.
What’s the best subfloor material for a basement?
Avoid standard OSB—it swells irreversibly when wet. Instead, use AdvanTech or Huber Zip System subfloor panels, which maintain structural integrity at up to 30% moisture content. Pair with a dimpled drainage mat and vapor barrier beneath if slab moisture readings exceed 3 lbs/1,000 ft²/24 hrs (per ASTM F1869 test).
Can I install tile directly over new subfloor?
Only after verifying flatness: no more than 1/8" deviation over 10 feet (per ANSI A108.02). Use self-leveling compound over low spots. Also, ensure joist spacing meets tile manufacturer requirements—typically 16" o.c. max for large-format porcelain.
Once secured and sealed, your new subfloor becomes the reliable foundation for whatever finish you choose—from hardwood flooring to bathroom tile. Take time to double-check fastener spacing and seam gaps—they’re invisible once covered, but their quality determines whether your floor stays silent and solid for decades. For deeper guidance on matching subfloor prep to your finish material, see our guide on subfloor prep for laminate vs. tile.