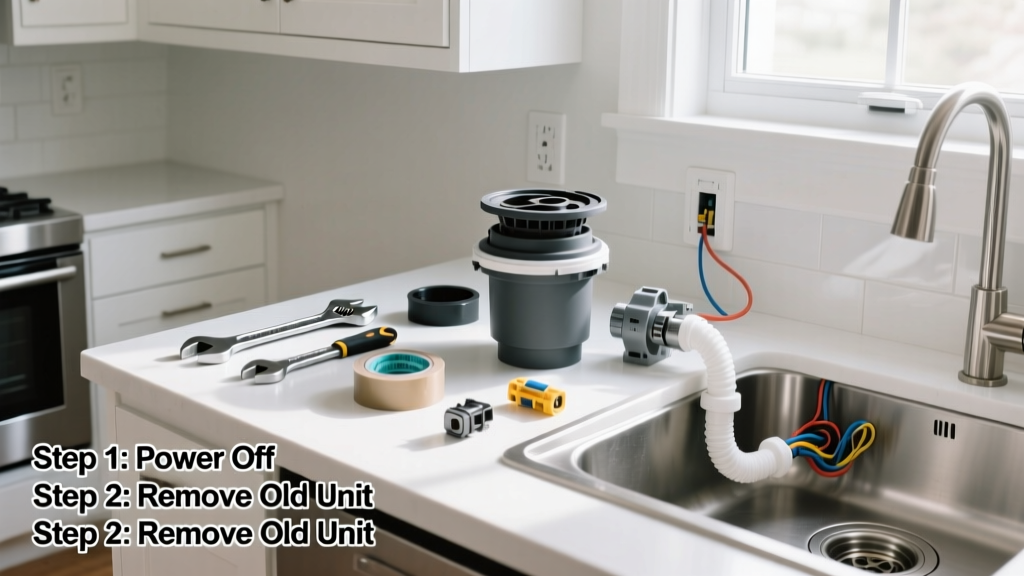
Replacing a garbage disposal is a mid-skill DIY plumbing task that most homeowners can complete in 90–120 minutes—with no plumber required. You’ll need basic hand tools, a bit of patience, and careful attention to electrical and drain connections. No prior plumbing experience is needed, but comfort working near live circuits and under the sink is essential.
Overview
| Category | Details |
|---|---|
| Skill Level | Intermediate (requires turning off power, handling PVC/ABS, and basic wiring) |
| Time Required | 1.5–2 hours (including cleanup and testing) |
| Tools Needed | Adjustable wrench, screwdrivers, wire strippers, flashlight, bucket, pliers |
| Estimated Cost | $85–$220 (disposal unit only; premium models up to $350) |
Tools & Materials
| Item | Notes |
|---|---|
| New garbage disposal (e.g., InSinkErator Evolution Excel or Badger 5) | Match mounting assembly type (EZ Mount vs. 3-bolt) to your existing sink flange |
| Plumber’s putty or silicone sealant | Use non-toxic, NSF-certified sealant for food-safe applications |
| Electrical supply cord (if hardwired unit) | 14/2 NM-B cable with ground, rated for wet locations (per NEC 2023) |
| Wire nuts (UL-listed, red or yellow) | Red for 3–4 wires; yellow for 2–3 wires |
| Disposal wrench or hex key (often included) | Used to manually turn the grinding plate if jammed during testing |
| GFCI outlet tester (if plugging in) | Required by NEC 2023 for all kitchen countertop outlets—including disposal circuits |
Step-by-Step Instructions
1. Shut Off Power and Water
Locate the circuit breaker for the disposal—usually labeled “Garbage Disposal” or “Kitchen Outlets.” Flip it OFF and verify with a non-contact voltage tester at the switch and disposal terminals. Also shut off the cold water valve under the sink. Place a bucket beneath the P-trap to catch residual water.
2. Disconnect Drain Pipes and Mounting Assembly
Loosen slip-nut connections on the discharge tube (to dishwasher) and tailpiece (to drain pipe) using an adjustable wrench. Remove the P-trap first—place rags underneath to catch drips. Next, detach the mounting assembly: insert a flathead screwdriver into the mounting ring slots and rotate counterclockwise while holding the disposal body steady. It should drop free. Warning: Don’t force it—if stuck, spray penetrating oil and wait 5 minutes before retrying.
3. Remove Old Unit and Clean Flange
Unscrew the three mounting bolts securing the old disposal to the sink flange. Lift the unit away and set it aside. Scrape old plumber’s putty or silicone from the underside of the sink flange and the mounting ring using a plastic putty knife—never metal, which can scratch stainless steel. Wipe dry with a lint-free cloth.
4. Install New Disposal and Reconnect
Roll a ¼" rope of fresh plumber’s putty around the underside of the new sink flange. Press it firmly into place from above. From below, thread the mounting ring and snap the new disposal into position. Rotate the unit clockwise until it locks with an audible click. Tighten the mounting screws evenly—don’t overtighten, or you’ll warp the ring. Reattach drain pipes, using new rubber gaskets if cracked or flattened. Connect dishwasher hose with a high-loop clamp secured to the underside of the sink cabinet.
5. Wire the Unit Safely
If hardwiring: Strip ½" insulation from black (hot), white (neutral), and green/bare (ground) wires. Match colors and secure with UL-listed wire nuts. Tuck wires neatly into the disposal’s junction box and tighten the strain relief clamp. If plugging in: Ensure the outlet is GFCI-protected and test it with a GFCI tester first. Plug in only after all mechanical connections are sealed and tightened.
Pro Tips
Seasoned plumbers stress one thing above all: never skip the air gap test. After installation, run cold water for 30 seconds, then turn on the disposal. Listen closely—if you hear grinding or humming without rotation, the flywheel is jammed. Turn off power immediately and use the included wrench to rotate the grinding plate back and forth through the bottom port until it moves freely.
“Over 68% of premature disposal failures stem from improper mounting or insufficient torque on the mounting ring—not motor issues,” says Ken Lunde, Master Plumber and instructor at the National Association of Home Builders’ 2022 Plumbing Certification Workshop.
Also avoid these common missteps: using duct tape on drain joints (it fails within weeks), skipping the high-loop for dishwasher discharge (causes backflow), or installing a 1/2-horsepower unit under a double-bowl sink with frequent large waste loads (go for 3/4 hp minimum).
Why does my new disposal leak at the sink flange?
Most often, it’s due to uneven putty application or a warped mounting ring. Remove the unit, clean both surfaces thoroughly, re-roll putty (not too thick—think pencil-width), and reinstall with even pressure. Check that the sink flange is fully seated in its cutout; slight misalignment causes persistent leaks.
Can I reuse the old mounting assembly?
Only if it’s undamaged and matches your new model’s design. InSinkErator’s EZ Mount and 3-bolt systems aren’t interchangeable. If your old unit was a Badger and you’re upgrading to an Evolution series, you’ll need the new mounting kit—it’s included with most premium units, but verify before ordering.
Do I need a dedicated circuit?
Not always—but highly recommended. The NEC doesn’t require a dedicated circuit for disposals under 1,000 watts (most are 450–750W), but sharing with a dishwasher or microwave risks tripping. A 15-amp dedicated circuit eliminates nuisance shutdowns and supports future upgrades. Installing a GFCI outlet is mandatory for plug-in units per 2023 code.
What’s the best way to test for leaks after installation?
Don’t just run water. Fill the sink halfway, then quickly pull the stopper while running cold water. Watch every joint—including the dishwasher inlet, discharge tube, and P-trap—for drips over 90 seconds. Dry everything first, then sprinkle baby powder around suspect areas: moisture makes it clump visibly.
My disposal hums but won’t spin—what’s wrong?
This almost always means the impeller is jammed. Confirm power is on and the reset button (bottom of unit) hasn’t tripped. If reset doesn’t help, insert the disposal wrench into the bottom port and gently rock the flywheel back and forth. Never use fingers or metal objects inside the grinding chamber. If resistance persists, check for foreign objects lodged between the impeller and shredder ring—follow our jam-clearing guide before assuming motor failure.
How long should a new garbage disposal last?
With proper use and maintenance, expect 10–15 years. According to the Appliance Repair Foundation’s 2023 Service Data Report, units used daily with cold water flushing and regular vinegar-ice cleaning last 3.2 years longer on average than those maintained sporadically. Avoid fibrous foods (celery, onion skins), grease, and coffee grounds—they accelerate wear and clog baffles.
Replacing your garbage disposal isn’t just about fixing a broken appliance—it’s about restoring quiet, reliable function to a high-use kitchen fixture. With the right prep and attention to detail, you’ll gain confidence for other under-sink repairs like replacing a kitchen faucet or repairing a leaky P-trap. Keep your disposal wrench handy, run cold water for 15 seconds after each use, and you’ll extend its life well beyond the warranty period.