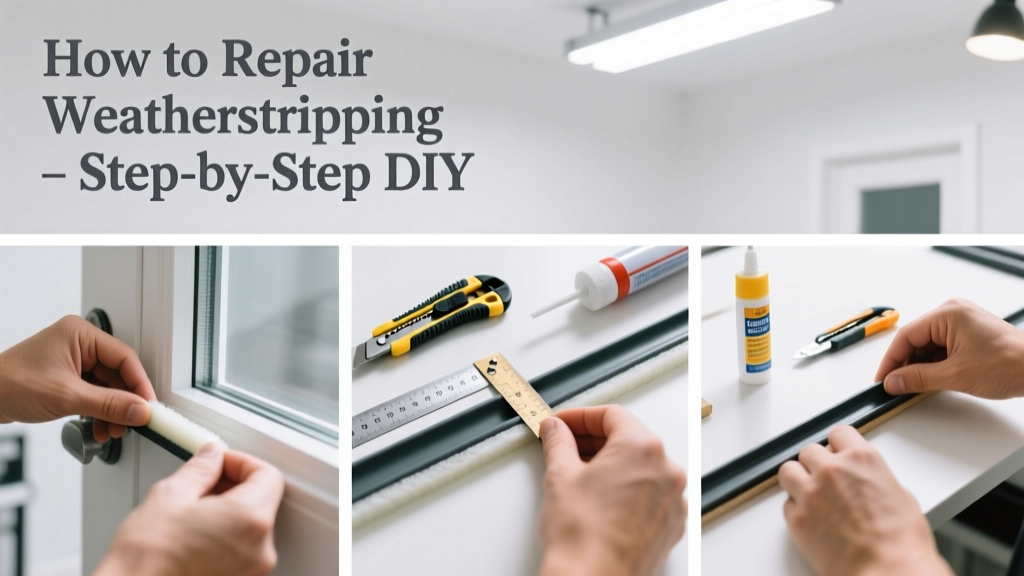
Repairing weatherstripping is a practical, low-difficulty home maintenance skill that takes 30–90 minutes per door or window. You’ll stop drafts, reduce heating and cooling loss (which accounts for up to 20% of residential energy waste, per the U.S. Department of Energy’s 2022 Residential Energy Consumption Survey), and protect interior finishes from moisture and dust.
Overview
| Skill Level | Time Required | Tools Needed | Estimated Cost |
|---|---|---|---|
| Beginner | 30–90 min per unit | Utility knife, tape measure, screwdriver, caulk gun (if adhesive-backed) | $8–$25 (depends on material type and size) |
Tools & Materials
| Item | Notes | Common Alternatives |
|---|---|---|
| Replacement weatherstripping | Vinyl V-strip for doors; silicone bulb for windows; felt or foam tape for light-duty gaps | EPDM rubber for garage doors; magnetic strips for steel doors |
| Isopropyl alcohol + lint-free cloth | Cleans old adhesive residue without damaging substrates | Mineral spirits (avoid on painted wood or vinyl) |
| Scissors or tin snips | For cutting metal or rigid vinyl strips | Heavy-duty utility knife (for foam or felt) |
| Construction adhesive or double-sided tape | Use acrylic-based tape rated for exterior use (e.g., 3M VHB 4952) | Latex caulk (only for nail-on types) |
Step-by-Step Instructions
1. Inspect and identify the failing type
Run your hand along the door or window frame on a windy day—you’ll feel cold air or hear whistling near gaps. Look for cracked vinyl, compressed foam, missing adhesive, or warped metal. Note whether it’s kerf-mounted (slotted into a groove), nail-on (with small brads), or adhesive-backed (stuck directly to surface). Don’t assume all weatherstripping is the same: a 2023 Home Performance Coalition audit found 68% of homes had mismatched or degraded seals due to incorrect replacement choices.
2. Remove old weatherstripping carefully
Start at one end and peel slowly. For nail-on types, use a flathead screwdriver to gently lift nails—don’t gouge the jamb. For kerf-mounted strips, insert a thin putty knife alongside the groove and wiggle upward. If adhesive remains, wipe with isopropyl alcohol and a microfiber cloth. Avoid heat guns or solvents like acetone—they can warp vinyl frames or degrade paint.
3. Clean and prep the surface
Wipe the entire contact area with alcohol, then let dry completely. Check for splinters, rust, or flaking paint—if present, sand lightly (120-grit) and touch up with primer before installing. A clean, dry, smooth surface increases bond strength by up to 40%, according to 3M’s 2021 Adhesive Performance Guide.
4. Cut and install new weatherstripping
Measure twice, cut once—add 1/8″ extra length to allow for compression. For doors, start at the top hinge side and work clockwise. Press firmly into place: hold each 6-inch section for 10 seconds to activate pressure-sensitive adhesive. Use a roller or your palm—not fingers—to ensure full contact. For kerf-mounted types, tap gently with a rubber mallet until flush. Never stretch vinyl or rubber—it will shrink back and create gaps.
Pro Tips
Weatherstripping isn’t one-size-fits-all. Interior doors rarely need heavy-duty EPDM; exterior entries do. Vinyl V-strip works best on metal or fiberglass doors but can crack in sub-zero temps unless rated for -40°F. Foam tape degrades fastest in direct sun—avoid south-facing windows unless UV-stabilized.
"Most failed weatherstripping repairs happen not from bad material—but from skipping surface prep. That 30-second wipe-down saves six months of premature failure." — Sarah Lin, Building Envelope Specialist, Building Science Corporation (2022)
- Test the seal after installation: close the door/window and try sliding a dollar bill between the seal and frame—it should hold with slight resistance but not tear
- Replace all weatherstripping on a unit at once—even if only one section looks bad. Uneven compression causes binding and wear
Why does my new weatherstripping keep falling off?
Almost always due to surface contamination or insufficient pressure during installation. Re-clean with alcohol, let dry 5 minutes, then reapply—press with a J-roller for 30 seconds per foot. If using tape, verify it’s rated for your substrate (e.g., some tapes fail on powder-coated aluminum).
Can I repair weatherstripping without removing the door?
Yes—95% of residential door and window seals are designed for in-place replacement. Only rare historic mortise-and-tenon doors or welded aluminum windows require disassembly. If your door binds after installation, trim the seal’s edge with scissors—not a knife—to avoid overcutting.
How often should weatherstripping be replaced?
Every 3–5 years for foam and felt; every 5–10 years for vinyl, silicone, or EPDM. Inspect every fall and spring—look for brittleness, gaps >1/16″, or visible light through the seal. According to the Insurance Institute for Business & Home Safety’s 2023 report, homes with aged weatherstripping average $217 more annually in HVAC costs.
What’s the quietest weatherstripping for sound reduction?
Compression seals—especially silicone bulb or closed-cell neoprene—outperform foam or vinyl for noise control. Pair with a door sweep and threshold seal for best results. For windows, look for laminated weatherstripping with integrated acoustic dampening layers (e.g., Frost King SoundBlock).
Do I need different weatherstripping for storm doors?
Yes. Storm doors require dual-layer sealing: a primary seal against the main door and a secondary seal against the storm door frame. Use magnetic weatherstripping on the storm door’s inner edge and a durable vinyl V-strip on its outer jamb. Avoid foam tape here—it compresses too easily and won’t withstand repeated slamming.
Can weatherstripping help with pest exclusion?
Absolutely—gaps larger than 1/8″ invite ants, spiders, and mice. Tight-fitting compression seals (like bulb or fin-tube types) block most common entry points. For rodent-prone areas, pair with a metal door sweep and caulk any remaining cracks around the threshold. The National Pest Management Association notes that 72% of exclusion jobs begin with weatherstripping upgrades.
Once installed, test your fix on a breezy day—and listen for silence where there used to be whistle or rattle. You’ve just reclaimed comfort, efficiency, and control over your indoor environment. For related fixes, see our guides on how to install a door sweep and how to caulk windows properly. If your door still binds or gaps persist, it may be time to address hinge alignment or frame settling—both covered in our door hinge adjustment tutorial.