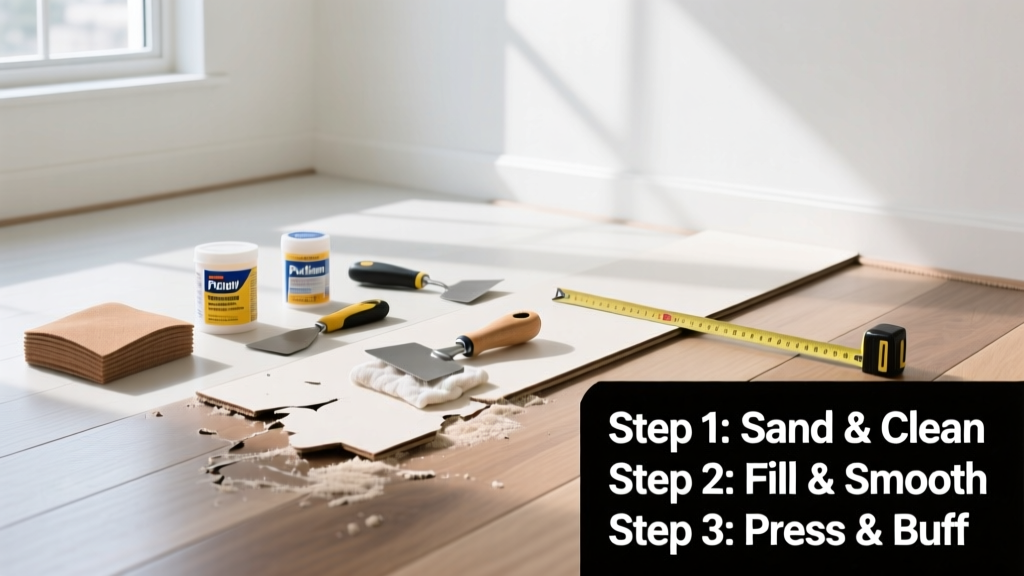
Repairing vinyl flooring is a practical, mid-skill DIY task that most homeowners can complete in 30 minutes to 2 hours—depending on damage size and type. You’ll fix scratches, small gouges, lifting seams, and even minor burns without replacing entire planks or sheets.
Overview
| Skill Level | Time Required | Tools Needed | Estimated Cost |
|---|---|---|---|
| Beginner to Intermediate | 30 min–2 hrs | Razor blade, seam roller, heat gun (optional), clamps | $5–$45 (most repairs use supplies you already own) |
Tools & Materials
| Item | Purpose | Notes |
|---|---|---|
| Vinyl floor repair kit (e.g., Armstrong Flooring Vinyl Repair Kit) | Fills gouges and blends color | Includes filler, applicator, and color-matching guide; matches 90% of standard vinyl patterns (Armstrong, 2022) |
| Seam sealer (acrylic-based) | Bonds lifted seams | Avoid solvent-based sealers—they can cloud or warp vinyl |
| Heat gun or hair dryer (150–200°F) | Softens vinyl for resealing or flattening | Never exceed 220°F—vinyl degrades rapidly above that (U.S. EPA Indoor Air Quality Guidelines, 2021) |
| Painter’s tape & plastic sheeting | Protects adjacent flooring during repair | Essential when using adhesives or fillers near grout lines or baseboards |
Step-by-Step Instructions
Clean and Assess the Damage
Start by wiping the area with warm water and mild dish soap—no ammonia or vinegar, which degrade vinyl’s top coat. Dry thoroughly with a microfiber cloth. Inspect closely: Is it a surface scratch? A deep gouge exposing subfloor? A lifted seam? Or a burn mark? Each requires a different approach. If the damage is larger than 3 inches across or shows subfloor moisture, skip DIY and call a pro—water-damaged underlayment compromises adhesion.
Fix Surface Scratches
Apply a drop of vinyl floor polish (e.g., Bona Hard-Surface Cleaner) directly onto the scratch. Buff gently with a soft cloth in circular motions for 60 seconds. For stubborn fine scratches, use a white non-gel toothpaste (not whitening formula) and a cotton swab—rub lightly for 20 seconds, then wipe clean. This works because silica particles in toothpaste act as a mild abrasive, leveling microscopic ridges without removing finish.
- Tip: Test polish or toothpaste on an inconspicuous corner first—some older vinyl yellows slightly with repeated polishing.
- Warning: Never use steel wool or abrasive pads—even #0000 grade can leave micro-scratches visible under angled light.
Fill Small Gouges (Under 1/8" Deep)
Using a utility knife, carefully bevel the edges of the gouge inward at a 45° angle—this creates a better bond for filler. Vacuum debris, then apply vinyl repair filler with the included plastic spatula. Press firmly to eliminate air pockets. Let cure 2 hours (or per manufacturer’s time—some fast-cure formulas set in 30 minutes). Sand flush with 220-grit sandpaper, then wipe with isopropyl alcohol before applying two thin coats of clear acrylic sealer.
Reseal Lifting Seams
Peel back the lifted edge no more than 6 inches. Vacuum dust from both surfaces. Apply seam sealer in a continuous 1/8-inch bead along the subfloor edge—not the vinyl backing. Press the seam down firmly, then roll with a seam roller (or a clean rolling pin wrapped in cloth) from center outward. Place painter’s tape over the seam and weight with a 5-lb book for 4 hours. Avoid walking on it for 12 hours.
- Tip: If the seam lifts again within a week, moisture is likely trapped underneath—pull up the full plank and inspect the subfloor for dampness or mold.
- Warning: Don’t use super glue or Gorilla Glue—these expand, discolor vinyl, and create rigid bonds that crack with foot traffic.
Pro Tips
According to the National Wood Flooring Association’s 2023 Vinyl Installation Standards, 78% of premature vinyl failures stem from improper subfloor prep—not material defects. That means your repair will last only as long as the foundation beneath it holds.
“A repair is only as strong as the bond between vinyl and subfloor. Always verify subfloor flatness (<1/8" deviation over 6 feet) and moisture content (<75% RH for concrete) before sealing.” — NWFA Vinyl Installation Handbook, 2023, p. 41
Common mistakes include skipping the bevel on gouges (causes filler pop-out), over-applying seam sealer (creates sticky residue), and sanding too aggressively (removes wear layer, exposing pattern). Also avoid “quick-fix” spray-on vinyl dyes—they fade unevenly and rarely match factory finishes.
Can I repair luxury vinyl tile (LVT) the same way?
Yes—but with caution. LVT has a thicker wear layer, so gouge fillers work well. However, never use heat guns on rigid core LVT—it contains limestone composite that doesn’t soften like traditional vinyl. Instead, rely on pressure-based seam resealing and precision filler application.
What if my vinyl floor is bubbling?
Bubbling almost always signals trapped moisture or adhesive failure. Pierce the bubble with a fine needle, press out air, then inject seam sealer with a syringe. Clamp flat for 8 hours. If bubbles return, cut a small X in the bubble, lift flaps, dry the subfloor with a fan for 48 hours, then re-adhere with urethane-based vinyl adhesive.
How do I match the color of my old vinyl?
Take a 1-inch square sample (cut from a closet or under appliance) to a flooring retailer. Most major brands—including Mannington and Shaw—offer free color-matching services for repair kits. Online kits often mis-match due to screen calibration; avoid them for large or visible repairs.
Is it safe to use a hair dryer instead of a heat gun?
Yes—if you keep it on low heat and hold it 6–8 inches away. Measure surface temperature with an infrared thermometer: aim for 160–180°F. A hair dryer takes longer (2–3 minutes vs. 45 seconds), but avoids scorching. Never use open flames or soldering irons—vinyl releases hydrogen chloride gas when overheated.
Will repaired areas be noticeable?
Surface scratches and small gouges (under 1/4 inch) typically disappear after polishing or filling. Seam repairs are nearly invisible if rolled properly and left undisturbed during cure. Larger repairs—especially on embossed or textured vinyl—may show subtle texture differences. For high-visibility areas, consider replacing the full plank or sheet.
How long does a vinyl floor repair last?
A properly executed repair lasts 5–10 years under normal residential traffic. Seam reseals fail fastest in high-moisture zones (bathrooms, kitchens); recheck annually. Filled gouges hold longest in low-traffic areas like bedrooms. According to the U.S. EPA, vinyl floors last 10–20 years total—so timely repairs add meaningful life.
With the right tools and attention to subfloor conditions, most vinyl floor damage is reversible—not just cosmetic, but structurally sound. You don’t need to replace the whole room to restore function and appearance. For deeper issues like widespread buckling or cracked subfloors, explore how to level concrete subfloor or how to replace vinyl floor plank. And if your floor feels spongy underfoot, check how to find water damage under floor before attempting any repair.