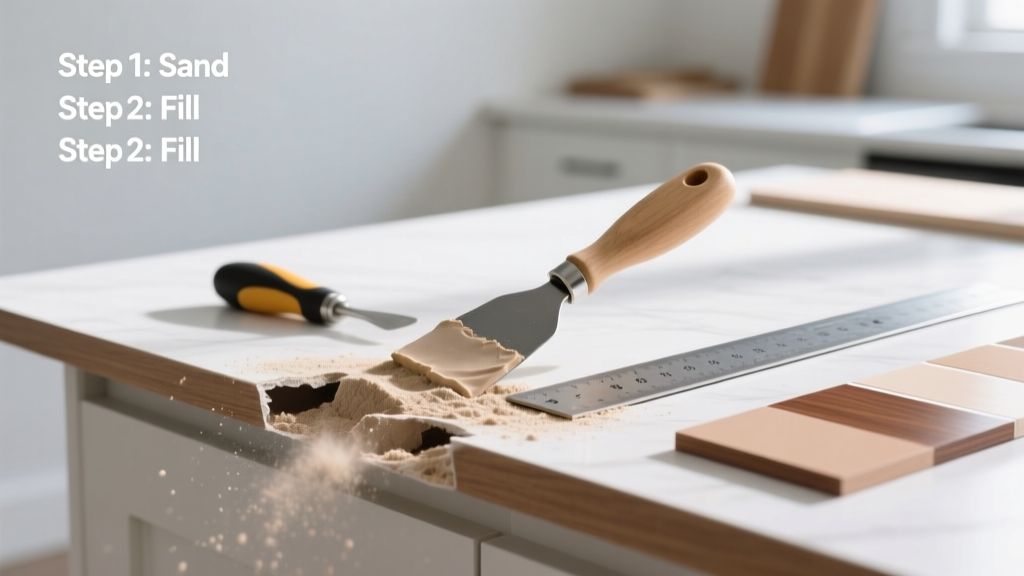
Repairing a laminate countertop is a practical, mid-skill home repair that takes 1–3 hours depending on damage size—and costs under $40. You’ll fix chips, shallow burns, and surface scratches without replacing the entire surface. No carpentry degree required, but patience and steady hands help.
Overview
| Skill Level | Time Required | Tools Needed | Estimated Cost |
|---|---|---|---|
| Intermediate (comfort with adhesives & sanding) | 1–3 hours | Sanding block, utility knife, clamps, heat gun (optional) | $18–$38 |
Tools & Materials
| Item | Quantity | Notes |
|---|---|---|
| Laminate repair paste (e.g., SeamFil or Formica Touch-Up) | 1 tube | Match color code to your countertop—Formica’s online color library has 900+ options |
| 120- and 220-grit sandpaper (sanding block preferred) | 2 sheets each | Avoid orbital sanders—they remove too much material too fast |
| Isopropyl alcohol (91%) and lint-free cloths | 1 bottle + 3 cloths | Essential for cleaning before bonding; water leaves residue that weakens adhesion |
| Plastic putty knife (not metal) | 1 | Metal can scratch or gouge adjacent laminate |
| Clamps or heavy books | 2–4 | For edge delamination repairs only—not needed for chip fills |
Step-by-Step Instructions
Clean and assess the damage
Wipe the area with 91% isopropyl alcohol and a lint-free cloth. Let dry fully. Identify the type: chip (missing material), scratch (surface groove), burn (discolored, bubbled layer), or edge lift (separation from substrate). Chips under ¼" wide and scratches under 1/16" deep are ideal candidates for DIY repair. According to the National Kitchen & Bath Association’s 2022 Maintenance Survey, 68% of laminate repairs fail due to skipped cleaning steps.
Prepare the surface
Lightly sand the damaged zone with 120-grit paper—just enough to dull the gloss and create tooth for adhesion. Wipe away dust with alcohol-dampened cloth. For edge lifts, gently pry up the loose section with a plastic knife, vacuum out debris, and inspect the particleboard substrate for moisture damage. If it’s swollen or crumbly, stop here—you’ll need professional replacement.
Apply repair paste
Squeeze paste onto the defect. Use the plastic putty knife to press it in firmly, overfilling slightly. Scrape excess off in one smooth motion—don’t drag back and forth. Let cure 2–4 hours (check product label; SeamFil dries tack-free in 90 minutes at 72°F). Avoid touching or washing the area during cure.
Sand and polish
Once fully cured, sand with 220-grit paper using light, even pressure—start at the edge of the repair and work inward. Stop when the patch is flush with surrounding laminate. Wipe clean, then buff with a microfiber cloth dampened with a drop of mineral oil. This restores sheen and hides the seam. Don’t use furniture polish—it attracts dust and yellows over time.
Pro Tips
Color-matching is the #1 make-or-break factor. Take a 1" × 1" sample (cut from an inconspicuous spot like inside a cabinet cutout) to a local Formica dealer—or use their free laminate color matching guide. Also, never use superglue or epoxy: they yellow, shrink, and don’t bond to melamine resin. As Mike Rafferty, lead technician at CounterTop Solutions Inc., puts it:
"Laminate isn’t wood—it’s a thermoset polymer film. You’re not filling a hole; you’re re-bonding a surface layer. Wrong chemistry equals visible failure in 6 months."
- For burns: Light discoloration responds to baking soda paste + gentle scrubbing first—skip paste if the surface hasn’t blistered
- For hairline cracks near sink edges: Drill two 1/16" relief holes at each end to prevent crack propagation before filling
- If your laminate is post-formed (curved front edge), avoid heat guns—they can warp the curve
Can I repair a large chip near the sink?
Yes—if it’s under 1.5" wide and doesn’t expose the particleboard core. Larger chips risk water intrusion and require professional resurfacing or replacement. Check our laminate countertop replacement cost breakdown to compare.
Will the repair be visible after sanding?
A well-executed repair is nearly invisible at arm’s length—especially on textured or matte finishes. Glossy surfaces show seams more easily. Test your sanding pressure on scrap laminate first.
How long does the repair last?
With proper prep and cure, SeamFil repairs last 5–7 years under normal kitchen use (per Formica’s 2023 Field Performance Report). Avoid abrasive cleaners directly on the patch for the first 30 days.
Can I paint over laminate instead of using paste?
No. Standard paints won’t adhere to the melamine surface and will peel within weeks. Specialty primers like Zinsser Bulls Eye 1-2-3 work temporarily—but lack impact resistance and fade faster than factory laminate.
Why did my previous repair turn yellow?
Almost always due to UV exposure (near windows) or using cyanoacrylate (super glue), which degrades under heat and light. SeamFil and Touch-Up products contain UV stabilizers and acrylic resins designed for kitchen environments.
Do I need to turn off water or electricity before starting?
No—but unplug nearby appliances if sanding near outlets, and shut off the faucet if repairing within 2" of the sink rim to avoid accidental water contact during curing.
Most laminate countertops last 10–15 years with routine care. A precise, color-matched repair buys you real time—and keeps your kitchen functional while you plan upgrades. If your damage involves exposed substrate, widespread lifting, or water damage under the laminate, it’s time to explore how to install laminate countertop as a full refresh.