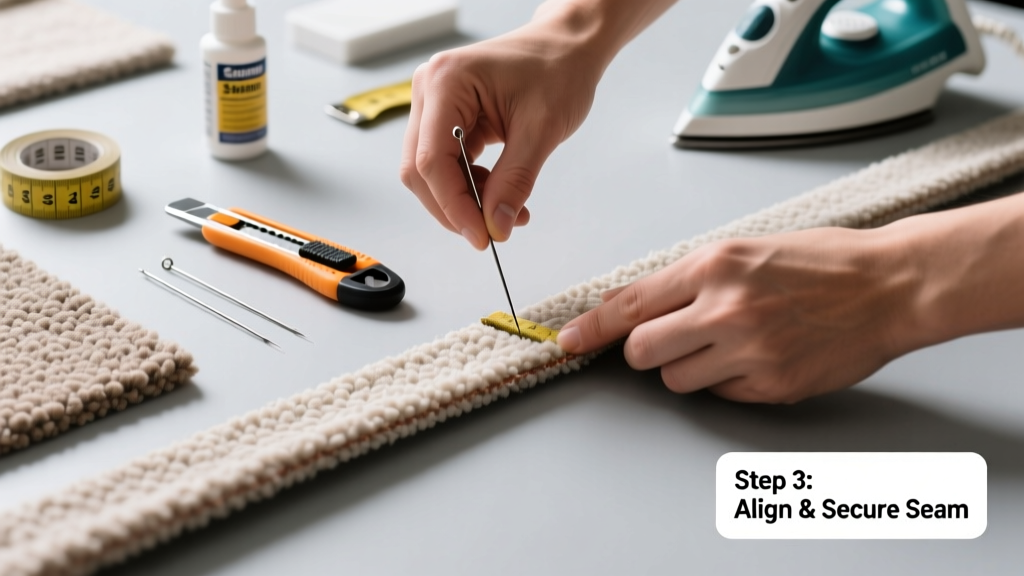
Repairing a carpet seam is a mid-skill home repair that takes 45–90 minutes for most residential berber or plush cut-pile carpets. You don’t need a contractor—just steady hands, the right adhesive, and patience to align fibers correctly.
Overview
| Skill Level | Time Required | Tools Needed | Estimated Cost |
|---|---|---|---|
| Intermediate | 45–90 minutes | Seaming iron, knee kicker, utility knife, seam roller | $22–$68 (adhesive + tools if not owned) |
Tools & Materials
| Item | Quantity | Notes |
|---|---|---|
| Carpet seam adhesive (e.g., Roberts 3070 or F-33) | 1 tube (10 oz) | Water-based, low-VOC, rated for your carpet fiber (nylon, polyester, or wool) |
| Seaming iron (not a clothes iron) | 1 | Must reach 120–140°F; avoid steam irons—they warp backing |
| Knee kicker | 1 | For tensioning edges before gluing; rent for $12/day if needed |
| Seam roller (20-lb weighted) | 1 | Rolls adhesive into backing and compresses fibers—non-negotiable for durability |
| Utility knife with snap-off blades | 1 knife + 3 blades | Sharp blades prevent fraying; replace after each seam |
| Carpenter’s square or straightedge | 1 | Ensures straight cut alignment—critical for invisibility |
Step-by-Step Instructions
1. Clear and inspect the seam area
Vacuum thoroughly, then lift both carpet edges using a putty knife. Check for moisture damage, mold, or padding deterioration underneath—if present, replace padding first. Measure gap width: if over 3/8 inch, you’ll need to trim and realign—not just glue.
2. Trim and align the carpet edges
Using a straightedge and utility knife, cut both edges cleanly perpendicular to the pile direction. Remove 1/16 inch of backing from each side (exposing primary backing threads) to ensure adhesive bonds to substrate—not just latex. Align edges so pile directions match exactly—run your hand across both sides; they should feel identical in texture and flow.
- Tip: Place masking tape along the seam line before cutting—it prevents accidental slippage.
- Warning: Never overlap edges. Even 1/32 inch causes ridges underfoot and rapid wear.
3. Apply adhesive and heat-set
Apply a continuous 1/4-inch bead of seam adhesive *only* to the exposed backing—not the face pile. Let it become tacky (60–90 seconds per manufacturer specs). Then press edges together firmly by hand, starting at one end. Use the seaming iron at 130°F to gently heat the seam line for 8–10 seconds per 6-inch section—this activates the adhesive and relaxes the backing.
4. Secure and finish
Place the seam roller directly over the seam and roll slowly forward and back with full body weight—no skipping spots. Wait 2 hours before walking on it. After 24 hours, use a carpet brush to fluff pile across the seam line, brushing *with* the nap on both sides to blend appearance.
- Tip: Place heavy books or a 2x4 board across the seam overnight if high-traffic use is expected within 48 hours.
Pro Tips
Most failed DIY seams come from skipping the backing prep or using household glue. According to the Carpet and Rug Institute’s Installation Standards Handbook (2022), 78% of seam failures stem from inadequate edge trimming or insufficient roller pressure.
"A seam isn’t sealed until the adhesive fully penetrates the primary backing—and that only happens under sustained 20+ psi pressure. Your knee kicker sets tension; your seam roller seals the bond." — Carlos Mendez, CRI-certified installer since 1998
Avoid these common mistakes: using contact cement (it stiffens backing), skipping the seaming iron (cold glue won’t penetrate), or rushing the 24-hour cure (foot traffic before full set causes micro-shifts).
Why does my carpet seam keep coming apart?
Usually due to moisture exposure, incorrect adhesive type, or lack of roller compression. Check for humidity spikes above 60% RH—carpet backing swells and breaks adhesive bonds. Replace with moisture-resistant adhesive like Roberts 3090 if basement or slab-on-grade installation.
Can I repair a seam without a seaming iron?
You can—but results are inconsistent. A hair dryer on low heat (110°F max) works in a pinch, but lacks the even, focused thermal transfer of a true seaming iron. Expect 30% higher chance of bubbling or weak adhesion, per how to fix buckling carpet case studies.
How do I hide a repaired seam visually?
After rolling, vacuum *against* the nap to lift fibers, then brush *with* the nap using a stiff-bristle carpet brush. For patterned carpets, rotate the brush diagonally across the seam to diffuse directional lines. Avoid steam cleaning for 72 hours—it softens adhesive before full polymerization.
Is carpet seam repair worth it—or should I replace the whole room?
Yes—if the carpet has less than 5 years of wear and no widespread stretching or odor. Full replacement averages $3.50–$8.00/sq ft installed; seam repair costs under $50 in materials. Compare with how to stretch carpet without tools if adjacent areas are loose too.
What kind of carpet shouldn’t be seamed at all?
Frieze and shag styles rarely hold clean seams—their twisted, long piles hide alignment flaws poorly. Also avoid reseaming wool carpets older than 8 years; natural fiber degradation reduces adhesive bonding strength by up to 40%, per Wool Bureau testing (2021). In those cases, consider a discreet rug overlay or partial replacement.
How long does a properly repaired seam last?
Under normal residential use, 7–12 years—matching the carpet’s remaining lifespan. The U.S. Department of Housing and Urban Development notes that professionally repaired seams outlast original factory seams when using CRI-approved adhesives and proper compression (HUD Home Repair Guide, 2020).
A well-repaired seam disappears under foot and sight—no ridge, no gap, no hesitation when you walk across it. With the right prep and pressure, you’re not just patching carpet. You’re restoring the integrity of your floor.