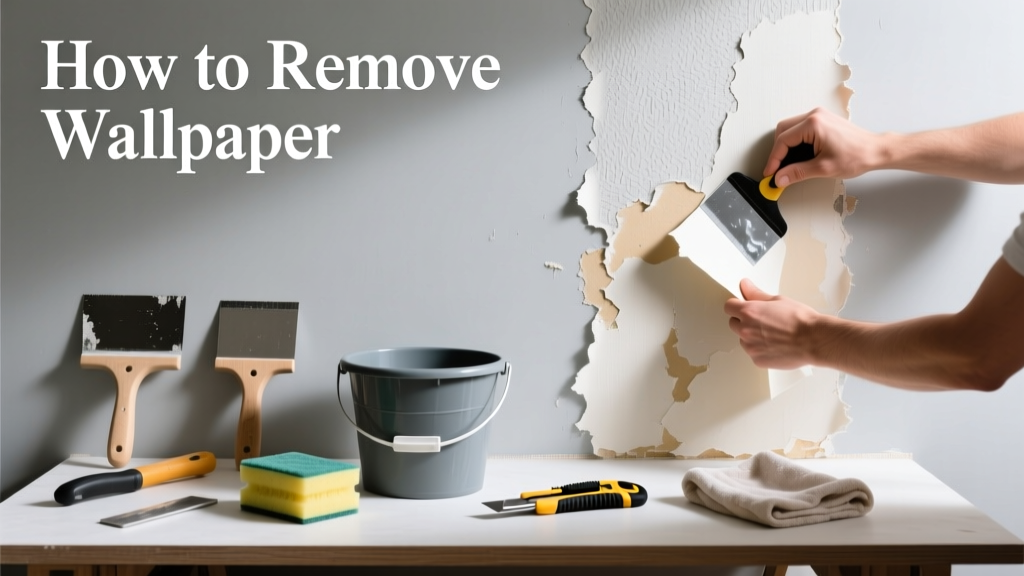
Removing wallpaper is a foundational home repair skill that unlocks fresh paint, new textures, or smooth drywall—but it’s often underestimated. It’s a moderate-difficulty project (2–6 hours per room, depending on age and type), and doing it wrong can gouge plaster or soak drywall into mush. With the right prep and tools, you’ll strip cleanly without calling a contractor.
Overview
| Skill Level | Time Required | Tools Needed | Estimated Cost |
|---|---|---|---|
| Moderate (basic DIY experience helpful) | 3–8 hours (12'×12' room, average condition) | Razor scraper, scoring tool, spray bottle or steamer, putty knife, drop cloths | $15–$90 (rental steamer adds $35/day) |
Tools & Materials
| Item | Purpose | Notes |
|---|---|---|
| Wallpaper scoring tool | Punctures top layer to let solution penetrate | Use a manual roller (not electric) — over-scoring weakens drywall paper |
| Vinyl-safe removal solution (e.g., DIF Concentrate) | Breaks down adhesive without oversaturating | Dilute 1:3 with warm water; test on small area first |
| 1.5" flexible putty knife (stainless steel) | Peels loosened paper without gouging | Avoid stiff blades—they dig into joint compound |
| Steamer (optional but recommended for older or layered wallpaper) | Softens glue on non-porous surfaces | Rent from hardware stores; never use on wallpaper over popcorn ceilings (asbestos risk) |
| Plastic sheeting & painter’s tape | Protects baseboards, outlets, and flooring | Seal edges tightly—removal solutions drip and stain hardwoods |
Step-by-Step Instructions
1. Test adhesion and identify wallpaper type
Peel a corner with your fingernail. If the top layer lifts easily and leaves paste behind, it’s strippable vinyl. If it tears like newsprint and sticks firmly, it’s traditional paper. If nothing budges, it’s likely coated or painted-over—and needs scoring. According to the National Association of the Remodeling Industry’s 2022 Renovation Safety Report, 68% of wallpaper-related drywall damage occurs when homeowners skip this step and assume all walls respond the same way.
2. Clear and protect the room
- Remove outlet covers, switch plates, and trim screws (label each with masking tape).
- Cover floors with overlapping plastic sheeting—tape seams to prevent slippage.
- Turn off power at the breaker before working near outlets or light fixtures.
3. Score the surface (skip only for true strippable vinyl)
Roll the scoring tool lightly—just enough to create tiny perforations. Press too hard and you’ll score the drywall paper underneath, causing bubbles or flaking later. Work in 3'×3' sections so the solution doesn’t dry before you scrape.
4. Apply removal solution and wait
- Spray or sponge on diluted solution—don’t flood the wall. Let it sit 5–7 minutes (longer for older glue).
- Reapply once if paper resists lifting. Never leave solution sitting longer than 10 minutes—excess moisture warps drywall backing.
- For stubborn areas, switch to a handheld steamer: hold nozzle 2" from wall for 20 seconds, then scrape immediately.
5. Scrape and rinse
Hold your putty knife at a 15° angle and push upward—not downward—to lift paper toward the ceiling. Work top-to-bottom in vertical strips. Wipe residue with a damp cellulose sponge (not terry cloth—it sheds lint). Rinse walls twice with clean water to remove all paste; leftover adhesive prevents primer from bonding.
Pro Tips
Older homes often hide multiple layers—especially those built between 1950–1985. Don’t assume one pass is enough. After the first layer comes off, inspect closely: if you see another pattern or texture beneath, repeat the process. And always wear nitrile gloves—the enzymes in removal solutions break down skin oils rapidly.
"The biggest mistake I see is rushing the dwell time. Paste softens in stages: first the starch, then the PVA binder. Wait full 7 minutes—even if it looks wet—then scrape. Patience saves drywall."
— Maria Chen, Certified Wallcovering Installer, Wallcovering Installers Association (2023)
Why won’t my wallpaper peel after scoring and spraying?
Either the adhesive is polyvinyl acetate (PVA)—common in pre-1970s wallpapers—or the wall was painted before papering, sealing the paste. Switch to steam, or try a stronger solution: mix 1 cup white vinegar + 1 gallon hot water. Vinegar breaks down PVA without damaging drywall paper.
Can I paint over wallpaper instead of removing it?
You can—if it’s fully adhered, seam-free, and unpainted. But the U.S. Department of Housing and Urban Development advises against it in rental properties or homes with moisture-prone walls (bathrooms, basements). Trapped moisture causes bubbling, mold, and eventual delamination.
Do I need to prime after removing wallpaper?
Yes—always. Use a high-build, stain-blocking primer like Zinsser Gardz or Kilz Original. Unprimed drywall absorbs paint unevenly, and residual paste creates shiny patches. Skip priming and you’ll need two extra coats of paint—and still get inconsistent coverage.
What if I tear the drywall paper while scraping?
Small tears (<2") can be sanded smooth, patched with lightweight joint compound, and re-primed. Larger tears require skim-coating the entire wall section. Never apply wallpaper directly over torn paper—it will telegraph through every future finish.
Is there asbestos in old wallpaper?
Wallpaper itself rarely contains asbestos—but the adhesive used before 1980 sometimes did, especially in commercial buildings or homes with textured plaster walls. If your home was built before 1980 and the glue is thick, gray, and crumbly, stop work and contact an EPA-certified abatement professional. The U.S. EPA estimates that 14% of homes built before 1980 contain asbestos in some building materials.
Can I reuse the same removal solution on multiple walls?
Yes, but only if it hasn’t been contaminated with drywall dust or paste. Strain used solution through cheesecloth before re-bottling. Discard after 24 hours—bacteria growth reduces enzyme effectiveness and creates odor.
Once your walls are bare, smooth, and primed, you’re ready for paint, new wallpaper, or a textured finish. For help choosing the right primer, see our guide on best primer for drywall. If you’re tackling a bathroom or kitchen, don’t miss our tips for sealing drywall in humid areas—moisture control starts long before the first brushstroke.