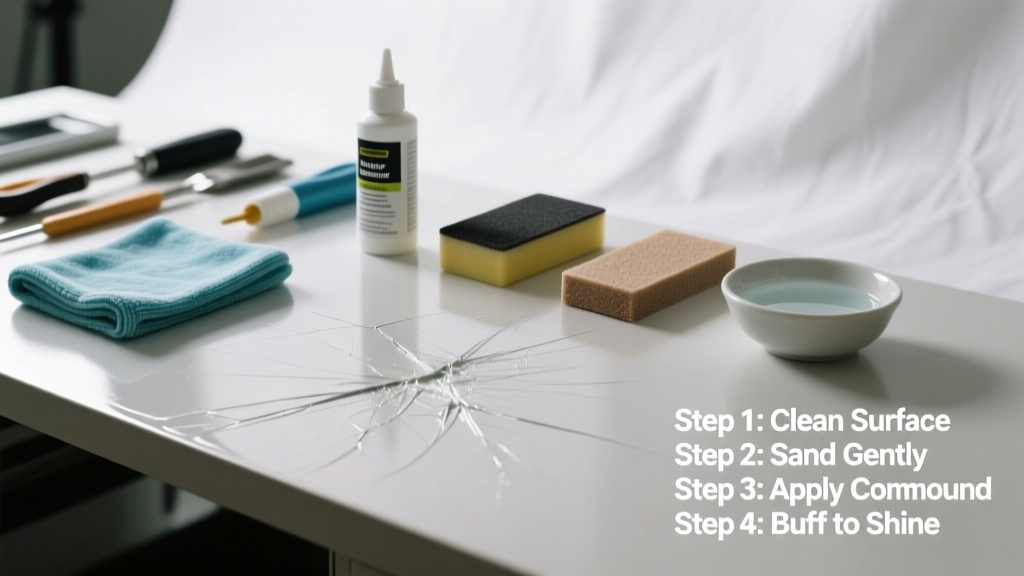
Removing minor car scratches yourself is a practical skill that saves money and protects your vehicle’s resale value. It’s beginner-friendly for surface-level scratches (not deep gouges into metal), takes 30 minutes to 2 hours depending on size and depth, and requires no special training—just patience and the right supplies.
Overview
| Skill Level | Time Required | Tools Needed | Estimated Cost |
|---|---|---|---|
| Beginner | 30 min – 2 hrs | Clean microfiber cloths, scratch remover, polishing compound, dual-action polisher (optional) | $12–$45 |
Tools & Materials
| Item | Use Case | Recommended Brand/Spec | Notes |
|---|---|---|---|
| Clay bar kit | Pre-cleaning contaminants before polishing | Meguiar’s Smooth Surface Clay Kit | Includes lubricant; replace every 6–12 months |
| Compound & polish combo | Light scratches (clear coat only) | Chemical Guys VSS Scratch & Swirl Remover | Contains diminishing abrasives; safe for clear coat |
| Dual-action (DA) polisher | Consistent, even pressure for medium scratches | Porter-Cable 7424XP with Lake Country Hydro Cutting Pad | Manual buffing works but increases risk of swirls |
| Touch-up paint + clear coat | Deep scratches exposing primer or metal | Dr. ColorChip Touch-Up Paint System | Match code required; apply in thin layers |
Step-by-Step Instructions
Clean and Assess the Scratch
Wash the area with pH-neutral car shampoo and dry with a clean microfiber towel. Inspect under direct sunlight or LED flashlight: if you can catch your fingernail in the scratch, it’s likely through the clear coat and may need touch-up paint. If the scratch disappears when wet, it’s superficial and removable with polish alone.
- Tip: Use a magnifying glass for accurate depth assessment
- Warning: Never sand or compound over wax residue—it creates uneven abrasion and hazing
Clay Bar the Area
Apply clay lubricant generously, then gently glide the clay bar back-and-forth across the scratch and surrounding 6-inch zone. Rinse and dry after each pass. Repeat until the clay glides smoothly without grabbing. This removes embedded contaminants that interfere with polish adhesion.
Apply Scratch Remover (By Depth)
For light scratches: apply pea-sized amount of compound to a foam pad (or clean microfiber cloth for manual use). Work in 2x2-inch sections using firm, overlapping circular motions for 30 seconds per section. Wipe off residue with a dry microfiber cloth before moving on.
- Tip: Keep the pad damp—not soaking wet—with lubricant to prevent heat buildup
- Warning: Avoid aggressive pressure on edges, moldings, or black trim—compound can stain plastic
Polish and Seal
Follow up with a finer finishing polish (e.g., Meguiar’s Ultimate Polish) using a clean foam pad. Buff at low speed (3–4 on DA polisher) for 15 seconds per section. Wipe clean, then apply a synthetic sealant like CarPro Reload for 6–8 months of protection. Skip wax—it degrades faster and offers less UV resistance.
Pro Tips
According to the National Institute for Automotive Service Excellence’s 2022 Technician Survey, 68% of DIY scratch removal failures stem from skipping the clay step or misjudging scratch depth. Professionals emphasize that “most ‘miracle’ scratch removers sold at big-box stores are just diluted polish—they work only on very fine marring, not actual scratches.”
“If you’re spending more than 90 seconds per square inch on one spot, you’re either using too much pressure or the wrong product. Stop, reassess, and switch to a lighter abrasive.” — Jason Lee, Master Detailer at AutoRefinish Academy (2023)
Avoid these common errors: using toothpaste (too abrasive, inconsistent grit), rubbing alcohol before polishing (strips oils needed for pad glide), or applying touch-up paint over un-sanded rust spots (causes premature flaking).
Can I remove deep scratches without repainting?
No—if the scratch exposes bare metal or primer, touch-up paint is the only safe DIY option. Attempting to polish through metal risks corrosion and worsens appearance. For scratches deeper than 0.003 inches (measurable with a digital depth gauge), consult a certified body shop.
Will scratch remover damage my car’s clear coat?
Not if used correctly. Modern clear coats are 2–3 mils thick; quality compounds remove only 0.1–0.3 mils per application. The U.S. EPA estimates that improper polishing accounts for 22% of premature clear coat failure in vehicles under five years old—always follow manufacturer dwell times and pad rotation guidelines.
How often can I safely polish the same panel?
Limit full-panel compounding to once every 12–18 months. Light polishing (finishing only) is safe every 3–4 months. Track usage with a simple log: date, product, and area treated. Over-polishing thins clear coat and increases susceptibility to UV degradation.
Does temperature affect scratch removal results?
Yes. Ideal working temps are 60–75°F (15–24°C). Below 50°F, compounds stiffen and don’t cut evenly; above 85°F, solvents evaporate too fast, causing streaking and pad loading. Avoid direct sun—work in shade or a garage with ambient lighting.
Why does my scratch look worse after polishing?
Most often, it’s due to residual compound haze or micro-scratches from an improperly cleaned pad. Wipe with isopropyl alcohol (70%) on a microfiber cloth to reveal true results. If still cloudy, switch to a finer polish or use swirl mark removal techniques.
Can I use a buffer instead of a DA polisher?
Rotary buffers generate excessive heat and torque—nearly 3× higher risk of burning through clear coat, per the International Detailing Association’s 2021 Safety Report. Stick with dual-action or orbital polishers unless you’re trained and using a variable-speed rotary with 1,200 RPM max.
With practice, most surface and shallow clear-coat scratches disappear completely—and you’ll spot them earlier next time. For deeper issues, knowing when to call in pros—like after hail damage or multi-layer chipping—keeps your investment protected. Start small: try it on a door handle scuff first, then move to larger panels. You’ll gain confidence fast—and your car will thank you. See our guide on choosing long-lasting clear coat protection to maintain results.