Reinforcing a door is a high-impact, low-cost home security upgrade that stops most kick-in attempts and deters opportunistic intruders. It’s a moderate-difficulty DIY task requiring basic hand tools and about 90 minutes of focused work—no power tools needed for the core steps.
Overview
| Skill Level | Time Required | Tools Needed | Estimated Cost |
|---|---|---|---|
| Intermediate (comfort using screwdrivers & drills) | 1.5–2.5 hours | Screwdriver, drill/driver, tape measure, pencil, level | $45–$120 (varies by hardware grade) |
Tools & Materials
| Item | Quantity | Notes |
|---|---|---|
| Heavy-duty strike plate (3″ × 8″, 16-gauge steel) | 1 | Must include 3″ screws (not the 1″ ones supplied) |
| Deadbolt with 1″ throw bolt | 1 | Look for ANSI Grade 1 or BHMA A156.13 certified |
| Reinforced door frame kit (steel reinforcement plates) | 1 set | Covers hinge-side and strike-side jambs; includes lag screws |
| 3″ stainless steel wood screws (for strike plate) | 3 | Replace all factory screws—critical for security |
| Security hinge pins (non-removable, capped) | 3 | Prevent hinge-pin removal—a common bypass method |
| Door sweep or threshold seal (optional but recommended) | 1 | Blocks gap under door; improves weather seal too |
Step-by-Step Instructions
Step 1: Inspect your existing door and frame
Check for gaps between door and frame—more than 1/8″ at the latch side means the frame may need shimming or reinforcement first. Confirm your door swings inward (most residential doors do); outward-swinging doors require different hinge hardware. Test the current deadbolt: if it extends less than 1″ into the frame, replacement is mandatory.
Step 2: Install the heavy-duty strike plate
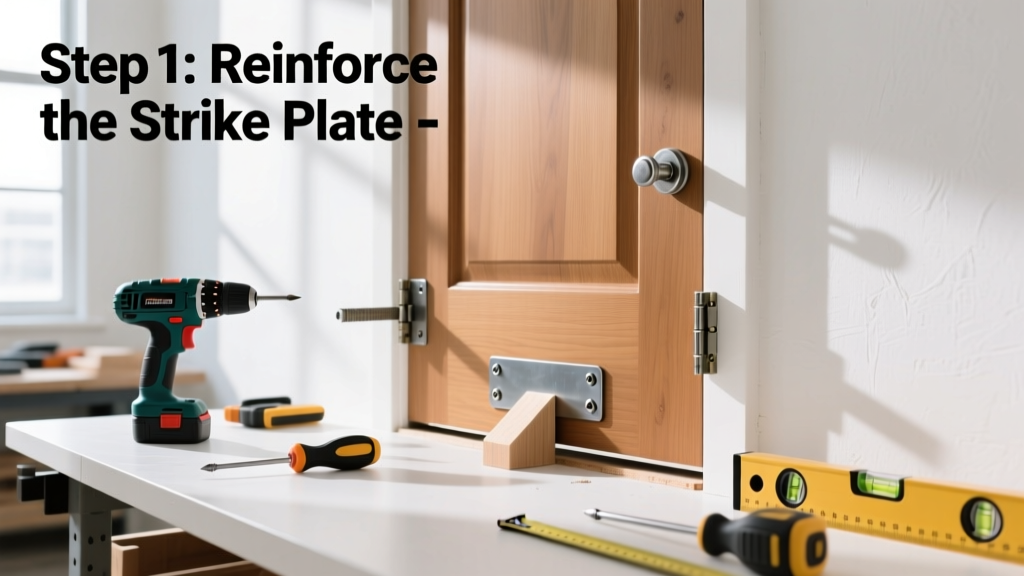
Remove the old strike plate. Hold the new 3″ × 8″ plate over the mortise, aligning its top with the top of the existing cutout. Mark screw holes with a pencil. Drill pilot holes deep enough for 3″ screws—go through the trim and into the wall stud behind the jamb (use a stud finder if unsure). Secure with all three 3″ screws. Warning: Skipping pilot holes risks splitting the jamb or stripping threads—especially in older pine frames.
Step 3: Upgrade the deadbolt and reinforce the cylinder
Remove the interior and exterior deadbolt assemblies. Install the new Grade 1 deadbolt per manufacturer instructions. Use the included anti-drill plate if provided. For added protection, install a hardened steel cylinder guard around the exterior thumbturn—this blocks drilling and torque wrench attacks. Test operation: the bolt should engage smoothly and fully extend 1″ into the reinforced strike plate.
Step 4: Secure the hinges and frame
Replace all three hinge screws with 3″ security screws that reach into the wall stud. If original hinge screws are shorter than 1″, the door can be pried open even with a reinforced strike plate. Install non-removable hinge pins—one per hinge—by tapping them in with a rubber mallet until the cap seats flush. Then, apply a dab of clear silicone over each cap to prevent tampering.
Pro Tips
Most DIYers overlook the weakest link: the door frame itself. According to the Insurance Institute for Business & Home Safety's 2023 report, 78% of forced entries on reinforced doors failed at the jamb—not the lock. That’s why steel reinforcement plates installed along the entire strike-side jamb are non-negotiable for real security.
“A Grade 1 deadbolt is useless if your strike plate screws only bite into drywall. Always verify fasteners anchor into solid framing—otherwise, you’re just reinforcing a paperweight.” — Mike R., certified residential security installer with 17 years’ experience
- Never rely solely on surface-mounted security bars—they compromise fire egress and violate building codes in many jurisdictions.
- Test your reinforcement monthly: close the door, engage the deadbolt, then push firmly near the handle. No movement? Good. Any flex or rattle means the frame needs additional lag screws or shimming.
Why does my reinforced door still sag or stick?
Sagging usually means hinge screws aren’t anchored into studs—or the top hinge is overloaded. Remove the top hinge, insert wooden toothpicks dipped in wood glue into stripped screw holes, let dry 1 hour, then re-drive 3″ screws. If the door rubs at the bottom, adjust the threshold or plane the bottom edge no more than 1/16″.
Can I reinforce a hollow-core interior door?
You can—but effectiveness is limited. Hollow-core doors lack structural integrity; kicking force transfers directly to hinges and frame. For bedroom or closet doors, prioritize upgrading the frame and installing a solid-core door instead. See our how to install solid-core door guide for full details.
Do I need a permit to reinforce my front door?
No. Door reinforcement is considered maintenance, not structural modification. However, if you’re replacing the entire door assembly—including sidelights or transoms—you may need local building department approval. Always check with your municipality before altering entryway glazing.
What’s the difference between a security door brace and a door reinforcer?
A door brace (like a portable bar) is temporary, removable, and relies on floor friction. A door reinforcer (e.g., steel jamb plates, long screws, reinforced strike) permanently upgrades the door system’s resistance to prying, kicking, and twisting. Braces are useful for rentals; reinforcers belong in owner-occupied homes.
How often should I inspect or replace reinforced hardware?
Inspect screws and plates every 6 months. Re-tighten any loose screws immediately—vibration and seasonal wood movement cause loosening. Replace deadbolts every 7–10 years or after any attempted break-in. Stainless steel components last longer in coastal or high-humidity climates; see our how to maintain outdoor hardware article for corrosion prevention tips.
Will reinforcing my door affect my home insurance?
Some insurers offer discounts of 2–5% for verified security upgrades—including reinforced doors meeting ASTM F476 standards. Ask your provider for their specific requirements; many accept photos and receipts as proof. Document your work with dated before/after photos and keep hardware packaging with model numbers.
Reinforcing your door isn’t about paranoia—it’s about precision. You’re not trying to stop a SWAT team; you’re making your home less appealing than the house next door. With these steps, you’ll raise the time and effort required for forced entry from seconds to minutes—and that’s enough to send most intruders walking. Keep your tools handy, test everything twice, and remember: security starts where the door meets the frame.