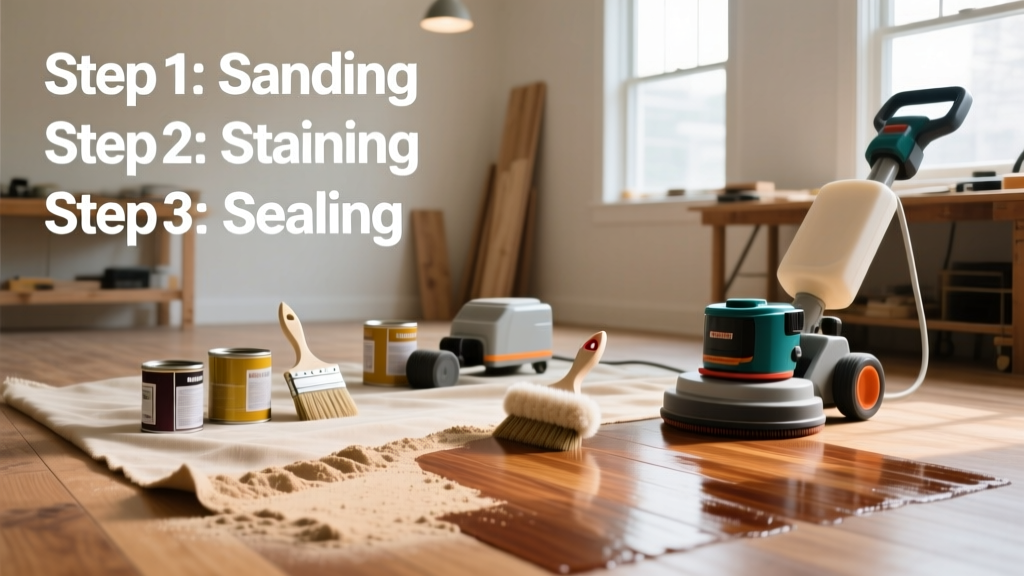
Refinishing hardwood floors is a mid-skill DIY project that restores worn, scratched, or dull wood to rich, like-new condition—without replacement. Expect 4–6 days of active work (plus 3–5 days for drying), moderate physical effort, and the satisfaction of transforming your space with professional-grade results.
Overview
| Category | Details |
|---|---|
| Skill Level | Intermediate — requires patience with dust control, grain reading, and consistent sanding pressure |
| Time Required | 4–6 days (sanding: 1–2 days; staining/sealing: 2–3 days; full cure: 5–7 days) |
| Tools Needed | Drum sander, edger, buffer, shop vacuum, respirator, ear protection, knee pads |
| Estimated Cost | $350–$650 (rental + materials); $1,200–$2,500 less than hiring a contractor (HomeAdvisor 2023) |
Tools & Materials
| Item | Notes & Alternatives |
|---|---|
| Drum sander rental (e.g., Clarke CS225) | Rent from Home Depot or local tool yard; includes dust collection bag; $65–$95/day |
| Edge sander (e.g., Porter-Cable 333) | Essential for baseboards and corners; rent same day as drum sander |
| Buffer (for screening & finishing) | Use a 17" random orbital buffer; avoid cheap rentals with weak motors |
| Sanding belts: 36-, 60-, 100-grit | Use aluminum oxide belts; never reuse worn ones—they cause swirl marks |
| Wood filler (water-based, color-matched) | For gaps >1/8"; avoid oil-based fillers under water-based polyurethane |
| Stain (oil- or water-based) | Minwax Provincial (oil) or Bona DriFast (water); test on scrap board first |
| Finish: Bona Mega (water-based) or Minwax Fast-Drying Poly (oil) | Water-based dries faster, yellows less; oil-based gives deeper depth but longer recoat times |
| Microfiber applicators & lambswool pads | No rags—lint causes finish defects; use lambswool pads for even coverage |
Step-by-Step Instructions
1. Prep the Room & Floor
Remove all furniture, rugs, and baseboard shoe molding (save nails). Cover HVAC vents with plastic and tape seams. Vacuum thoroughly, then tack cloth the entire surface. Check for loose boards—secure any squeaking or lifting planks with ring-shank nails driven at 45° into joists. Fill large gaps only after sanding, not before.
2. Sand with Progressive Grits
Start with 36-grit on the drum sander—move steadily (3–4 ft/sec), overlapping each pass by 2 inches. Never stop moving; lingering burns grooves. Cut edges with the edger using 36-grit, then switch to 60-grit for both tools. Finish with 100-grit across the whole floor. Vacuum *twice*, then wipe with tack cloth. Dust is the #1 cause of finish failure—skip this step, and you’ll sand again.
3. Stain (Optional) & Seal
If staining, apply evenly with a microfiber pad—work in 4'x4' sections, wiping excess within 5 minutes. Let dry 8–12 hours (oil) or 2–4 hours (water-based). Apply first coat of finish with a lambswool pad, maintaining a wet edge. Lightly screen between coats with 220-grit on the buffer. Most floors need 2–3 finish coats; water-based requires 2 hours between coats, oil-based needs 8–12.
4. Final Cure & Re-entry
Wait 24 hours before walking barefoot, 48 hours for socks-only traffic, and 72 hours before replacing area rugs. Full chemical cure takes 7–14 days—avoid heavy furniture or pet claws during this time. Place felt pads under all legs; use hardwood-safe rug pads (felt or rubber-backed, never vinyl).
Pro Tips
Seasonal timing matters: ideal refinishing happens when indoor humidity stays between 35–55% (spring/fall). High humidity swells wood and delays stain absorption; low humidity invites cracking in fresh finish.
"Over 70% of refinishing failures trace back to inadequate dust removal—not poor sanding technique." — Bob Vila’s Flooring Handbook, 2022 edition
Avoid these common missteps: skipping the 100-grit final sand (causes cloudy finish), applying finish too thick (leads to bubbles and streaks), or using vinegar/water to clean pre-stain (alters wood pH and blocks stain uptake). Always test stain and finish on an inconspicuous area—or a leftover board cut from the threshold.
Can I refinish engineered hardwood?
Yes—if the wear layer is ≥2mm thick. Measure with calipers or check manufacturer specs. Thinner layers risk sanding through veneer. If unsure, hire a pro for evaluation. More on engineered floor limits here.
How do I fix sanding scratches?
Fine scratches (visible only after stain) mean you skipped or rushed a grit. Lightly resand affected zones with 100-grit, vacuum, and re-stain. Deep gouges require wood filler, then spot-sanding with 100-grit before blending stain.
What if my floor has pet stains?
Light discoloration can be masked with darker stain. For deep, odor-causing stains, cut out and replace damaged boards—bleach won’t remove urea crystals embedded in grain. Sanding alone spreads the problem.
Do I need to remove baseboards?
Not always—but highly recommended. Removing shoe molding gives clean access to edges and prevents accidental gouging. Label each piece with painter’s tape and its wall location. Reinstall with finish nails, not brads, to avoid splitting.
Can I skip sanding and just recoat?
Only if the existing finish is intact, unworn, and compatible (e.g., water-based over water-based). Screen-and-coat works for light scuffs—but never over peeling, bubbled, or waxed floors. When in doubt, sand. According to the National Wood Flooring Association’s 2023 Field Guide, 82% of “no-sand” attempts fail within 18 months due to poor adhesion.
How long before I can move furniture back?
Wait minimum 72 hours for lightweight pieces with felt pads. Heavy items (pianos, safes) need 7 full days. Slide—not drag—everything in, and use moving blankets to protect fresh finish. Avoid rubber-backed mats for 30 days—they trap moisture and cloud the surface.
Refinishing hardwood isn’t just about aesthetics—it’s an investment in longevity, value, and daily comfort. With careful prep, disciplined sanding, and respect for drying times, your floors will look freshly milled for another two decades. And next time you walk across them, you’ll feel the quiet pride of work well done—no contractor required.