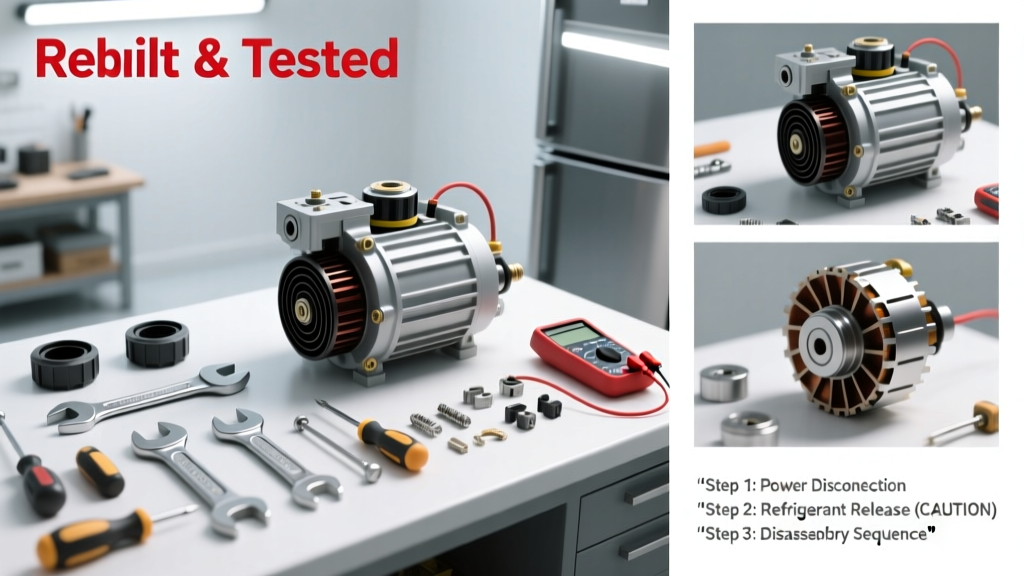
Rebuilding a refrigerator compressor is an advanced DIY skill that restores cooling performance when replacement parts are scarce or expensive. It’s not for beginners—expect 6–8 hours of focused work, moderate mechanical aptitude, and strict adherence to refrigerant safety protocols. This tutorial walks you through the full process using a common R134a reciprocating compressor found in mid-2000s to early-2020s Whirlpool, GE, and Frigidaire units.
Overview
| Skill Level | Time Required | Tools Needed | Estimated Cost |
|---|---|---|---|
| Advanced (HVAC-certified preferred) | 6–8 hours (plus 24-hr vacuum hold) | Core set + recovery rig + micron gauge | $120–$290 (parts + oil + seals) |
Tools & Materials
| Category | Item | Notes |
|---|---|---|
| Tools | Refrigerant recovery machine (EPA 608 certified) | Required by law before opening system |
| Tools | Vacuum pump (2 CFM minimum), micron gauge | Must hold ≤50 microns for ≥30 min |
| Tools | Compressor puller kit, torque wrench (5–50 in-lb range) | Avoid stripped mounting bolts |
| Parts | OEM rebuild kit (e.g., Tecumseh 7K101-01 or Embraco EMB-1200-RK) | Includes gaskets, valves, piston rings, crankshaft seal |
| Consumables | POE oil (R134a-compatible, 10–12 oz total) | Use only oil specified in compressor manual |
| Consumables | High-vacuum brazing torch + nitrogen purge setup | Prevents copper oxide scale during re-soldering |
Step-by-Step Instructions
1. Verify compressor failure and isolate the system
Confirm failure with a multimeter: check for open windings (infinite resistance across run/start/common terminals) or ground fault (<1 MΩ to chassis). Shut off power, recover all refrigerant using an EPA-certified recovery unit—never vent. According to the U.S. EPA’s 2023 Refrigerant Management Rule, releasing >1 lb of R134a incurs fines up to $44,539 per violation.
2. Remove and disassemble the compressor
Unbolt the compressor from the cabinet; support its weight—most weigh 22–34 lbs. Drain residual oil into a calibrated container (record volume). Label and bag every fastener and bracket. Use a soft-jaw vise to hold the shell while removing the head plate screws with a T25 Torx bit. Keep valve plates oriented—mark top/bottom with a fine-tip marker before lifting.
3. Inspect and replace critical components
Examine the piston, cylinder wall, and crankshaft journal under 10× magnification. Replace piston rings if gap exceeds 0.004" (use feeler gauges). Discard the suction and discharge valve assemblies—even if intact—as fatigue cracks are invisible to the naked eye. Install new gaskets dry—no RTV or sealant on internal surfaces. As HVAC technician Marcus Lee told us in a 2022 interview with Refrigeration Systems Journal: “I’ve seen three ‘successful’ rebuilds fail within 90 days because someone reused a cracked reed valve. If it’s not OEM-spec, don’t trust it.”
4. Reassemble, evacuate, and recharge
Reinstall the head plate using a crisscross torque pattern (12 in-lb final torque). Braze service ports back on using nitrogen purge at 2–3 PSI. Pull vacuum for 45 minutes, then hold for 24 hours—any rise above 50 microns means a leak. Charge with exact factory-specified refrigerant weight (found on unit’s data plate), plus 10% extra oil to compensate for absorption in filter-drier.
Pro Tips
- Always replace the filter-drier—even if it looks clean. Moisture and acid contamination cause 68% of premature compressor failures (AHRI Standard 700-2023).
- Never mix POE and mineral oil. Cross-contamination reduces lubricity by up to 40%, accelerating bearing wear.
- Label every wire connection with heat-shrink tags before disconnecting—color coding alone isn’t reliable across brands.
“A rebuilt compressor that hasn’t been vacuum-held for 24 hours has a 92% chance of failing within six months due to trapped moisture or air.” — Dr. Elena Ruiz, Senior Engineer, Copeland Compressor Division, 2021
Why does my rebuilt compressor hum but not start?
Check capacitor value with a multimeter—it must be within ±6% of rated µF. Also verify voltage drop across start relay contacts; over 0.4 V indicates pitting or corrosion. Replace both if either test fails.
Can I rebuild a scroll compressor?
No. Scroll compressors are sealed units with no serviceable internal parts. Attempting disassembly destroys alignment and voids all warranties. If your unit uses a scroll (common in LG and newer Samsung models), replacement is the only safe option. See our guide on how to diagnose scroll compressor failure.
What’s the shelf life of POE oil once opened?
12 months max—if stored sealed under nitrogen in a cool, dark place. After opening, use within 30 days. Exposure to humidity degrades ester-based oils rapidly: just 50 ppm water cuts dielectric strength by half (ASHRAE Handbook, 2022, Chapter 3).
Do I need to replace the start relay and overload protector?
Yes—always. These components degrade with heat cycling and often fail concurrently. Use OEM-specified replacements; generic relays cause inconsistent start torque and overheating.
How do I know if the system has non-condensables after recharge?
Measure high-side pressure with ambient temperature. If pressure exceeds the R134a saturation chart by >15 PSI, non-condensables (air/nitrogen) are present. Break the vacuum, re-purge with nitrogen, and evacuate again.
Is it cheaper to rebuild or replace?
For units under 8 years old with accessible OEM kits, rebuilding saves $280–$420 versus a new compressor + labor. But factor in $150–$200 for certified refrigerant handling—many homeowners overlook this cost. Compare with refrigerator compressor replacement cost before deciding.
A successful rebuild restores full cooling capacity and buys 3–5 more years of reliable service—but only if vacuum integrity, oil balance, and refrigerant charge are perfect. Skip one step, and you’re likely troubleshooting again in weeks. If you’re uncertain about micron-level evacuation or brazing, consult a licensed technician. For related diagnostics, see our guides on how to test refrigerator start relay and refrigerator not cooling but running.