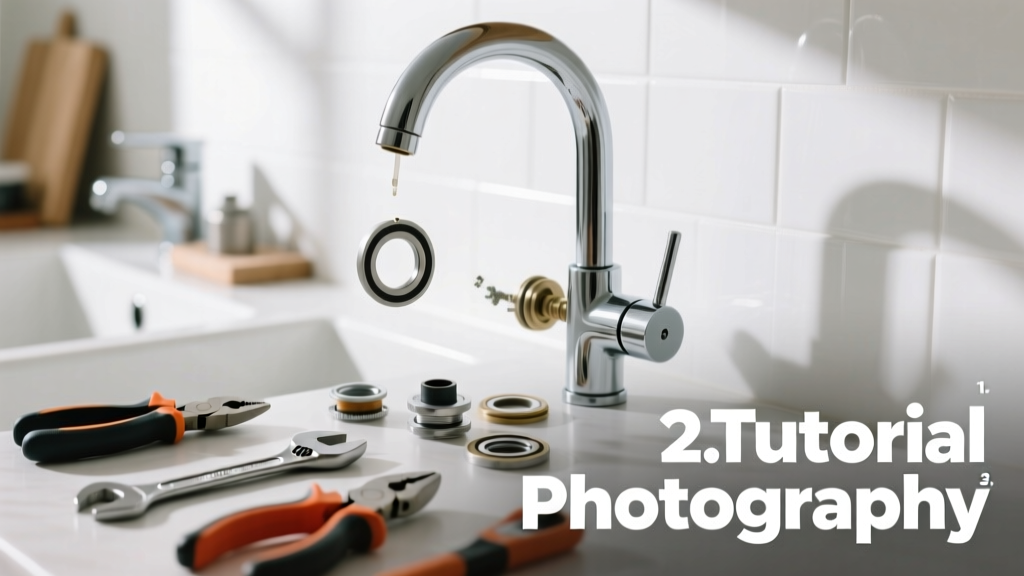
Rebuilding a faucet is a foundational home repair skill that stops leaks, restores water pressure, and extends fixture life. It’s a moderate-difficulty task—no soldering or pipe cutting required—and takes 60–90 minutes for most compression, cartridge, or ceramic-disk models found in kitchens and bathrooms.
Overview
| Skill Level | Time Required | Tools Needed | Estimated Cost |
|---|---|---|---|
| Moderate (basic hand-tool experience) | 60–90 minutes | Adjustable wrench, Phillips & flathead screwdrivers, needle-nose pliers, small basin wrench (for tight spaces) | $8–$22 (replacement kit + O-rings) |
Tools & Materials
You’ll need both general tools and model-specific parts. Most modern faucets use one of three internal mechanisms—know yours before buying parts.
| Item | Compression Faucet | Cartridge Faucet | Ceramic-Disk Faucet |
|---|---|---|---|
| Replacement Kit | Stem assembly + rubber washers | Full cartridge (e.g., Moen 1225 or Delta RP50587) | Disk set + spring & seal kit |
| O-Ring Lubricant | Yes (silicone-based) | Yes (non-petroleum) | Yes (food-grade silicone) |
| Special Tool | None | Cartridge puller (optional but helpful) | Plastic disk removal tool (included in kits) |
Step-by-Step Instructions
1. Shut off water and relieve pressure
Locate the two shutoff valves under the sink—hot and cold. Turn both clockwise until fully closed. Then open the faucet handles to release residual water and pressure. Place a folded towel in the sink basin to protect finish and catch small parts.
2. Remove the handle(s)
Look for a decorative cap (often labeled “H” or “C”) on the handle. Pry it off gently with a flathead screwdriver or utility knife. Underneath, you’ll find a screw—remove it, then lift the handle straight up. If it sticks, don’t force it: spray penetrating oil and wait 2 minutes before wiggling gently.
- Tip: Take a photo before disassembly—it helps with reassembly orientation.
- Warning: Never use channel locks on chrome-plated handles—they’ll scratch or deform the metal.
3. Extract the internal assembly
For compression faucets: unscrew the packing nut with an adjustable wrench, then pull out the stem. For cartridge types: grip the cartridge body with needle-nose pliers and rock it side-to-side while pulling upward. Ceramic-disk units require removing the mounting screws and lifting the entire cylinder assembly.
4. Inspect, clean, and replace worn parts
Lay all components on a clean towel. Check washers for flattening or cracking; examine O-rings for brittleness or nicks. Soak metal parts in white vinegar for 5 minutes to dissolve mineral deposits. Replace every rubber component—even if it looks fine. According to the U.S. EPA, 14% of household water usage stems from undetected leaks, many caused by degraded O-rings older than 3 years.
- Tip: Use only manufacturer-recommended replacement parts—generic kits often misfit ceramic-disk seats.
- Warning: Over-tightening the packing nut causes premature stem wear and new leaks.
Pro Tips
Seasoned plumbers emphasize timing and precision over speed. A rushed rebuild leads to cross-threaded cartridges or pinched O-rings—both cause immediate failure.
“If the cartridge won’t seat fully after reinsertion, stop. Rotate it 90° and try again. Most cartridge misalignment happens during first insertion—not installation.” — Mike R., licensed master plumber with 28 years’ experience (Plumbing Today, 2022)
Avoid these common pitfalls:
- Skipping the vinegar soak—hard water scale hides in valve seats and causes premature washer failure.
- Using petroleum jelly on rubber parts—it degrades neoprene and EPDM O-rings within months.
- Assuming all single-handle faucets are cartridge-style—some are ball-type (like Delta Monitor) and require different kits.
Why does my faucet still drip after rebuilding?
Most often, the valve seat beneath the cartridge or stem is pitted or corroded. Use a valve-seat dressing tool ($6 at hardware stores) to smooth minor imperfections—or replace the entire faucet body if corrosion is deep. This step is critical for pre-1995 compression faucets.
Can I rebuild a touchless or smart faucet?
No—touchless models (like Kohler Sensate or Moen MotionSense) rely on sealed electronics and proprietary solenoid valves. Rebuilding isn’t feasible; contact the manufacturer for warranty service or module replacement. Attempting disassembly voids most warranties.
How often should I rebuild a faucet?
Every 5–7 years for standard-use kitchen faucets; every 8–10 years for low-traffic bathroom sinks. Homes with hard water (>7 grains per gallon) should rebuild every 3–4 years. The Water Quality Association reports that calcium buildup accelerates rubber degradation by 40% in high-mineral areas.
What’s the difference between rebuilding and replacing?
Rebuilding replaces internal wear parts while retaining the original spout, handles, and escutcheon—ideal for preserving vintage finishes or matching existing fixtures. Replacement swaps the entire unit, which may require adjusting supply lines or sink cutouts. Rebuilding costs ~12% of a full faucet replacement.
Do I need to turn off the main water supply?
No—if individual shutoff valves are functional and leak-free. Test them first: close hot/cold valves, then open the faucet. If water continues flowing, shut off the main and drain the lines. Always verify valve function before starting—you’ll avoid unexpected flooding mid-rebuild.
Where can I find my faucet’s model number?
Look under the base of the spout, inside the handle cavity, or on the underside of the escutcheon plate. Many brands stamp it near the cold-water inlet. If missing, take clear photos and use our faucet identification guide or consult our faucet kit compatibility chart.
A rebuilt faucet shouldn’t just stop dripping—it should feel smooth, quiet, and precise. You’ll notice better temperature control, no handle wobble, and zero seepage around the base. Once you’ve done one, you’ll recognize the subtle resistance changes that signal future wear. Keep your rebuild kit inventory stocked: store spare O-rings in a labeled pillbox, and note the date you installed each part. That way, you’ll know exactly when to schedule the next refresh.