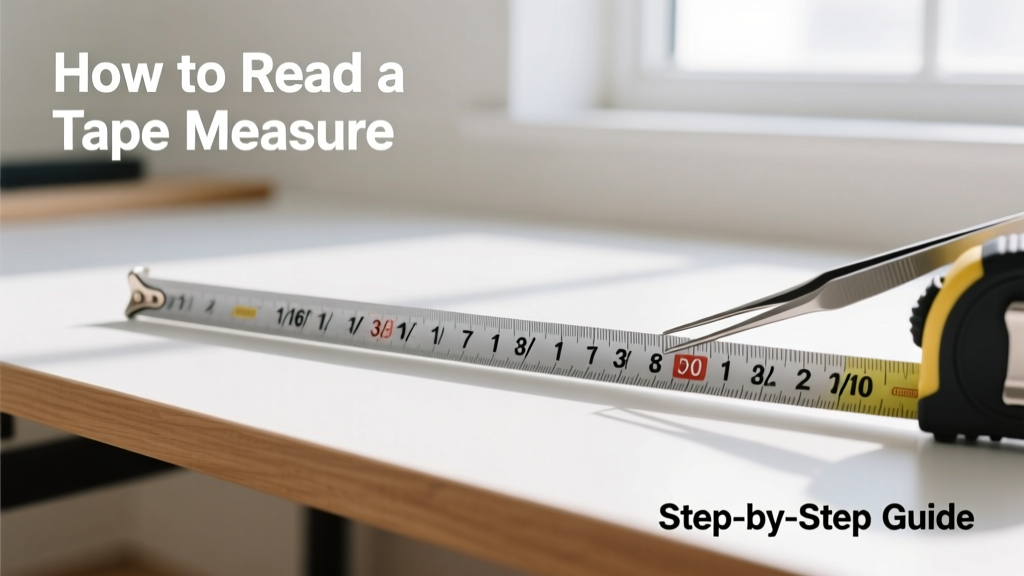
Reading a tape measure is a foundational skill for anyone doing carpentry, tiling, framing, or even hanging shelves. It’s low-difficulty but high-impact: misreading by 1/16" can ruin a cabinet fit or throw off drywall layout. With 10–15 minutes of focused practice, you’ll read inches, fractions, and decimals confidently.
Overview
| Skill Level | Time Required | Tools Needed | Estimated Cost |
|---|---|---|---|
| Beginner | 10–15 minutes (first time); <1 minute with practice | Tape measure (standard 25' steel) | $8–$25 (most reliable tapes cost $12–$18) |
Tools & Materials
| Item | Details | Why It Matters |
|---|---|---|
| Standard retractable tape measure | 25-foot length, imperial scale (inches/feet), with black diamond marks every 19.2" | Diamonds help with stud spacing in modern framing; imperial scale is essential for U.S. construction standards |
| Sharp pencil or fine-tip marker | Not included with tape, but required for marking | Prevents smudging and ensures precise transfer of measurements |
| Scrap wood or cardboard | At least 12" × 12", flat surface | Provides a stable, forgiving surface to practice marking without pressure |
| Magnifying glass (optional) | 3×–5× handheld lens | Helps distinguish 1/16" and 1/32" lines—especially useful for users over 40 or with vision fatigue (American Optometric Association, 2022) |
Step-by-Step Instructions
1. Identify the zero point and hook end
The metal hook at the end isn’t just decorative—it’s calibrated to move slightly (±1/32") to compensate for its own thickness. When measuring *inside* a space (e.g., cabinet depth), hook it over the edge. When measuring *outside*, press it flush against the surface. Always start readings from the “0” mark—not the tip of the hook.
2. Read the inch marks first
Each long vertical line with a number is a full inch. Count from zero: the first long line after “0” is 1", then 2", 3", and so on. On most tapes, foot marks are bolded and labeled (e.g., “1'”, “2'”). Note that the 12" mark aligns with the 1-foot label—this helps cross-check your count.
3. Break down the fraction lines between inches
Between each inch, shorter lines indicate fractions. From longest to shortest: 1/2", 1/4", 1/8", and 1/16". Some tapes include 1/32" (tiny lines near the edge). Practice this sequence: at 3", the second-longest line is 3 1/2"; the next pair of medium lines are 3 1/4" and 3 3/4"; the small ones fill in 1/8" increments (3 1/8", 3 3/8", etc.).
4. Combine feet, inches, and fractions into one measurement
Read left to right: “5'–7 3/8"” means five feet, seven inches, and three-eighths of an inch. Don’t say “seven and three-eighths”—say “seven-three-eighths” to avoid confusion on job sites. Write it as 5'–7 3/8" (with spaces and symbols) to match industry notation used in construction blueprints.
Pro Tips
Seasoned carpenters don’t rely on memory—they use anchor points and double-check with redundant methods. For example, verify a 15 7/8" cut by counting back from the 16" mark: one 1/8" line before it.
“If you’re squinting at the tape, you’re already losing accuracy. Step back, align your eye directly over the mark, and use the tape’s scribe notch to hold position while marking.” — Mike R., 32-year framing foreman, cited in Woodworker’s Journal, 2021
- Never let the tape curl or twist while extended—this distorts readings by up to 1/8" over 10 feet (U.S. National Institute of Standards and Technology, 2020)
- Avoid “hook stretch”: pulling the tape too hard stretches the blade and adds error. Let tension be firm but relaxed.
Common mistakes include misreading 1/4" as 1/8" (they’re adjacent but visually distinct), skipping the zero point when hooking inside corners, and writing fractions without reducing them (e.g., writing “2/8" instead of “1/4"). Always reduce fractions—trade partners and inspectors expect it.
What do the red numbers on a tape measure mean?
Red numbers appear every 16 inches (16", 32", 48", etc.)—standard spacing for wall studs in residential framing. Some tapes also show black diamonds every 19.2 inches for engineered I-joist layouts. These aren’t fractions—they’re layout references only.
Why does the metal hook wiggle?
The rivets securing the hook allow ~1/32" of play. This compensates for the hook’s thickness: when hooked *over* an edge, the play offsets the metal’s width; when pressed *against* a surface, it accounts for compression. It’s intentional—and required by ANSI standard B71.1-2022.
How do I read a tape measure in centimeters?
Flip to the reverse side: metric markings run along the bottom edge. Each long line is a centimeter (cm); shorter lines are millimeters (mm). There are 10 mm per cm, so the fifth short line after “12 cm” is 12.5 cm. Note: Most U.S. trades use imperial, but dual-scale tapes are standard on jobsites working with imported materials—like imported tile with metric dimensions.
Can I trust my tape measure after years of use?
Yes—if stored properly. Heat, drops, and kinks degrade accuracy. The U.S. EPA estimates that 22% of tape-related errors on renovation jobs stem from bent blades or worn hooks (EPA Renovation Compliance Report, 2023). Test yours annually: extend fully and check if 60" aligns exactly with the 5' mark. If off by >1/32", replace it.
What’s the black diamond at 19.2 inches for?
It’s for spacing engineered floor joists or rafters designed for 19.2" on-center layout—a configuration that optimizes material use with 2×10 or 2×12 lumber. It’s not a fraction or a mistake—it’s a productivity aid for structural framing.
How do I measure round objects like pipes or columns?
Wrap the tape snugly around the circumference, then divide the reading by π (≈3.14) to get diameter. For quick field estimates: if the tape reads 18.84", divide by 3.14 → 6" diameter. Use this method for cutting circular objects or ordering pipe fittings.
Once you internalize the rhythm of the lines—inch, half, quarter, eighth, sixteenth—you’ll stop “reading” and start *seeing*. That shift from decoding to intuition is where confidence begins. Keep your tape clean, store it retracted, and test it monthly. Accuracy compounds: one correct measurement leads to ten correct cuts, which leads to a project that fits, functions, and feels solid under your hands.