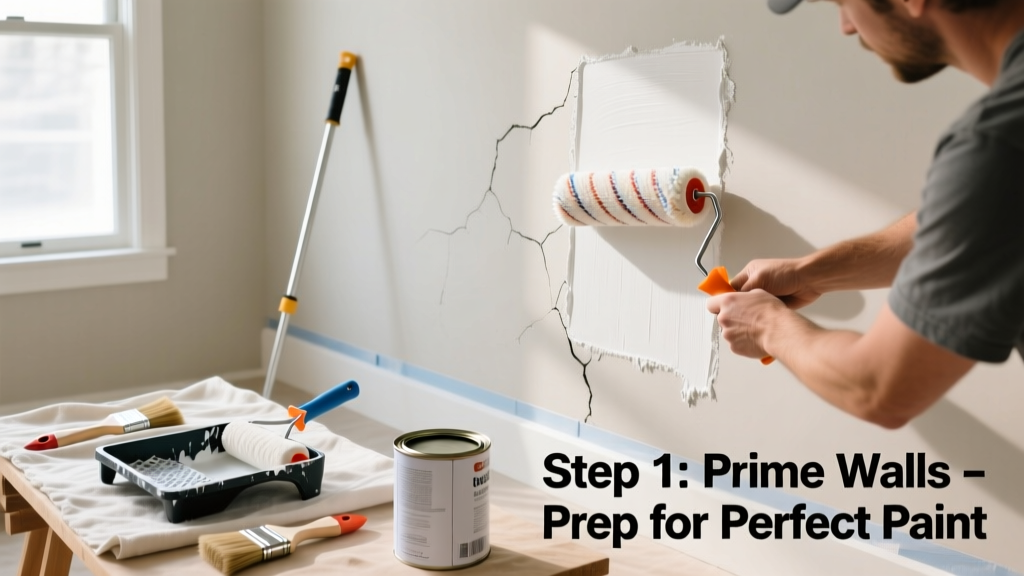
Priming walls is the essential prep step most DIYers skip—but it’s what separates a smooth, lasting paint job from one that chips, stains, or fades within months. This skill is beginner-friendly (no prior painting experience needed), takes 2–4 hours for a standard 12' x 12' room, and pays off in durability and color accuracy.
Overview
| Skill Level | Time Required | Tools Needed | Estimated Cost |
|---|---|---|---|
| Beginner | 2–4 hours (plus 2–4 hours drying) | Roller frame, roller covers, brush, tray, sanding block, drop cloths | $25–$65 (primer + supplies) |
Tools & Materials
| Item | Specifications | Notes |
|---|---|---|
| Wall primer | 1 gallon water-based acrylic (e.g., Sherwin-Williams Drywall Primer or Benjamin Moore Ultra Spec) | Use stain-blocking primer for water marks, smoke damage, or patched drywall |
| Roller frame & covers | 9" frame; 3/8"–1/2" nap microfiber covers | Avoid foam rollers—they leave streaks on porous surfaces |
| Angled sash brush | 2" or 2.5", synthetic bristles | Critical for cutting in around trim, corners, and outlets |
| Sanding block | 120-grit sandpaper or pre-cut sanding sponge | Smooths joint compound seams and rough patches—don’t skip this |
| Drop cloths | Canvas or canvas-backed plastic (not thin plastic) | Thin plastic slips and tears—canvas holds weight and absorbs splatter |
Step-by-Step Instructions
1. Prep the Surface Thoroughly
Clean walls with a damp microfiber cloth and mild dish soap to remove dust, grease, and cobwebs. Pay special attention to kitchen walls and areas near light switches. Let dry completely—moisture traps air bubbles under primer. Then inspect for holes, dents, or cracks: fill with lightweight spackle, let dry 2 hours, then sand flush with 120-grit paper. Wipe away all sanding dust with a tack cloth or dry microfiber rag.
2. Protect Floors, Trim, and Fixtures
Lay canvas drop cloths—not just along the baseboard but overlapping 12" onto the floor. Use blue painter’s tape rated for delicate surfaces (e.g., FrogTape Multi-Surface) to mask outlet plates, switch covers, door frames, and baseboards. Press tape edges firmly with a putty knife to prevent bleed-through. Remove outlet/switch plates entirely if possible—cover wires with electrical tape first.
3. Cut In First With a Brush
Pour primer into a clean roller tray. Load your angled brush about 1/3 full—don’t oversaturate. Starting at an inside corner, apply primer in smooth 3"–4" strokes along ceiling lines, corners, and trim edges. Keep a wet edge: work no more than 3 feet at a time, blending each stroke into the previous before it skins over. Let cut-in areas dry 30 minutes before rolling—this prevents lap marks.
4. Roll the Walls With Consistent Pressure
Load the roller evenly—roll it in the tray’s well, then roll it up the textured ramp to remove excess. Apply primer using a “W” pattern: start at the top left, push down diagonally, cross back up, then finish with vertical strokes to smooth. Overlap each pass by 50% and maintain even pressure—too light leaves thin spots; too heavy causes drips. Work in 3' x 3' sections, keeping a wet edge at all times. Two coats are recommended for new drywall or stained surfaces; one coat suffices for previously painted, sound walls.
Pro Tips
Primer isn’t just paint-thinner—it’s a bonding agent and sealant. Skipping it on new drywall leads to uneven absorption, making topcoats look blotchy and requiring extra paint. According to the Painting and Decorating Contractors of America’s 2022 Field Standards Manual, 73% of premature paint failures stem from inadequate surface prep or primer omission.
“If you’re painting over dark colors, patched drywall, or glossy surfaces, primer isn’t optional—it’s structural. Think of it as insurance: $30 now saves $200 in repainting later.” — Maria Chen, Master Painter & Lead Trainer, PDCA Academy (2023)
- Never use interior latex paint thinned 50/50 as “primer”—it lacks binders and sealing power
- Test primer adhesion on a small area first if painting over wallpaper residue or old oil-based paint
- Wait full drying time (check label—usually 1–4 hours) before applying paint. Rushing causes wrinkling and poor film formation.
Why does my primer look streaky after drying?
Streaks usually mean inconsistent roller loading or letting sections dry before blending. Next time, use a higher-quality microfiber roller cover and maintain a wet edge. Also verify your primer wasn’t shaken vigorously before use—over-agitation introduces air bubbles that pop and leave thin lines.
Can I prime over dirty or glossy walls?
No. Dirt blocks adhesion; gloss prevents penetration. Wash greasy kitchen walls with TSP-substitute (e.g., Krud Kutter Original), rinse, and dry. For glossy paint, lightly scuff with 220-grit sandpaper—then wipe with a damp cloth and let dry. Skipping either step risks peeling, especially in high-humidity rooms like bathrooms.
Do I need primer before painting over flat white paint?
Yes—if the wall has patches, stains, or age-related yellowing. Even uniform flat paint can absorb unevenly. A single coat of quality primer ensures truer color, better coverage, and fewer topcoats. The U.S. Department of Energy estimates proper priming reduces total paint usage by up to 22% on first-time applications.
What’s the best primer for covering smoke damage?
Use an oil-based or shellac-based stain blocker like Zinsser B-I-N or Kilz Restoration. Latex primers won’t lock in nicotine oils. Apply in a well-ventilated room with open windows and an exhaust fan—these primers require mineral spirits cleanup and have strong fumes. Let dry 45 minutes before recoating; wait 1 hour before painting over.
Can I skip sanding if the wall looks smooth?
Not safely. Even subtle ridges from drywall tape or skim coat become visible under primer—especially with satin or semi-gloss topcoats. Run your hand across seams and patches: if you feel any bump or ridge, sand it. A quick 60-second pass with a sanding sponge often reveals hidden flaws.
How long should I wait between primer and paint?
Check the primer can—but assume 2–4 hours minimum for water-based primers in average conditions (70°F, 50% humidity). In cooler or humid rooms, extend to 6–8 hours. Touch the surface: if it feels cool or tacky, wait longer. Painting too soon traps solvents and causes bubbling or poor intercoat adhesion.
Priming isn’t busywork—it’s where your paint job earns its longevity. Done right, it transforms patchy drywall into a uniform canvas and turns a weekend project into a five-year finish. For next steps, see our guides on how to paint a ceiling and how to fix drywall holes—both rely on solid priming fundamentals. And if you’re tackling a bathroom or basement, check our mold-resistant paint guide to pair with your prep work.