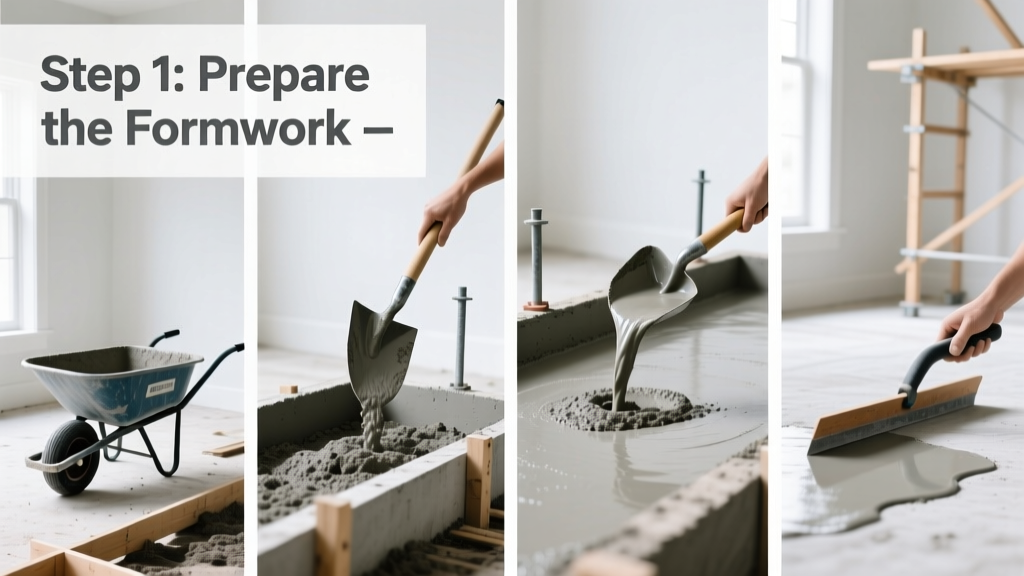
Pouring concrete is a foundational home improvement skill—moderately difficult but entirely doable with preparation, timing, and attention to detail. Expect to spend 1–2 full days on a 10' × 10' slab, including form building, pouring, finishing, and initial curing. It’s not a weekend rush job; temperature, moisture, and timing matter more than speed.
Overview
| Skill Level | Time Required | Tools Needed | Estimated Cost (10' × 10' slab, 4" thick) |
|---|---|---|---|
| Intermediate (requires physical stamina + precision) | 16–24 hours over 2 days | Trowel, bull float, edger, screed board, wheelbarrow, level, stakes, string line | $320–$480 (mix, forms, reinforcement, tools rental) |
Tools & Materials
| Category | Items | Notes |
|---|---|---|
| Formwork | 2×4 lumber, 16d galvanized nails, 18" rebar stakes, carpenter’s level | Use pressure-treated wood for ground contact; stake every 24" along forms |
| Mix & Placement | Ready-mix concrete (or 8–10 bags of 80-lb premix), water, mortar hoe, 4-ft straightedge (screed) | For 10' × 10' × 4": ~1.25 yd³ = 10–12 premix bags per cubic yard (U.S. Army Corps of Engineers, 2022) |
| Finishing | Bull float (aluminum), magnesium hand trowel, groover, edger, broom (for texture) | Avoid over-troweling—it brings excess water to the surface and weakens the top layer |
| Curing | Plastic sheeting (6-mil), spray-on curing compound, garden hose | Cure for minimum 7 days; 90% of strength develops in first 28 days (ACI 308.1-21) |
Step-by-Step Instructions
1. Prepare the site and build forms
Clear all grass, roots, and topsoil down to firm subgrade. Compact soil with a hand tamper or plate compactor. Lay 4" of crushed gravel (¾" minus), level it, and compact again. Build forms using 2×4s nailed to 18" rebar stakes driven flush with the top edge. Check for level and square—use the 3-4-5 triangle method: measure 3 ft along one side, 4 ft along the adjacent, then confirm the diagonal is exactly 5 ft.
- Tip: Drill ¼" weep holes every 24" near the base of forms to release trapped water during pour.
- Warning: Never pour directly onto clay or un-compacted fill—it will settle unevenly and crack within months.
2. Add reinforcement and set embeds
Place welded wire mesh (WWM) or #3 rebar on 2" concrete chairs so it sits in the middle third of the slab. Tie intersections with tie wire. If anchoring posts or bolts, set J-bolts or anchor sleeves *before* pouring—they cannot be added after.
3. Mix and pour in sequence
For premix: Add water gradually (start with 3 quarts per 80-lb bag) and mix until uniform—no dry pockets, no soupy consistency. Pour in layers no thicker than 24" wide and 18" deep. Move systematically from one end, avoiding dumping against forms. Use a shovel to push material into corners and behind reinforcement.
- Tip: Have two people—one feeding the wheelbarrow, one guiding placement—to maintain rhythm and reduce cold joints.
4. Screed, float, and finish
Drag a straight 2×4 or aluminum screed board across the top of forms to level the surface. Then use a bull float with overlapping arcs to push down aggregate and bring slurry up. Wait until water sheen disappears (typically 30–60 min, depending on temp/humidity). Edge joints and grooves with a concrete edger and jointer—cut control joints at 10' intervals (depth = ¼ slab thickness).
“The biggest rookie error isn’t cracking—it’s finishing too early. If your thumbprint sinks deeper than ¼ inch, it’s still too wet. Patience here saves years of repair.” — Maria Chen, Field Supervisor, Midwest Concrete Contractors Association (2023)
Pro Tips
Concrete gains strength through hydration—not drying. That’s why misting and covering are non-negotiable. Avoid adding extra water to make it ‘easier to work’—every extra quart per bag reduces compressive strength by up to 200 psi (Portland Cement Association, 2021). Also, never pour when air temps are below 40°F or above 90°F without adjustments: use heated water or set retarders in cold weather; shade, fogging, and evaporation retardants in heat.
- Always test slump before pouring—if it sags more than 4" when released from a cone, it’s too wet.
- Mark your control joints with chalk *before* final troweling—you can’t eyeball them later.
- For driveways or load-bearing slabs, upgrade to 3,500 psi mix and add fiber reinforcement.
Can I pour concrete directly on dirt?
No. Uncompacted soil shifts, especially clay or organic matter. Always excavate to stable subgrade, add 4" of compacted gravel, and include a 6-mil vapor barrier if the slab will be covered (e.g., garage floor with epoxy coating). See our guide on how to prepare ground for concrete.
How long before I can walk on it?
You can carefully walk on it after 24 hours if temperatures stay between 60–75°F and it’s kept moist. But wait 7 days before parking cars or placing heavy loads. For stamped or colored concrete, delay foot traffic until 48 hours minimum—and always follow manufacturer cure times for sealers.
What causes concrete to crack—and how do I prevent it?
Most cracks come from shrinkage, poor jointing, or rapid moisture loss. Control joints placed at 10' intervals (or less for narrow pours) direct cracking where you want it. Curing for 7 full days prevents surface micro-cracks. And never skip sub-base compaction—even a ½" void under one corner invites curling and spalling.
Do I need a permit to pour concrete?
Yes—for slabs over 120 sq ft, attached structures, or any load-bearing application (like a carport slab). Contact your local building department: many require engineered drawings for driveways over 10' wide or slabs adjacent to foundations. Permits also trigger inspection of subgrade prep and reinforcement—worth the paperwork.
Can I pour concrete in rain?
Not safely. Light drizzle *after* finishing is okay if covered—but heavy rain during placement washes away cement paste, leaving sand and gravel exposed. If rain is forecast within 12 hours of pour, delay or cover with tarps *before* finishing begins. See our concrete pouring weather guide for real-time thresholds.
How do I fix a low spot after it sets?
You can’t patch structural low spots with thin overlays—they delaminate. Instead, grind the area smooth, clean thoroughly, apply bonding agent, and pour a minimum 1" self-leveling overlay rated for exterior use (e.g., Sakrete Top’n Bond). For larger dips (>¼" deep), consult a contractor—underlying settlement may be ongoing.
Concrete isn’t forgiving, but it is honest: do the prep right, respect the chemistry, and time your moves like a conductor. The result—a solid, crack-resistant slab—will outlive most other home improvements. And once you’ve poured your first successful slab, you’ll see every cracked sidewalk and crumbling step as a challenge you now know how to solve. For related techniques, explore our guides on how to build concrete forms and how to repair cracked concrete.