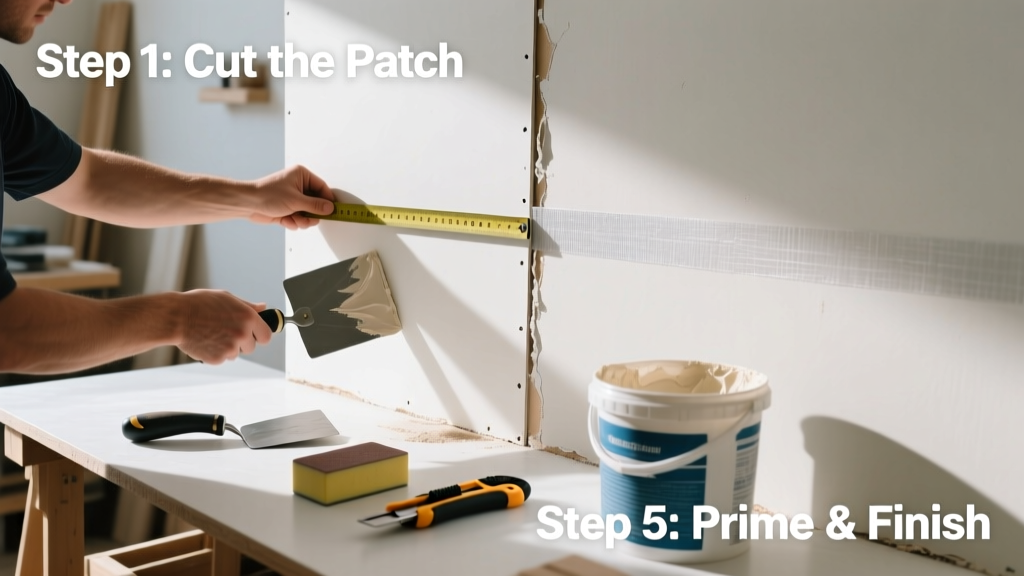
Patching drywall is a foundational home repair skill that’s easier than most people assume—especially for holes under 6 inches across. With basic tools and about 90 minutes of focused work (plus drying time), you can restore smooth, paint-ready walls yourself. It’s a low-difficulty task (beginner-friendly with practice) that pays off in both aesthetics and resale value: according to the National Association of Realtors’ 2023 Remodeling Impact Report, minor wall repairs deliver a 102% average ROI at sale.
Overview
| Skill Level | Time Required | Tools Needed | Estimated Cost |
|---|---|---|---|
| Beginner (with guidance) | 1.5–2 hours active work + 24 hrs drying | Utility knife, sanding block, taping knife, drill (optional) | $12–$28 (materials only) |
Tools & Materials
| Item | Quantity | Notes |
|---|---|---|
| Joint compound (all-purpose or lightweight) | 1 quart | Lightweight dries faster; all-purpose sands smoother. Avoid premixed ‘topping’ compound for first coats. |
| Drywall tape (paper or fiberglass mesh) | 1 roll | Use paper tape for seams and larger patches; self-adhesive fiberglass mesh works well for small holes and beginners. |
| 12-inch taping knife | 1 | Critical for feathering edges smoothly. Don’t skip this—6-inch knives leave ridges. |
| 4-inch taping knife | 1 | For applying first coat and pressing tape into compound. |
| Medium-grit sanding sponge (120–150 grit) | 2–3 | Never use regular sandpaper—it clogs and tears paper tape. Sponges conform to curves and reduce dust. |
| Drywall patch (self-adhesive or cut-to-fit) | 1 | For holes >2"; choose aluminum-backed mesh for durability or rigid drywall scrap for structural support. |
Step-by-Step Instructions
1. Assess and prep the hole
Clean away loose paper or gypsum with a utility knife. For holes smaller than 2 inches, skip backing—just fill and sand. For holes 2–6 inches, cut away any torn paper edges to create a clean, square opening. If drywall is crumbling behind the hole, gently remove damaged material until you hit solid gypsum core or framing. Wipe dust with a damp cloth—moisture helps compound adhere.
- Tip: Hold a flashlight at a low angle while inspecting—the shadow reveals subtle depressions and gaps.
- Warning: Don’t over-cut. Removing too much sound drywall weakens the patch area and invites cracking later.
2. Install backing (for medium holes)
For holes larger than 2 inches, you need structural support. Cut a wood shim (1×2 scrap or furring strip) 2 inches longer than the hole’s widest dimension. Drill two pilot holes near each end, then screw it horizontally or vertically behind the drywall so it bridges the hole and bites into solid framing on both sides. Use a drywall saw or utility knife to notch the backside of the patch if needed to fit snugly.
- Tip: Apply construction adhesive to the shim before screwing—it prevents vibration-induced loosening.
- Warning: Never rely solely on drywall screws into the edge of existing board—they’ll pop out within months.
3. Apply tape and first coat of compound
Press self-adhesive mesh tape directly over the hole (no compound underneath). For paper tape, embed it in a thin, even bed of joint compound using your 4-inch knife—press firmly from center outward to eliminate air bubbles. Then apply a second, wider coat (3–4 inches wide) with your 12-inch knife, feathering edges aggressively. Let dry fully (4–6 hours for lightweight, 8+ for all-purpose).
According to the Gypsum Association’s Application Standards Handbook (2022), “A properly feathered first coat reduces final sanding by 70% and prevents visible ridges after painting.”
4. Sand, re-coat, and finish
Once dry, lightly sand with a 150-grit sponge—just enough to knock down ridges and high spots. Wipe away dust. Apply a second, wider coat (6–8 inches), again feathering aggressively. Let dry. Sand again. For perfection, add a third skim coat (10–12 inches wide) and sand with 220-grit once dry. Prime before painting—unprimed compound absorbs paint unevenly.
- Tip: Sand only when compound is bone-dry—not just surface-dry. Damp compound gums up sandpaper and creates streaks.
- Warning: Skipping primer leads to ‘flashing’—a dull spot where patched area shows through paint.
Pro Tips
Seasoned drywallers stress one thing above all: patience with drying time. Rushing coats causes cracking, bubbling, and endless rework. Also, avoid over-taping—too much compound under tape traps air and shrinks unevenly as it dries.
“Most patch failures aren’t from bad technique—they’re from skipping the second coat or sanding too hard and cutting through the tape. If you can’t feel the tape edge with your fingernail after sanding, you’ve done it right.” — Maria Chen, certified drywall installer with 18 years’ experience, quoted in Contractor’s Weekly, March 2023
Common mistakes include using spackle instead of joint compound (spackle shrinks and doesn’t feather), applying thick coats (they crack), and sanding with circular motions (creates low spots). Always sand in long, straight strokes following the wall’s natural plane.
Can I patch drywall without a backing board?
Yes—for holes under 2 inches. Fill with joint compound in thin layers, letting each dry fully before adding the next. Build up gradually, feathering outward each time. Three light coats beat one thick one every time.
Why does my patch show through paint?
Nearly always due to skipped primer or insufficient feathering. Unprimed joint compound absorbs more paint than drywall, creating a duller sheen. Also, if the outer edge of your compound isn’t sanded to blend seamlessly into the surrounding wall (within 1/32 inch tolerance), light catches the ridge—even if invisible to the naked eye.
How do I match texture after patching?
First, replicate the existing texture. Knockdown? Use a trowel to flatten peaks after spraying. Orange peel? Rent a texture sprayer or dab with a stiff brush dipped in thinned compound. Skip texture entirely if your wall is smooth—most modern homes are. Sanding drywall correctly makes texture unnecessary in many cases.
What’s the fastest way to fix a nail hole?
Fill with all-purpose joint compound using a 4-inch knife, wipe excess with a damp sponge, let dry, then sand lightly with 220-grit. Prime and paint. No tape needed. Done in under 10 minutes per hole. For dozens of holes, see our guide on how to fix nail holes in drywall.
Can I paint over fresh joint compound right away?
No. Joint compound must cure fully—typically 24 hours minimum for lightweight, 48+ for all-purpose—before priming. Painting too soon causes poor adhesion, flashing, and peeling. Use a moisture meter if unsure: readings below 12% indicate safe priming.
Do I need special tools for a perfect finish?
Not really—but a 12-inch taping knife and quality sanding sponges make the difference between amateur and pro-level results. Skip the cheap plastic knives; they flex and leave ridges. And never use drywall sanding dust as filler—it’s unstable and won’t bond.
A well-executed drywall patch disappears completely after painting—no telltale bumps, shadows, or color shifts. It’s satisfying work, grounded in simple physics: thin layers, full drying, and gentle sanding. Once you’ve patched three or four holes, you’ll start spotting other spots around the house that could use the same quiet, confident fix. For deeper issues like water-damaged drywall or large sections needing replacement, check our how to replace drywall tutorial.