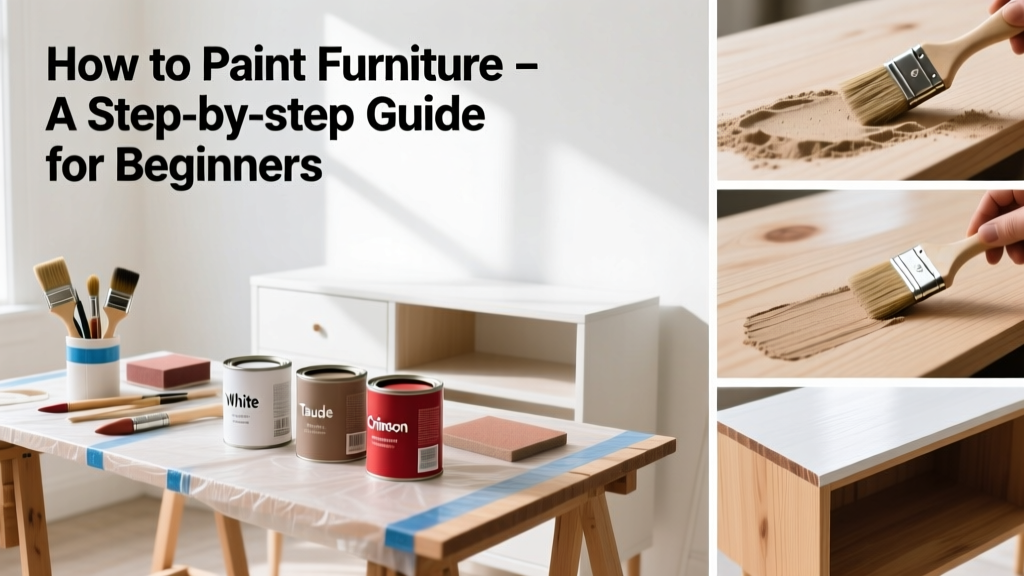
Painting furniture transforms dated pieces into statement-makers—and it’s far more achievable than most people think. With basic tools, under $50 in materials, and 6–8 hours spread over two days (including drying time), you can refinish a side table, dresser, or chair like a seasoned DIYer.
Overview
| Skill Level | Time Required | Tools Needed | Estimated Cost |
|---|---|---|---|
| Beginner (no prior refinishing experience needed) | 6–8 hours total (2 days minimum for drying) | Sandpaper, brush/roller, drop cloth, tack cloth, screwdriver | $35–$48 (varies by size and paint quality) |
Tools & Materials
| Item | Quantity/Specs | Notes |
|---|---|---|
| Medium-grit sandpaper (120–150 grit) | 2–3 sheets | For smoothing old finish and creating 'tooth'—don’t skip this step |
| High-quality bonding primer (e.g., Zinsser Bulls Eye 1-2-3) | 1 quart | Covers dark wood, laminate, and glossy surfaces; dries in 1 hour |
| Water-based acrylic paint (chalk, mineral, or cabinet-grade) | 1 pint (small piece) to 1 quart (dresser) | Avoid craft paint—it lacks durability. Sherwin-Williams ProClassic or Benjamin Moore Advance are top performers. |
| Soft synthetic brush (2.5" angled) or microfiber roller (for flat surfaces) | 1–2 | Natural bristle brushes leave streaks with water-based paints |
| Clear water-based topcoat (polycrylic or matte wax) | 1 pint | Essential for wear resistance—especially on tabletops and drawer fronts |
Step-by-Step Instructions
1. Prep the surface thoroughly
Remove all hardware (knobs, hinges) and label screws with painter’s tape and a Sharpie. Wipe down the piece with TSP substitute (like Krud Kutter) to cut grease and grime—especially on kitchen cabinets or dining chairs. Let dry fully before sanding.
- Sand every surface lightly—focus on edges, corners, and glossy spots where paint won’t grip
- Wipe with a damp microfiber cloth, then follow with a tack cloth to lift dust
- Never skip cleaning—even new-looking furniture holds invisible oils from hands
2. Prime with intention
Apply one even coat of bonding primer using long, smooth strokes. Work in natural light to spot missed spots. Let dry 60 minutes (check label—some require longer). Lightly scuff-sand with 220-grit paper if primer feels slick or shows brush marks.
"Skipping primer is the #1 cause of peeling on laminate or melamine. Bonding primer isn’t optional—it’s insurance." — Sarah Kim, certified furniture refinisher and instructor at The Refinish Lab (2023)
3. Paint with control—not speed
Stir (don’t shake) your paint to avoid bubbles. Load your brush only halfway—overloading causes drips and lap marks. Paint in sections: start with inside edges, then flat panels, then legs or frames. Let first coat dry 2–4 hours (check manufacturer’s recoat window).
- Second coat? Apply only after first is fully dry—not just ‘tacky’
- Thin coats beat thick ones: three thin layers outperform two heavy ones
- Use a foam roller for cabinet doors—brushes leave texture on large flats
4. Seal and protect
Once final paint coat is dry (24 hours minimum), apply two thin coats of water-based polycrylic using the same technique as paint. Sand lightly with 320-grit between coats. Buff with soft cloth after final cure (72 hours).
For high-touch areas like drawer pulls or table edges, add an extra coat—or use a wipe-on poly for subtle sheen and toughness.
Pro Tips
Seasoned refinishers don’t rely on luck—they rely on timing and technique. Here’s what separates lasting results from weekend regrets:
- Paint in temperatures between 60–85°F and low humidity—cold or damp air delays drying and invites dust embedment
- Label drawers and doors with masking tape before removal to avoid reassembly errors
- If you find glue residue or sticky patches, scrub with denatured alcohol before priming—it cuts through adhesives without damaging wood
The U.S. EPA estimates that improperly sealed furniture paint contributes to indoor VOC exposure—so always ventilate well and choose zero-VOC options like Benjamin Moore Natura or Behr Premium Plus Ultra.
Can I paint over veneer?
Yes—but test first. Lightly sand a hidden corner and prime. If the veneer lifts or bubbles, stop: it’s too thin or delaminated. In that case, contact a professional or consider replacing the panel. Most modern veneers (post-2005) hold paint well when prepped correctly.
Do I need to strip old paint first?
Not usually. Sanding + bonding primer covers most intact finishes—including old latex and chalk paint. Strip only if the existing coating is chipped, cracked, or flaking badly—or if you’re switching from oil-based to water-based paint without primer.
Why is my paint streaking?
Three likely culprits: (1) Brush was overloaded or dragged instead of lifted, (2) You painted over partially dried sections causing ‘lap marks,’ or (3) Surface wasn’t sanded enough before priming. Fix it by lightly sanding, wiping clean, and repainting with thinner, faster strokes.
How long until I can use the furniture?
Wait 72 hours before placing heavy objects or setting hot dishes on painted surfaces. For chairs and tables, avoid full weight-bearing for 5 days. Polycrylic reaches full hardness in 7 days—so delay moving items around the room until then.
Can I paint laminate or particleboard?
Absolutely—and it’s surprisingly durable when done right. Use a deglosser (like Krud Kutter) before sanding, apply two coats of bonding primer, and seal with at least two coats of polycrylic. Avoid placing near heat sources or high-moisture zones like bathroom vanities unless sealed with marine-grade topcoat.
What’s the best paint for kitchen cabinets?
Cabinet-specific acrylic enamel (e.g., Sherwin-Williams Emerald Urethane Trim Enamel) gives the hardest, most washable finish. It self-levels better than chalk paint and resists yellowing—critical for white or off-white kitchens. Pair it with a 220-grit sanding between coats for glass-smooth results.
Painting furniture isn’t about perfection—it’s about patience and process. Start small: try a nightstand or stool before tackling a hutch. Once you’ve mastered prep and sealing, you’ll see every thrift store find as potential—not problem. For related techniques, explore how to distress furniture or how to reupholster a chair to complete your refresh toolkit.