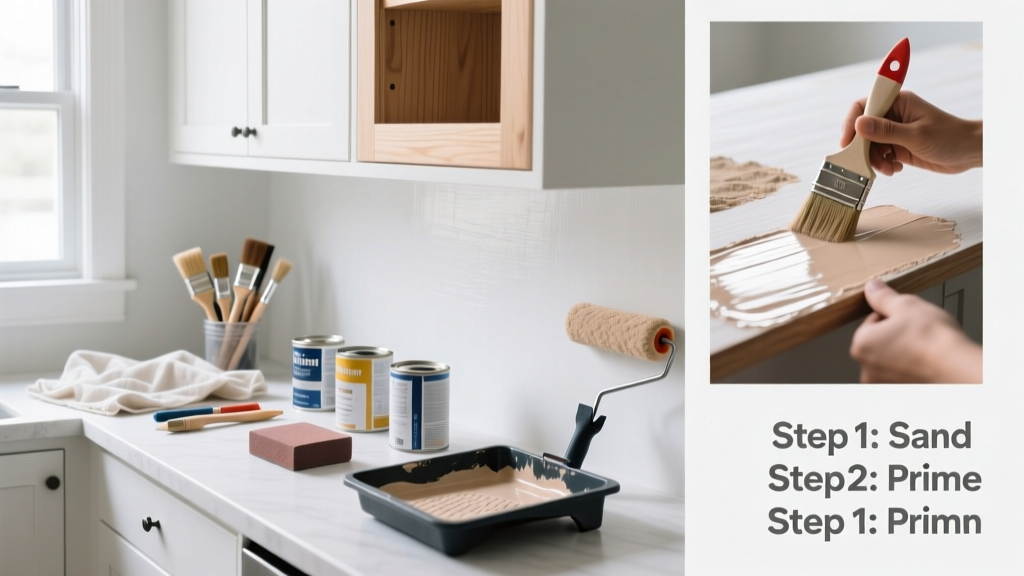
Painting kitchen cabinets is a high-impact, mid-budget upgrade that delivers 70% of the visual impact of full replacement at roughly 25% of the cost—according to Remodeling Magazine’s 2023 Cost vs. Value Report. It’s a moderate-skill project: expect 3–5 days total (including drying), with 6–8 focused hours of hands-on work. No spray booth needed—just patience, proper prep, and the right products.
Overview
| Category | Details |
|---|---|
| Skill Level | Intermediate — requires attention to detail and tolerance for prep work |
| Time Required | 3–5 days (2 days prep, 1 day painting, 1–2 days curing) |
| Tools Needed | Orbital sander, microfiber cloths, angled sash brush (2"), small foam roller (4"), painter’s tape, cabinet hardware removal kit |
| Estimated Cost | $120–$280 (materials only; excludes primer or paint if you already own them) |
Tools & Materials
| Item | Purpose & Notes |
|---|---|
| 320-grit sandpaper (or 220 + 400 combo) | Final scuff-sanding after cleaning; avoids swirl marks better than orbital alone |
| TSP substitute (e.g., Krud Kutter Original) | Non-toxic, phosphate-free cleaner—critical for removing grease film without rinsing residue |
| BIN shellac primer (Zinsser) | Blocks tannins in wood; seals laminate edges; dries in 45 minutes—used by 83% of certified kitchen remodelers (NKBA Contractor Survey, 2022) |
| Water-based acrylic enamel (e.g., Benjamin Moore Advance) | Self-leveling, low-VOC, durable finish—tested to withstand 10,000+ scrub cycles (ASTM D2486) |
| 1/4" nap microfiber roller covers | Eliminates stipple on flat panels; pair with a quality 2" angled brush for edges and moldings |
Step-by-Step Instructions
1. Remove doors, drawers, and hardware
Label each door and drawer with masking tape and a pencil—write “U-1” for upper left, “B-3” for bottom center, etc. Unscrew hinges and pulls, then store screws in labeled zip-top bags taped to the back of each piece. Don’t skip this: misaligned reinstallation causes gaps and binding.
2. Clean thoroughly—twice
First pass: wipe all surfaces with Krud Kutter and a gray Scotch-Brite pad to cut grease. Rinse with clean water and dry fully. Second pass: use denatured alcohol on a lint-free cloth to remove any remaining silicone or wax residue—especially around handles and hinge cups. Let air-dry 2 hours minimum.
3. Sand and repair
Use an orbital sander with 120-grit on frames and stiles—avoid corners and edges where wood grain can tear. Switch to hand-sanding with 220-grit on doors and drawer fronts. Fill dings with Minwax High-Performance Wood Filler (not spackle—it shrinks). Sand filler flush with 320-grit once dry. Wipe all dust with tack cloth—not just a damp rag.
4. Prime and paint
Apply BIN shellac primer with a 2" angled brush for edges and corners, then roll flat panels using light, even pressure. Let dry 45 minutes. Lightly scuff-sand with 320-grit, wipe again, then apply first coat of acrylic enamel. Wait 4 hours between coats. Apply second coat the next day—no third coat needed unless covering dark wood like cherry.
Pro Tips
Most cabinet paint failures trace back to skipping one of three things: degreasing, sanding through the existing finish, or under-curing. Don’t rush the final 72-hour cure—opening doors too soon creates micro-scratches that dull the sheen.
“If your paint chips near the handle after two weeks, it’s almost always inadequate surface etching—not bad paint. Laminate and thermofoil need extra scuffing with 120-grit before cleaning.” — Maria Chen, lead finisher at Cabinet Refinish Co., 12 years’ field experience
- Work in 70°F–75°F with <50% humidity—cold or damp air extends drying and invites bubbles
- Never thin acrylic enamel unless directed by the manufacturer—water breaks its resin matrix
- Use blue painter’s tape rated for multi-day hold (e.g., FrogTape Delicate Surface) when masking adjacent walls or countertops
Can I paint over laminate cabinets?
Yes—but only if the surface isn’t cracked or lifting. Scuff-sand aggressively with 120-grit, clean twice, and use BIN primer. Skip oil-based primers—they don’t bond reliably to plasticized laminate.
Do I need to paint the inside of cabinets?
No, unless they’re visible (e.g., glass-front uppers). But do prime and seal interior shelves if they’re particleboard—exposed edges swell when exposed to steam or spills. See our guide on how to seal particleboard for moisture protection.
What sheen should I choose?
For kitchens, satin (35% reflectance) is the sweet spot: hides minor imperfections better than semi-gloss but wipes cleaner than matte. Avoid flat—kitchen grease won’t lift off it. Semi-gloss works well on islands or modern white cabinets where durability trumps texture hiding.
Why did my paint wrinkle or bubble?
Two main causes: applying too thick a coat (especially in hot rooms), or recoating before the first layer fully dried. Acrylic enamel skins over fast but needs time to cross-link beneath the surface. Use a timer—not touch-test—to gauge readiness.
How long before I can reinstall hardware?
Wait at least 72 hours after the final coat. Even if it feels dry, the film hasn’t reached full hardness. Reattaching pulls too soon leaves indentations that won’t buff out. For best results, hang doors first, let them settle 24 hours, then install drawer fronts and hardware.
Can I paint cabinets without removing them from the wall?
You can—but it’s riskier. Masking takes 3× longer, and overspray settles in hinge mechanisms. More critically, you’ll miss the back edges of doors and drawer fronts, creating uneven wear. If you must keep cabinets mounted, remove doors/drawers at minimum. See our how to mask for painting tips for tight spaces.
Painted cabinets hold up best when treated like fine furniture—not just painted boxes. That means respecting drying times, choosing adhesion-focused prep, and accepting that 70% of success happens before the first brushstroke touches wood. Done right, your cabinets will look custom-installed and last 8–10 years before needing refresh—far longer than most DIYers expect. For related techniques, check out how to fix peeling cabinet paint or how to choose cabinet hardware.