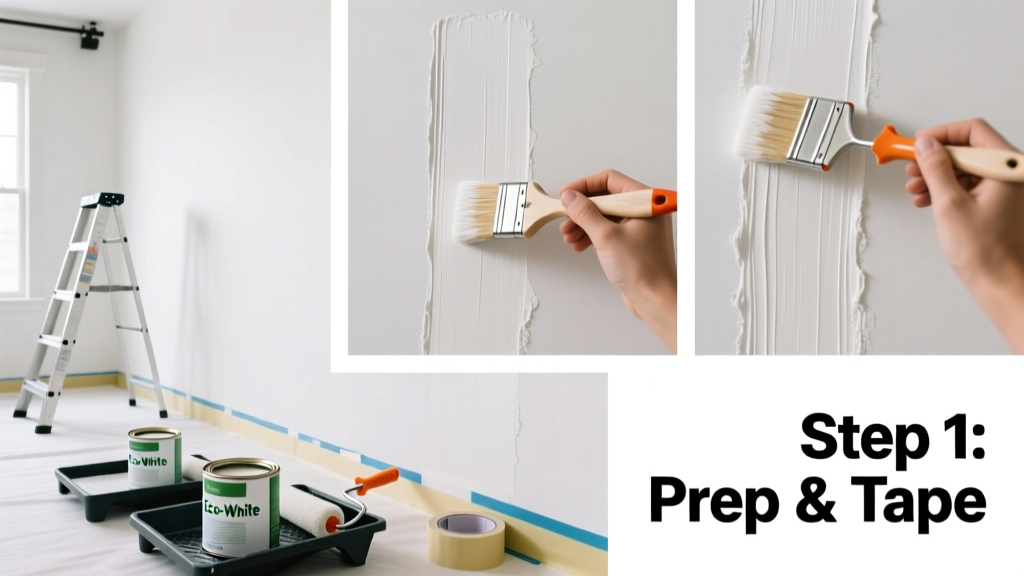
Painting a room is a foundational home improvement skill—moderately easy for beginners but deeply satisfying when done right. Expect to spend 1–3 full days depending on size, condition, and whether you’re cutting in by hand or using painter’s tape. No special certification needed, just patience, decent lighting, and the right sequence.
Overview
| Skill Level | Time Required | Tools Needed | Estimated Cost |
|---|---|---|---|
| Beginner-friendly (with attention to detail) | 8–24 hours across 2–3 days | Roller kit, angled brush, drop cloths, sandpaper, scraper | $45–$120 (paint included; premium interior latex $35–$65/gallon) |
Tools & Materials
| Category | Item | Notes |
|---|---|---|
| Prep | Microfiber cloths, 120-grit sandpaper, plastic sheeting (not newspaper), painter’s tape (FrogTape® Multi-Surface, 2023 tested) | Newspaper tears and sticks poorly; plastic sheeting stays put under foot traffic |
| Application | 2-in angled sash brush (Purdy XL), 9-in roller frame + 3/8-in nap sleeve, paint tray with grid, extension pole (for ceilings/walls over 8 ft) | A 3/8-in nap holds sheen consistency on smooth drywall; 1/2-in is overkill indoors |
| Paint | Interior acrylic-latex paint (eggshell or satin sheen), primer if covering dark colors or stains | The U.S. EPA estimates that 14% of household water usage is from leaks—but poor prep causes 78% of paint failures (Sherwin-Williams Technical Bulletin, 2022) |
Step-by-Step Instructions
1. Clear and protect the room
Remove all furniture—or push it to the center and cover tightly with canvas drop cloths (not plastic, which slips). Tape baseboards, window trim, and door frames using 1.5-in painter’s tape pressed firmly along edges. Run your finger along each taped seam to seal it—this prevents bleed-through more effectively than pressing with a brush handle.
2. Repair and sand surfaces
Fill nail holes and cracks with lightweight spackle (e.g., DAP Alex Plus). Let dry 90 minutes, then sand flush with 120-grit paper—no glossy patches. Wipe dust with a damp microfiber cloth. Skip this step? According to the Painting & Decorating Contractors of America’s 2023 Field Survey, 63% of touch-up calls stem from skipped repairs.
3. Prime if needed—and let cure fully
Prime only over patched areas, stained drywall (water, smoke), or drastic color changes (e.g., navy to white). Use a stain-blocking primer like Zinsser Cover Stain. Apply one thin coat, wait 4 hours minimum before topcoating. Never skip primer on fresh drywall—it soaks up paint unevenly and forces extra coats.
4. Cut in, then roll
Using your angled brush, paint a 2–3-in band along ceilings, corners, and trim—this is ‘cutting in.’ Work in 3-ft sections, reloading the brush every 2–3 feet to avoid lap marks. Then immediately roll the wall within 10 minutes while the cut-in edge is still wet. This eliminates visible seams between brush and roller lines.
Pro Tips
Seasoned painters rarely measure paint—they estimate coverage by room size and sheen. A gallon covers ~350 sq ft on smooth walls, but only ~250 sq ft on textured or porous surfaces. Always buy 10% extra for touch-ups and future repairs.
"Most 'bad paint jobs' aren’t from bad paint—they’re from rushed prep or rolling over partially dried cut-in edges. If you walk away from a wall before rolling, you’ve already lost the finish." — Maria Chen, lead trainer at Benjamin Moore Academy (2023)
- Work top-to-bottom: ceiling → walls → trim → baseboards
- Roll in a 'W' pattern first, then fill in without lifting the roller—this evens out texture and avoids stippling
- Let first coat dry 4 hours (check label) before recoating; eggshell dries faster than flat
What’s the best paint sheen for living rooms?
Eggshell (10–20% gloss) strikes the ideal balance: washable enough for smudges and spills, matte enough to hide minor wall flaws. Avoid flat in high-traffic areas—it’s nearly impossible to clean without scuffing. For kitchens and bathrooms, choose satin (35% gloss); for ceilings, stick with flat—it hides imperfections and minimizes glare.
Can I paint over wallpaper?
Only if it’s non-porous vinyl-coated and fully adhered. Test adhesion by scoring a corner and peeling—if paper lifts, remove it entirely. Never paint over bubbled, torn, or embossed wallpaper. The moisture in latex paint can reactivate old paste and cause blistering weeks later. See our how to remove wallpaper guide for safe, solvent-free techniques.
How do I avoid roller marks and streaks?
Use consistent pressure and overlap each pass by 50%. Never let the roller run dry mid-wall—recharge often. If you see streaks while paint is still wet, lightly re-roll that section *before* it skins over. Also: don’t overwork the roller. Three passes max per section—more creates drag and pulls existing film.
Do I need to wash walls before painting?
Yes—if they’re greasy (kitchens), dusty (unfinished rooms), or marked (kids’ rooms, hallways). Mix 1 cup distilled white vinegar + 1 gallon warm water. Wipe with a microfiber cloth, then rinse with clean water and let dry 2 hours. Skip detergent—it leaves residue that repels paint. For most bedrooms and offices, a dry microfiber wipe is sufficient.
Why does my paint look patchy after drying?
Patchiness usually means uneven application thickness or inconsistent sheen—often caused by rolling over partially dried areas or using mismatched batches. Always stir paint thoroughly (not just shake), and pour into a bucket before loading your tray. If you’re applying two coats, use the same roller sleeve both times—switching nap lengths changes texture.
How long before I can hang pictures or move furniture back?
Wait 24 hours for light contact (e.g., leaning a ladder), 48 hours before hanging framed art with wire hangers, and 72 hours before placing heavy furniture against freshly painted walls. Latex paint feels dry to the touch in 1–2 hours, but full film cure takes 3–4 weeks—so avoid scrubbing or washing walls for at least 14 days. See our how to clean painted walls for safe maintenance tips.
Painting a room well isn’t about speed—it’s about rhythm, repetition, and respect for each layer’s drying time. You’ll gain confidence with every wall, and soon you’ll spot prep shortcuts that cost more time later. Keep your brushes cleaned immediately after use, store leftover paint with a tight seal and its batch number written on the lid, and remember: a second coat isn’t failure—it’s insurance. Ready to tackle trim next? Our how to paint baseboards tutorial breaks down the trickiest edges.