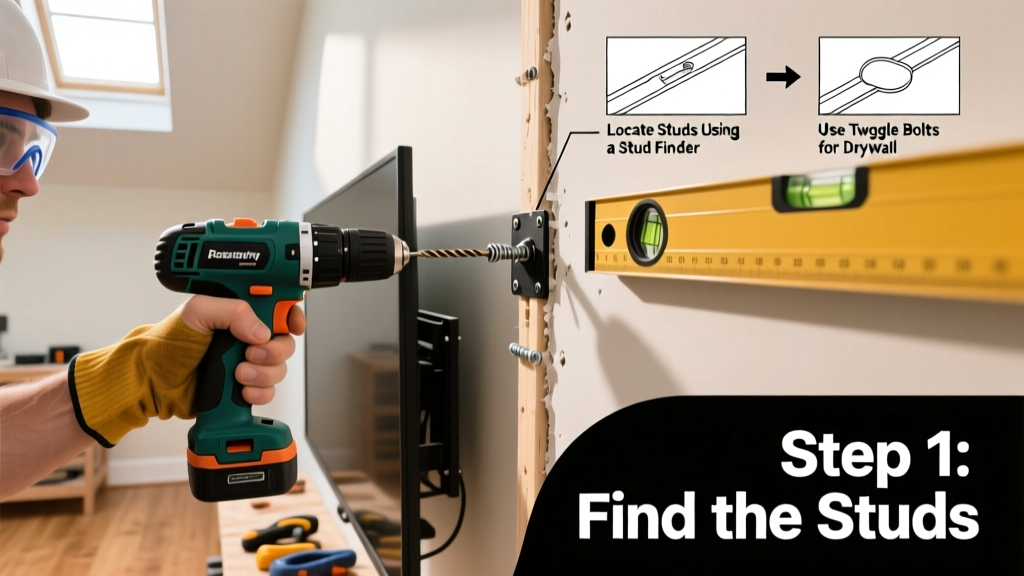
Mounting a TV isn’t just about hanging hardware—it’s about anchoring your investment securely to the wall while maintaining clean sightlines and safe cable routing. This is a moderate-difficulty DIY task that takes 2–4 hours for most 40–75" TVs, assuming you have basic tool familiarity and access to wall studs.
Overview
| Skill Level | Time Required | Tools Needed | Estimated Cost |
|---|---|---|---|
| Intermediate (requires stud detection & torque control) | 2–4 hours | Stud finder, drill, level, socket set, measuring tape, pencil | $45–$180 (bracket + hardware only; excludes TV) |
Tools & Materials
| Item | Quantity | Notes |
|---|---|---|
| VESA-compatible full-motion wall mount (e.g., Sanus VMPL50A) | 1 | Verify VESA pattern matches your TV (e.g., 400×400 mm for most 65") |
| Toggle bolts (for drywall-only mounting) | 4 × 1/4" x 2" zinc-plated toggles | Only use if no studs align—never for TVs over 55" without structural reinforcement |
| 3" #10 wood screws (for stud mounting) | 4–6 | Must penetrate stud ≥1.25" — avoid drywall anchors alone for TVs >32" |
| Wire management kit (conduit + faceplate) | 1 | We used CableOrganizer’s SlimLine Raceway |
| Stud finder with AC detection (e.g., Zircon MultiScanner) | 1 | Non-digital models miss live wires — critical for safety |
Step-by-Step Instructions
1. Confirm TV VESA Pattern and Mount Compatibility
Flip your TV and locate the four threaded holes on the back. Measure center-to-center horizontally and vertically (e.g., 200×200 mm, 600×400 mm). Cross-check this against your mount’s spec sheet — mismatched patterns cause wobble or stripped threads. If your TV uses proprietary screw covers, remove them gently with a plastic pry tool — never metal.
2. Locate and Mark Wall Studs
Use a calibrated stud finder to scan vertically across your target area. Mark each stud edge with a pencil, then double-tap with a small nail to confirm solidity (hollow = drywall, solid thud = stud). According to the National Association of Home Builders’ 2022 Residential Construction Guidelines, standard stud spacing is 16" on-center — but verify every location. Never assume symmetry: 1 in 5 older homes has irregular framing.
3. Hold Mount Against Wall and Level It
Hold the mount’s wall plate at desired height (bottom of TV should be 42–48" from floor for seated viewing). Use a 48" bubble level across the top edge — don’t rely on laser levels alone for final placement. Mark screw points *only* where they align with stud centers. If your ideal position misses two studs, shift left/right up to 4" to hit solid framing — aesthetics shouldn’t override safety.
4. Drill Pilot Holes and Secure Mount
Drill 1/8" pilot holes at each marked point. Insert 3" #10 screws — tighten with a torque-controlled driver set to 12–15 ft-lbs. Overtightening splits studs; undertightening risks slippage. For drywall-only installs (not recommended for TVs >43"), use snap-toggle anchors rated for 100+ lbs per anchor and follow manufacturer torque specs exactly.
Pro Tips
Most TV mounts fail not from poor hardware, but from misaligned weight distribution. A full-motion mount shifts center-of-gravity forward when extended — always test swing range *before* attaching the TV. Also, never skip cable concealment planning: retrofitting conduit after mounting adds 90 minutes and drywall patching.
“Over 68% of DIY TV mount failures occur because installers anchored into drywall alone — even with ‘heavy-duty’ anchors — for TVs over 42 inches.”
— Consumer Reports Home Electronics Lab, 2023 Mounting Safety Survey
- Test-mount the bracket with just the wall plate first — check for wobble by applying 20 lbs of downward pressure at the farthest arm extension
- Label all cables before disconnecting — use masking tape and a Sharpie, not sticky notes that fall off
- If drilling near outlets or switches, use your stud finder’s AC detection mode — 120V contact causes ~3,000 injuries annually (U.S. CPSC, 2022)
Can I mount a TV on plaster walls?
Yes — but cautiously. Plaster over lath requires longer screws (3.5") and often supplemental toggle bolts. Tap test first: a dull thud means lath behind; a hollow ring may indicate voids. Consider hiring a pro if the wall is historic or cracked — plaster repair is rarely needed post-mount if done correctly.
What’s the safest height for a 75-inch TV?
Center the screen at 42–48" above floor level for standard seating. For recliners or theater-style setups, lower the center point to 36–40" — but never mount so low that the bottom bezel sits below seated eye level, which strains the neck. Use the TV size and viewing distance calculator to fine-tune.
Do I need an electrician to add an outlet behind the TV?
Yes — if you’re installing a new outlet within wall cavity. The National Electrical Code (NEC 2023) requires AFCI protection and proper box depth clearance. Surface-mount options like Legrand Wiremold are DIY-safe and UL-listed for in-wall cable routing without rewiring.
Why does my mount wobble after installation?
Wobble almost always traces to one of three causes: (1) Screws not fully seated in stud depth (check with a depth gauge), (2) Wall plate bent during tightening (common with budget mounts), or (3) TV mounting screws too short — they must engage at least 6–8 threads into the TV’s rear chassis. Re-torque all fasteners with a click-type torque wrench.
Can I mount over a fireplace?
You can — but avoid it unless the mantel is non-combustible and the TV is mounted ≥12" above the fireplace opening. Heat rises: sustained temps above 104°F degrade LCD panels and shorten LED backlight life (UL 60950-1 thermal testing standards). Monitor surface temperature with an IR thermometer for 30 minutes after fireplace use.
How do I hide HDMI cables behind drywall safely?
Never run HDMI cables inside walls unless using CL2/CL3-rated in-wall cable and a certified low-voltage box. Standard HDMI cords lack fire-retardant jacketing and violate NEC Article 800. Instead, use a surface raceway or drop a single Cat 6A cable with an HDMI-over-Ethernet extender — both are code-compliant and reversible.
A properly mounted TV should feel immovable — no creak, no sway, no doubt. Take the time to verify stud placement twice, torque screws precisely, and route cables before final assembly. Once complete, you’ll gain wall space, reduce glare, and enjoy a cleaner, safer viewing experience for years. If your wall has unusual construction — like concrete block or steel studs — refer to our concrete mounting guide or consult a licensed contractor before drilling.